There are many levels of DIY favors. Some involve simply rolling items and attaching tags. Others include heat-pressing logos or screen printing custom apparel. For this post, we are focusing on beginner-level DIY mitzvah favors that look polished but require minimal tools. If you can print a document and tie a ribbon, you can absolutely handle these.
Rolling and Tagging Wearable Favors
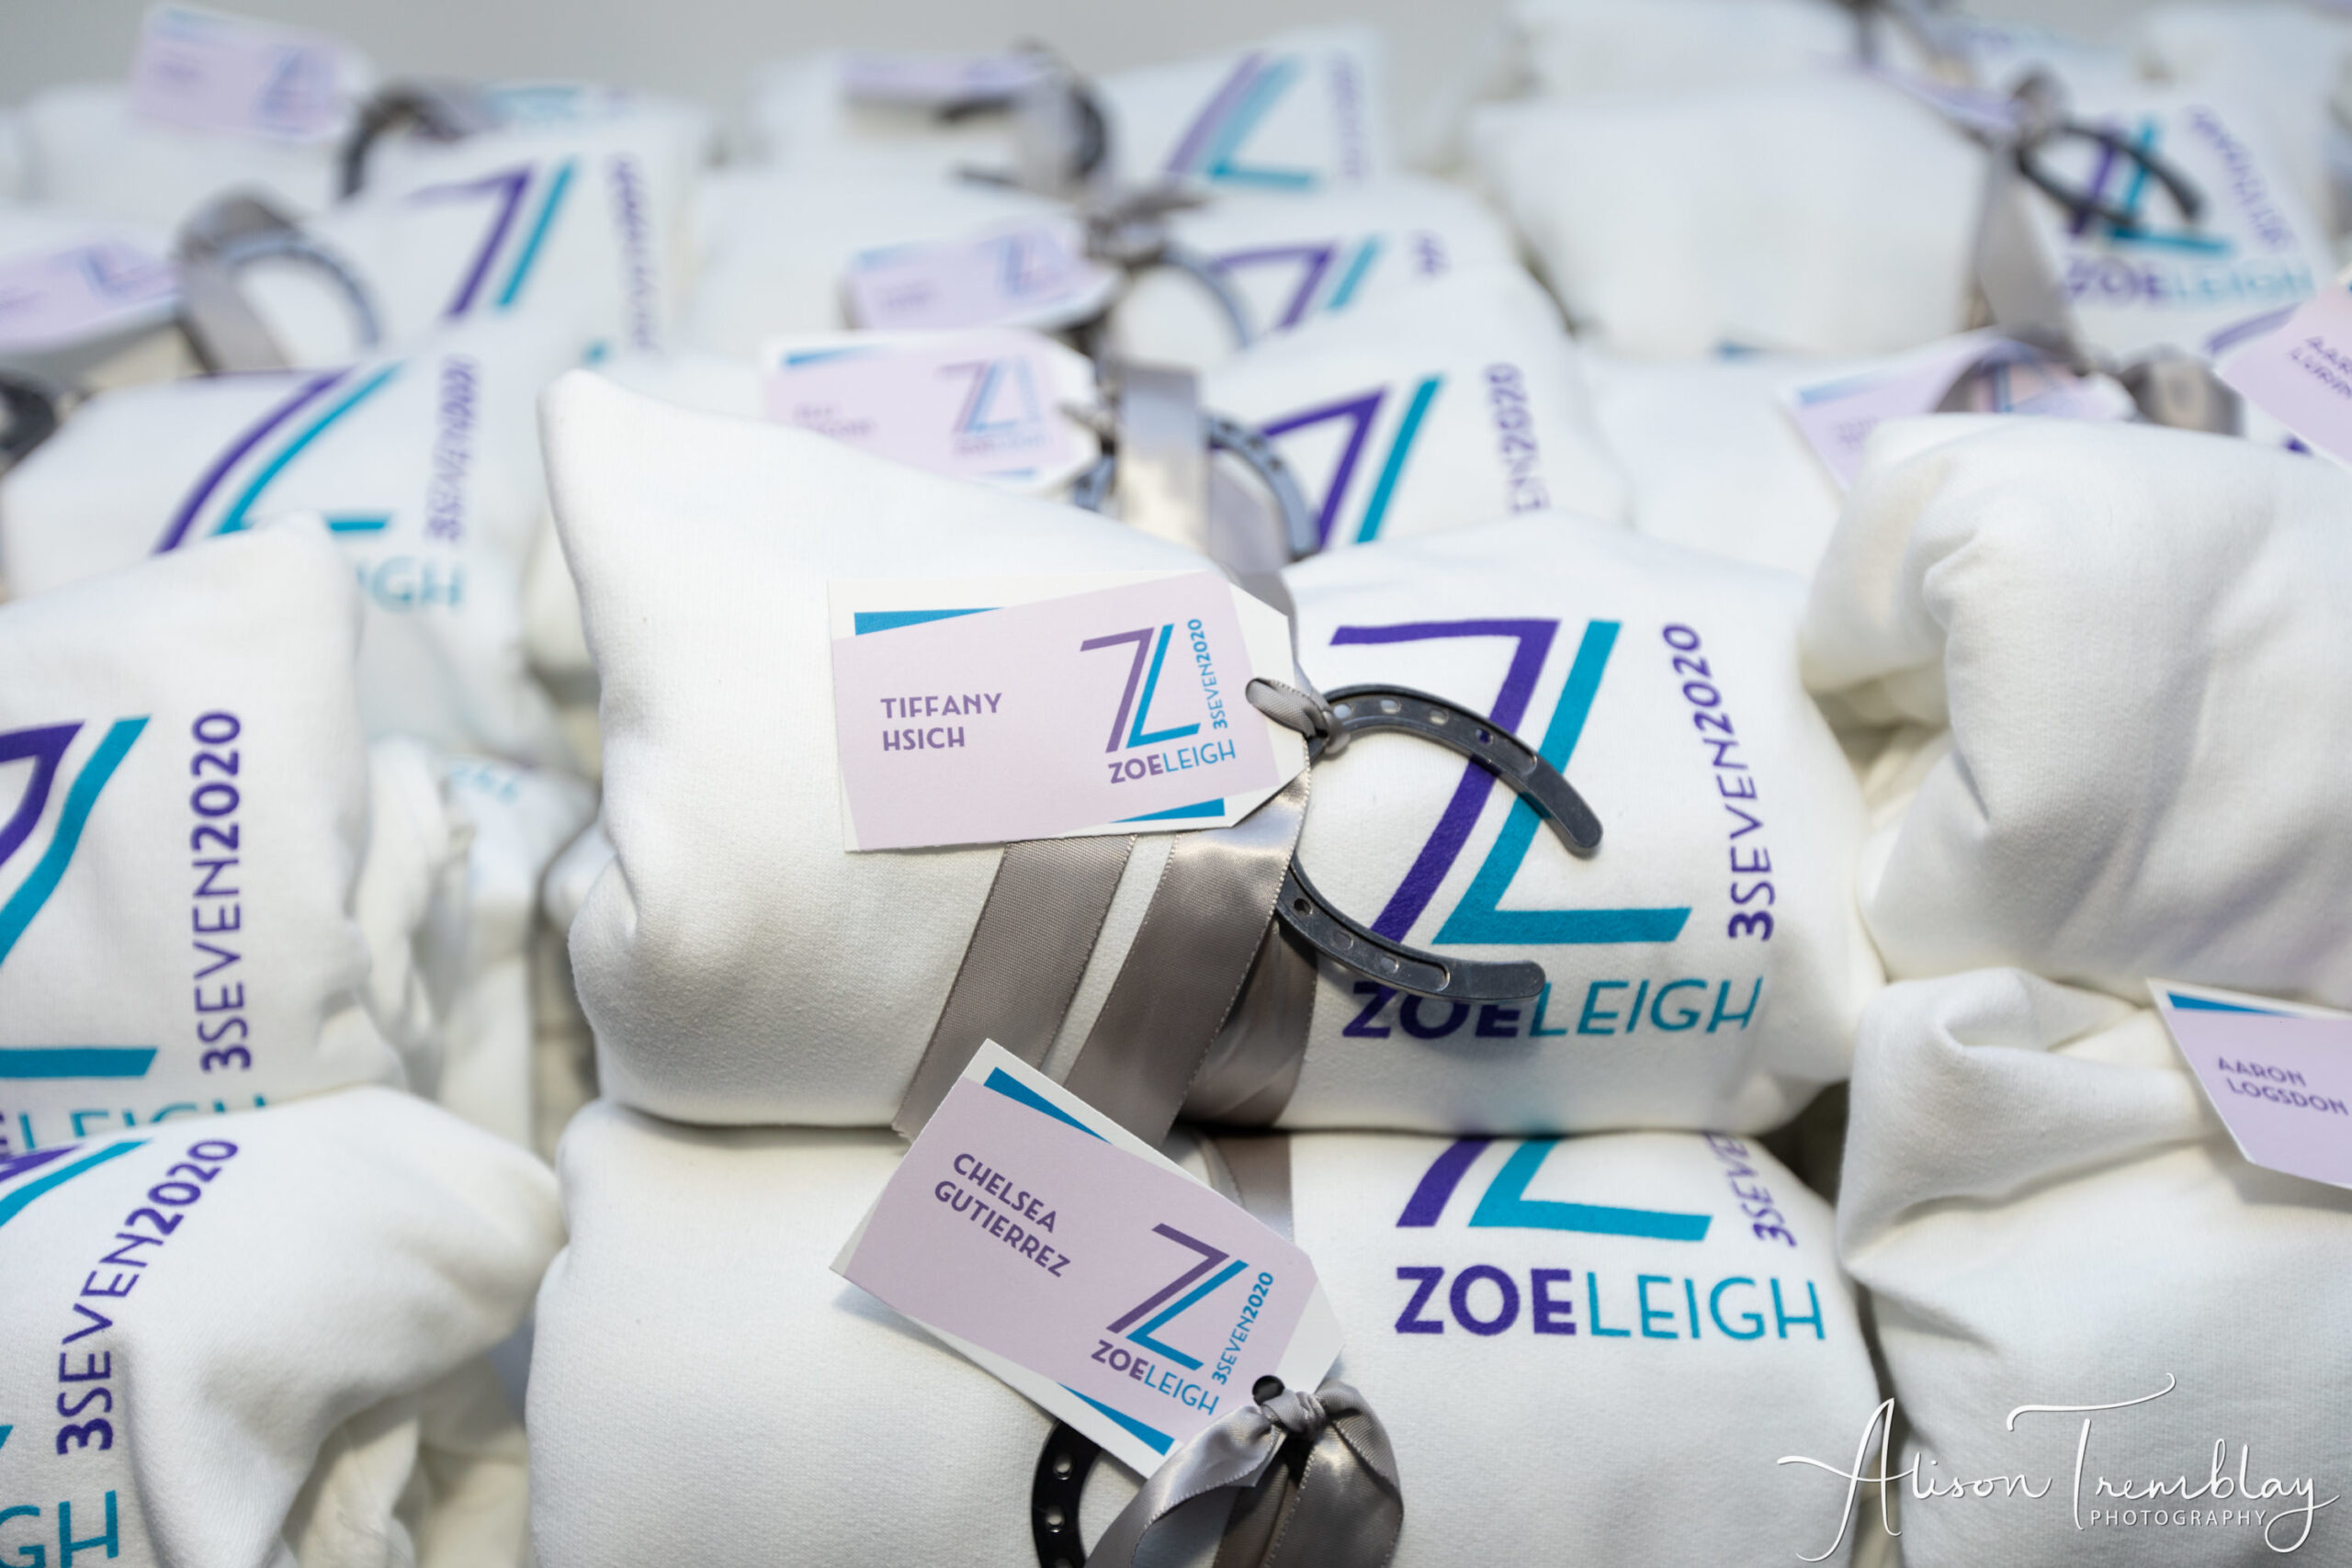
Wearable favors like sweatshirts, t-shirts, towels, pajama pants, or blankets are some of the most popular Bar and Bat Mitzvah favors. Instead of complicated customization, focus on presentation. A neatly rolled item with a personalized tag instantly feels intentional and organized. All you need is a sturdy ribbon that holds its shape and looks substantial when tied.
Choose Ribbon Carefully
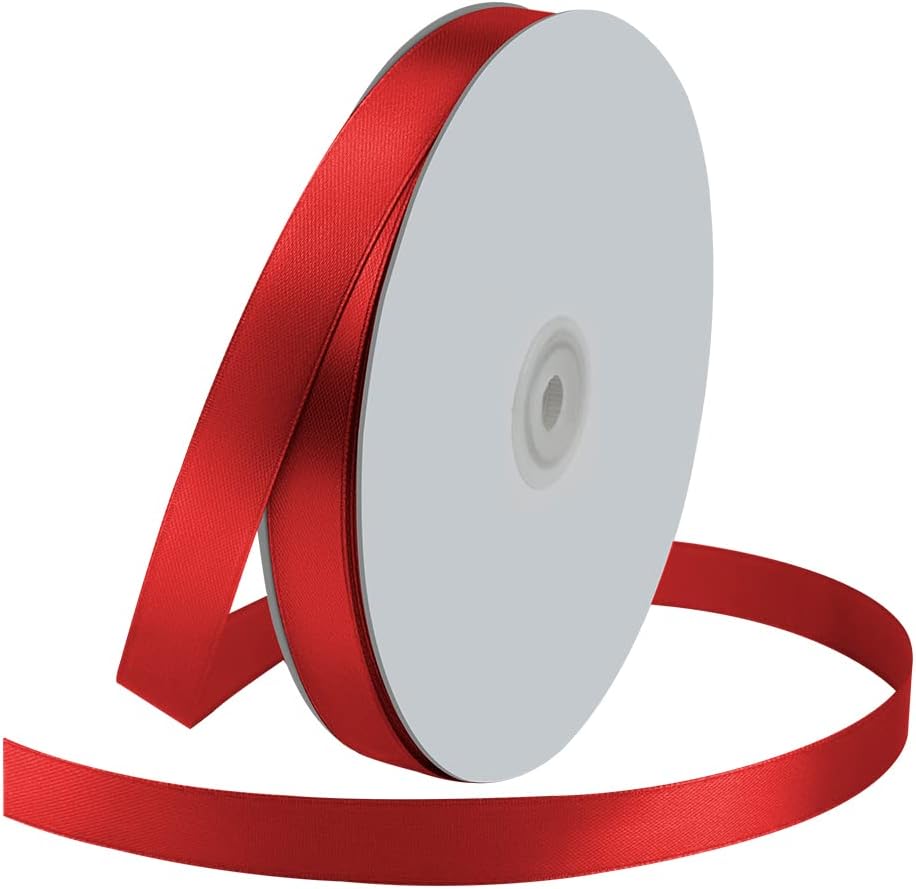
One detail people overlook is what type of ribbon to use. Thicker ribbon looks elevated, but it also requires a larger tag hole. Curling ribbon is typically used for gift wrapping and may not be heavy-duty enough to hold rolled items tight. We recommend satin ribbon that is about an inch wide or thinner. If your ribbon is wider or textured, you may also need a larger hole punch so your tags don’t tear during assembly.
For example, this 1 inch satin ribbon works nicely for most DIY favor setups.
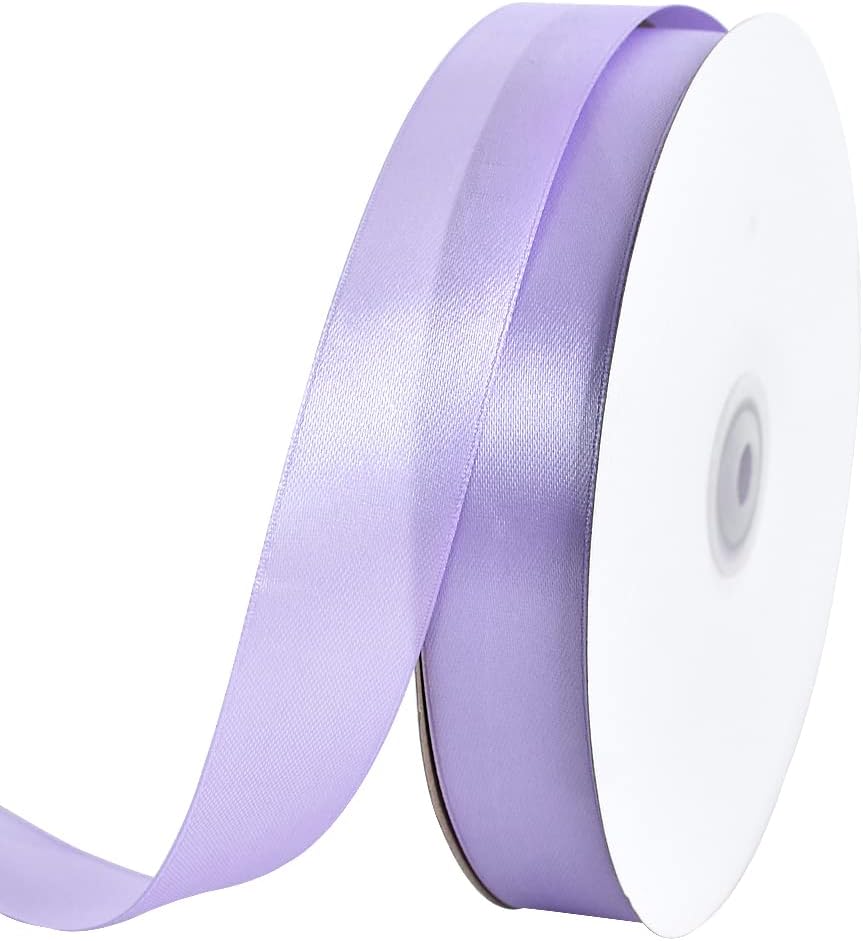
If you prefer something slightly more delicate, a 5/8 inch satin ribbon can also look great when tied around smaller items.
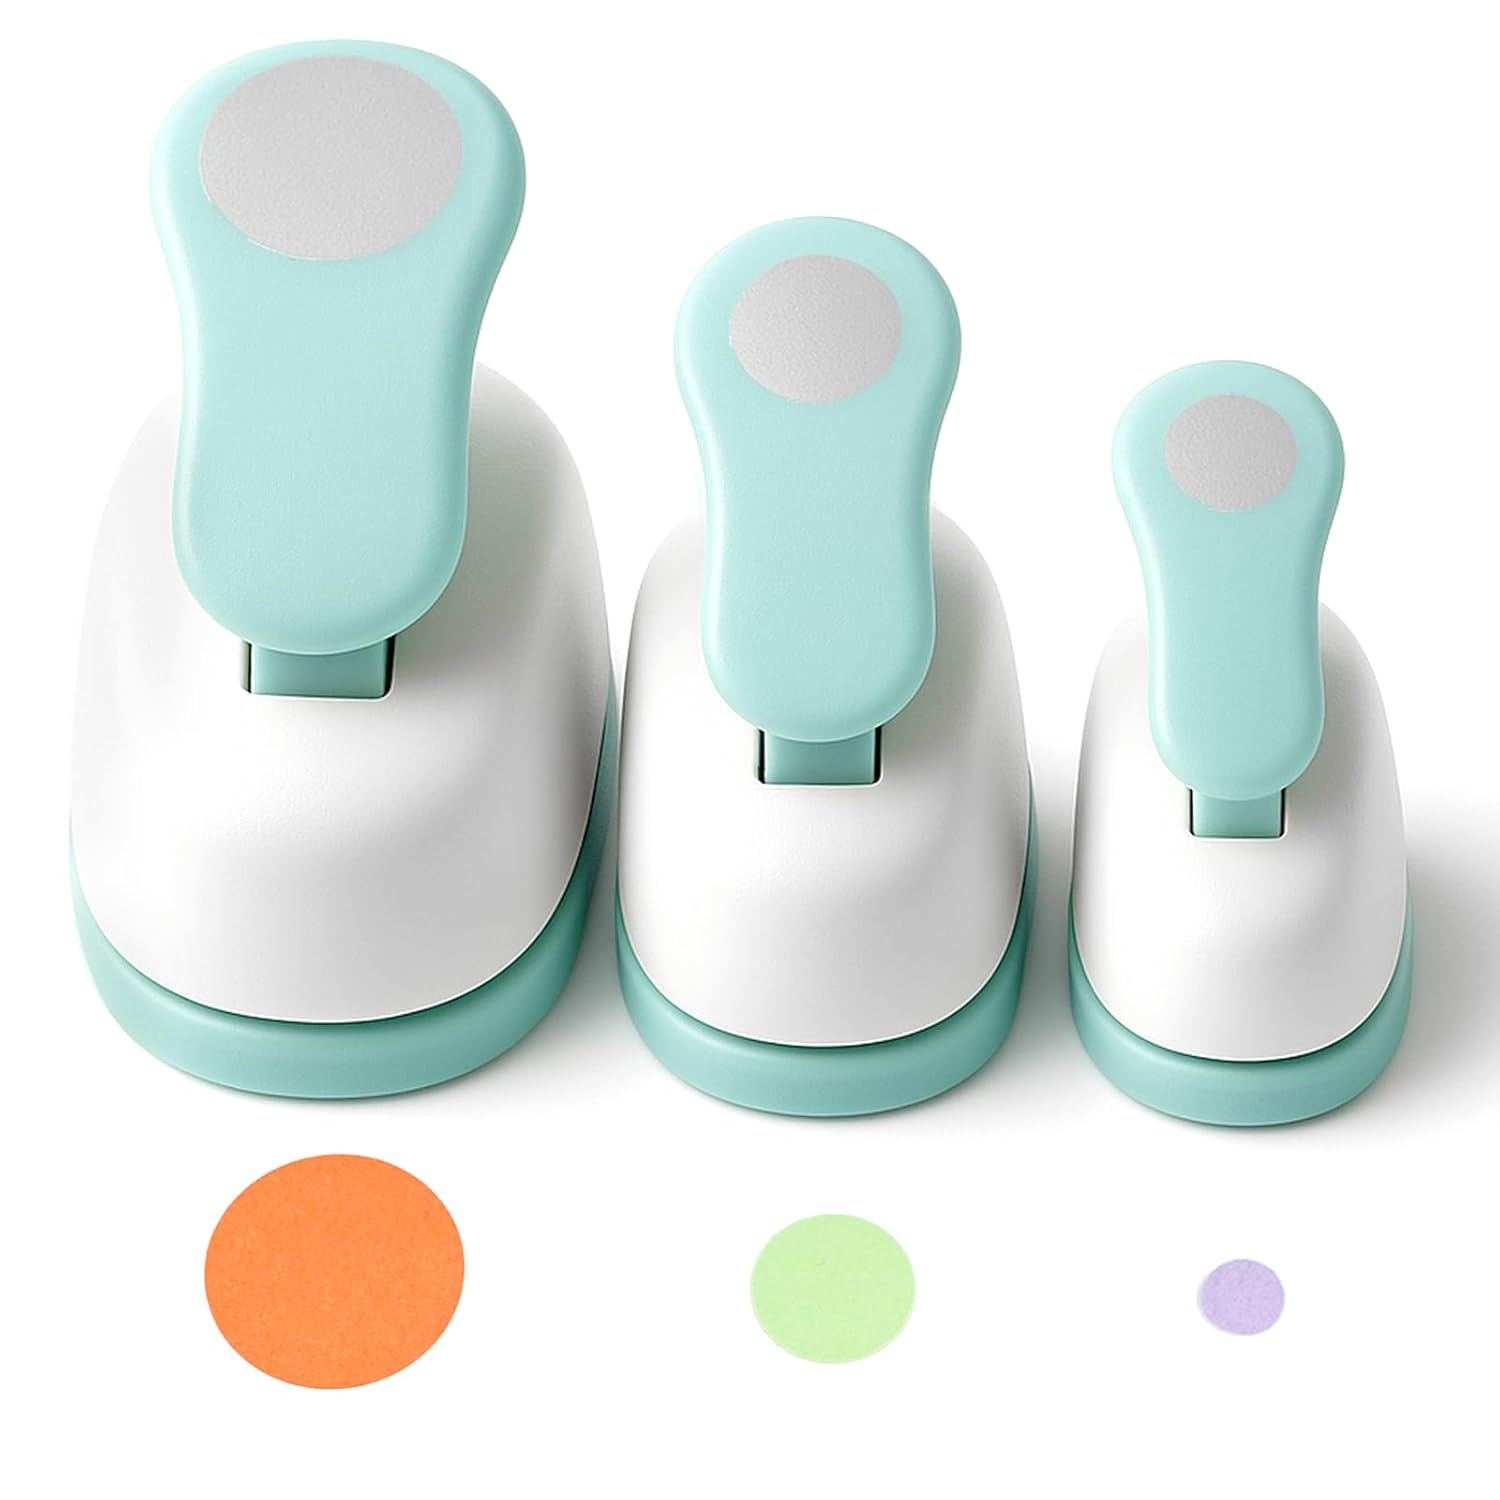
If you go with thicker ribbon, you may need a larger hole punch like this one so you don’t rip any tags. Planning this ahead saves a surprising amount of frustration during setup week.
Bag It, Tag It
Another easy DIY mitzvah favor idea is to personalize bags, boxes, or containers with printed name tags. Avery templates make this extremely simple. Upload your guest list, connect it with a mail merge, and print all of the names at once.
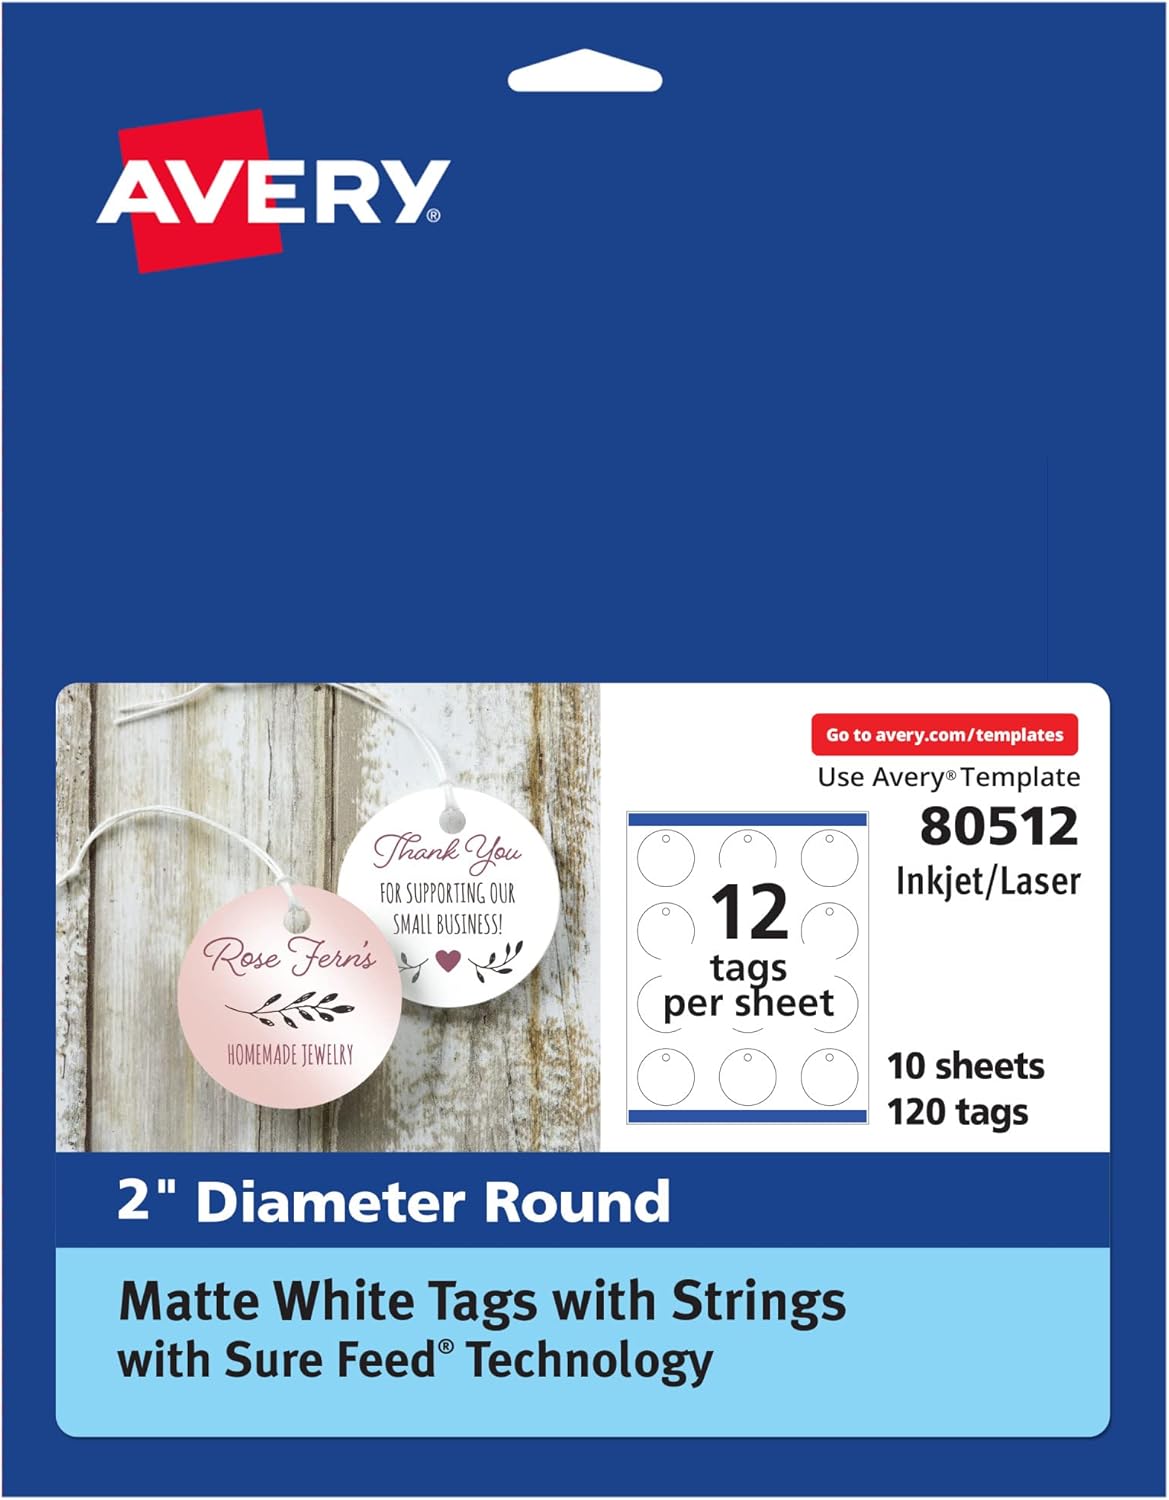
Circle tags are a classic option and work well with ribbon or twine. You can find printable circle tags like these that feed right through your printer.
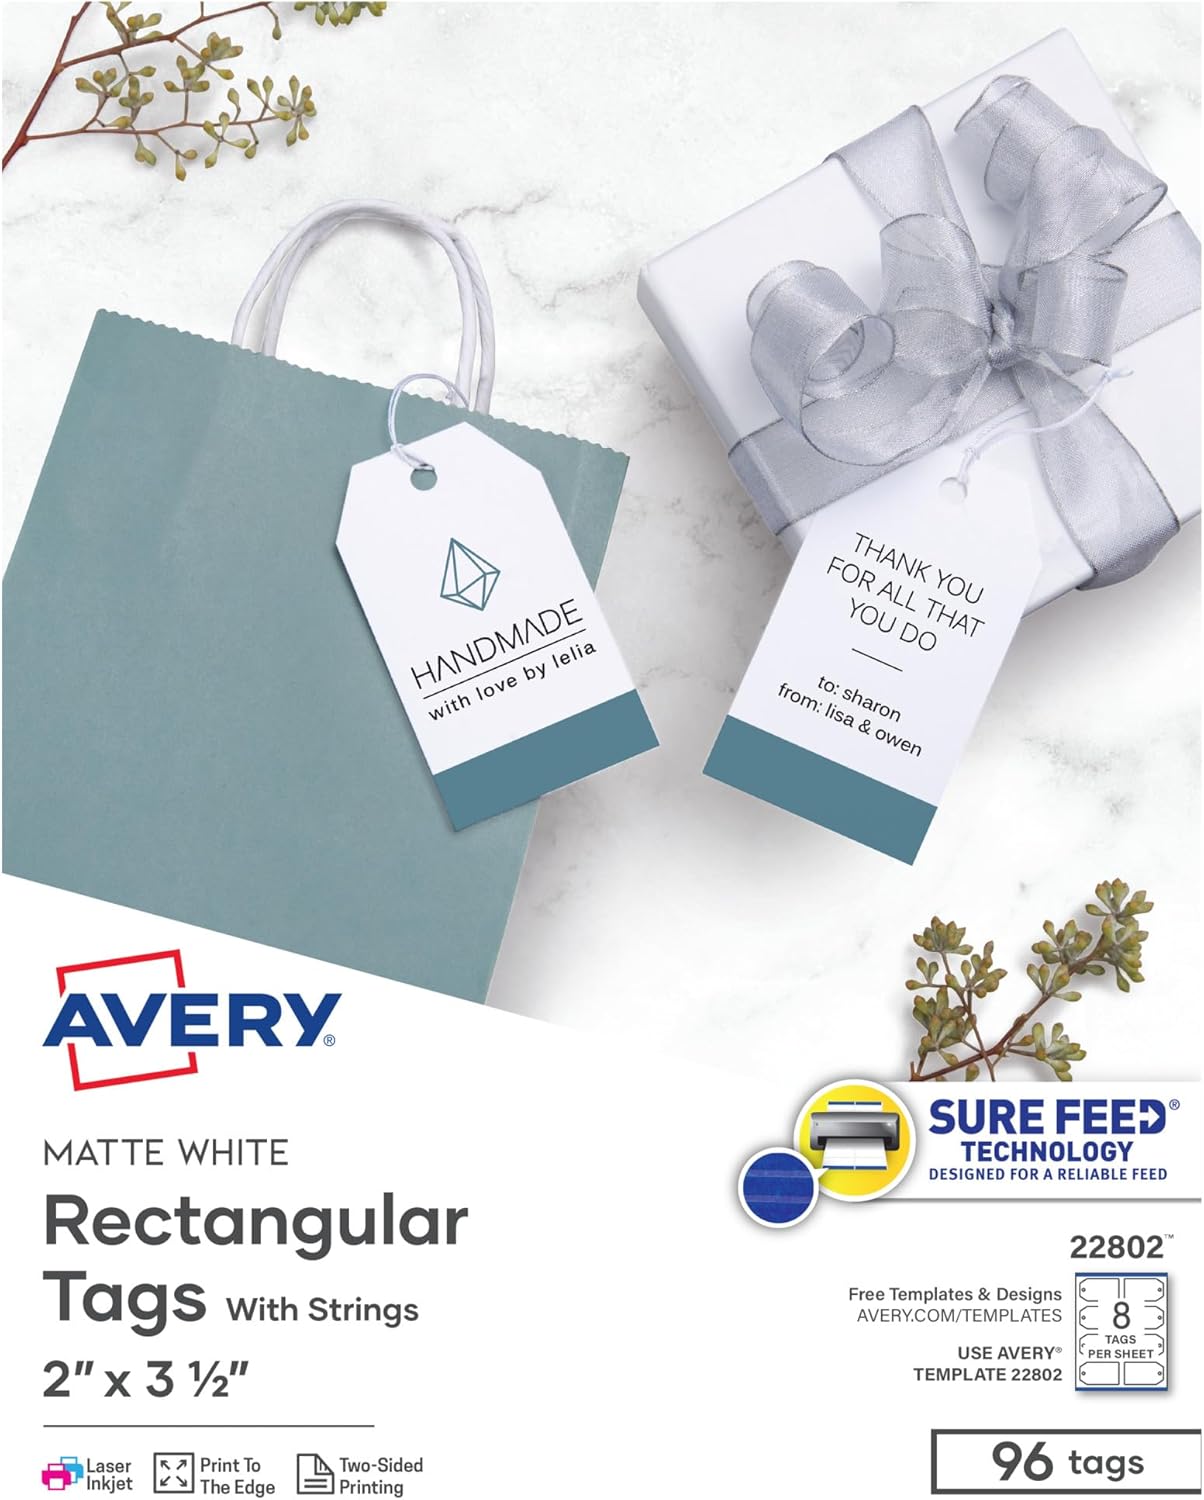
If you prefer something larger, rectangular tags also give you more space for names or a short message. These rectangular Avery printable tags work beautifully for DIY favors.
You can print first names only or both first and last names, depending on how formal you want the presentation to feel. Once tied, add a small embellishment that reinforces your theme. Think keychains, mini charms, wrapped candy, or anything lightweight that can tuck under the ribbon.

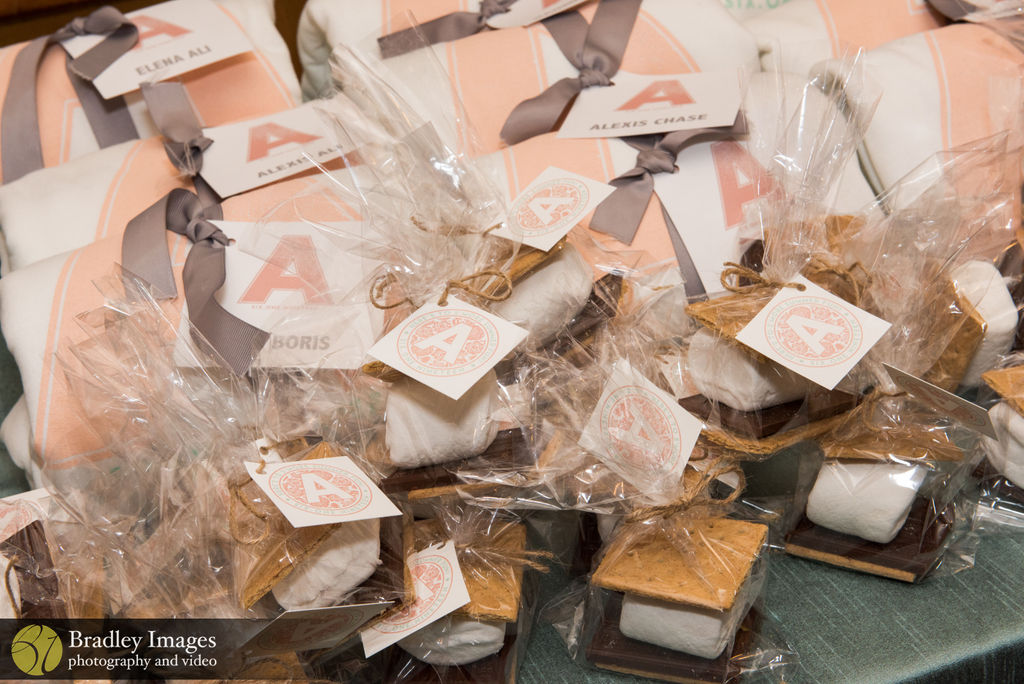
Tags automatically make something simple feel elevated, like these DIY s’mores kits.
Here are a few embellishments we love:
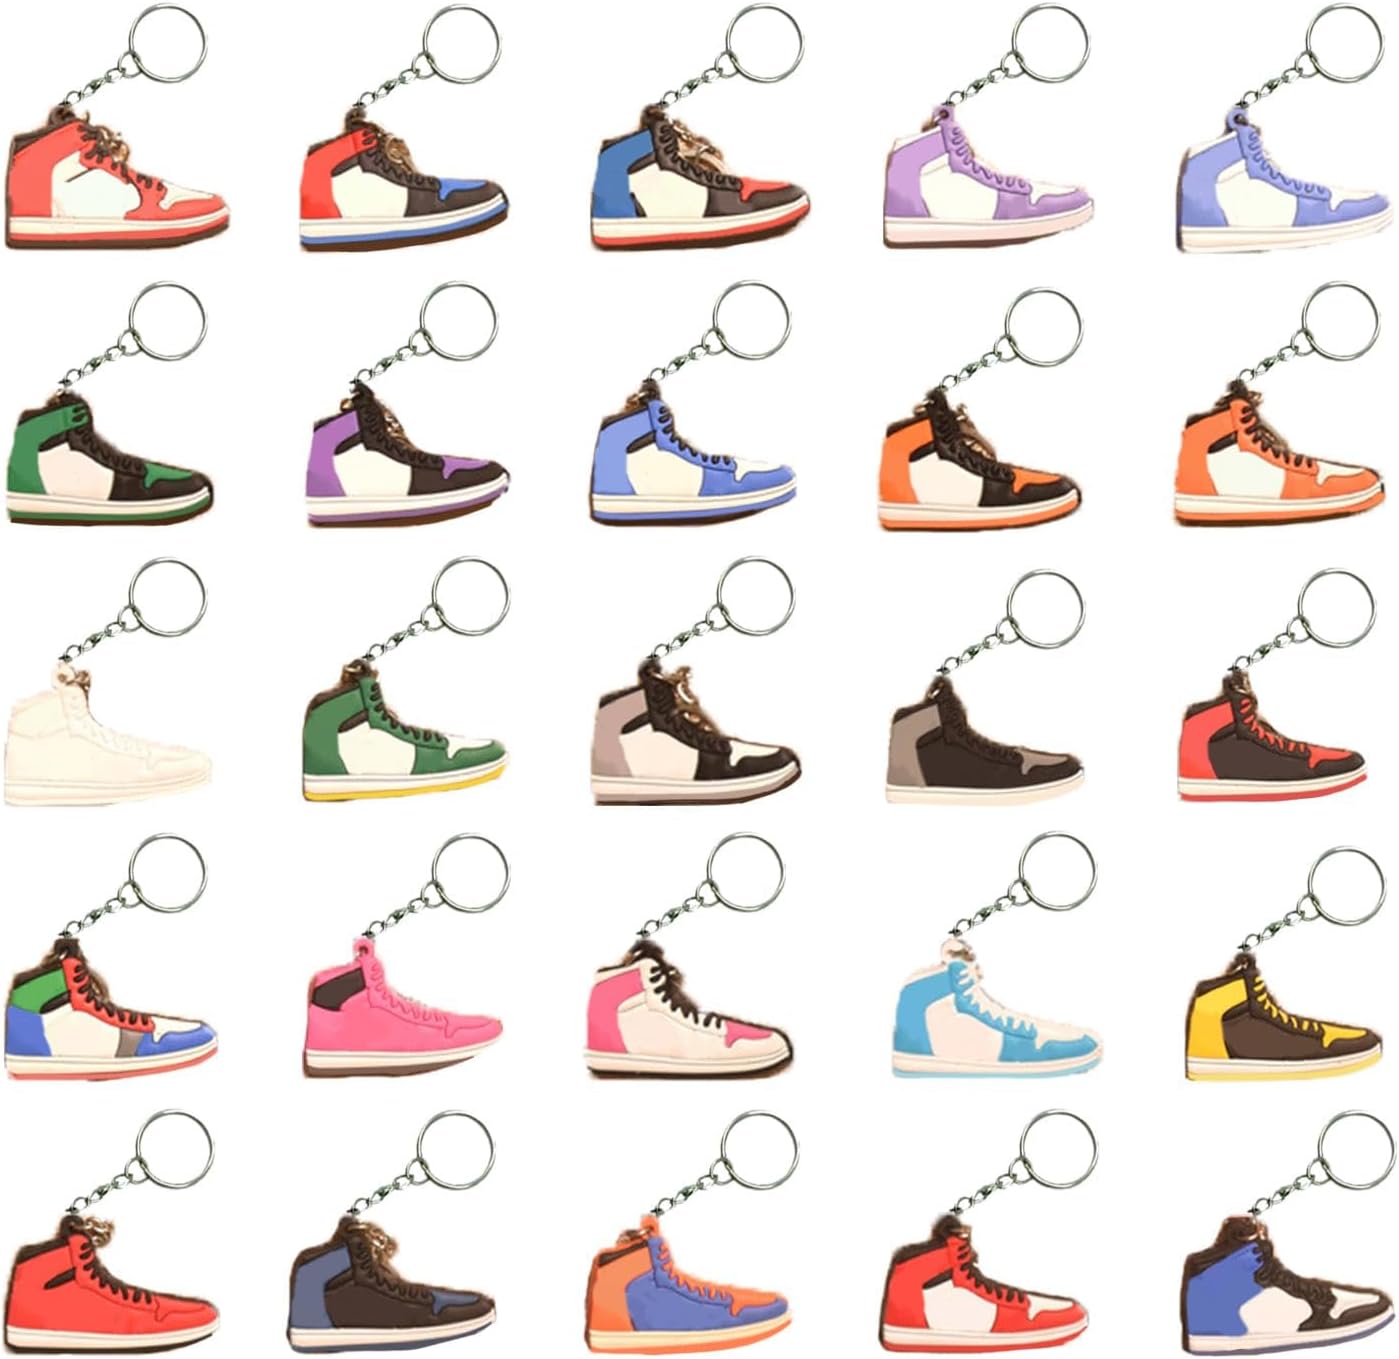
Themed keychains like these sneaker keychains work well for sports-themed events or sneaker-loving kids.
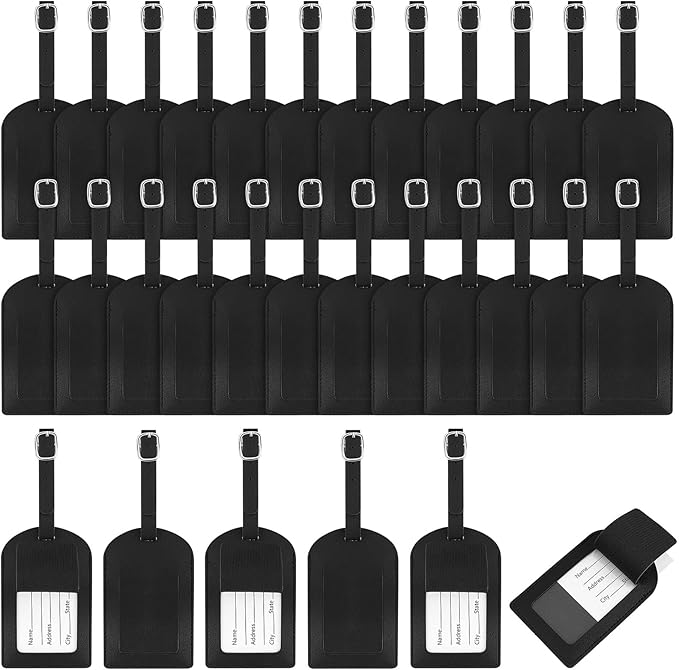
Luggage tags like these are another practical embellishment that guests can actually use after the party.
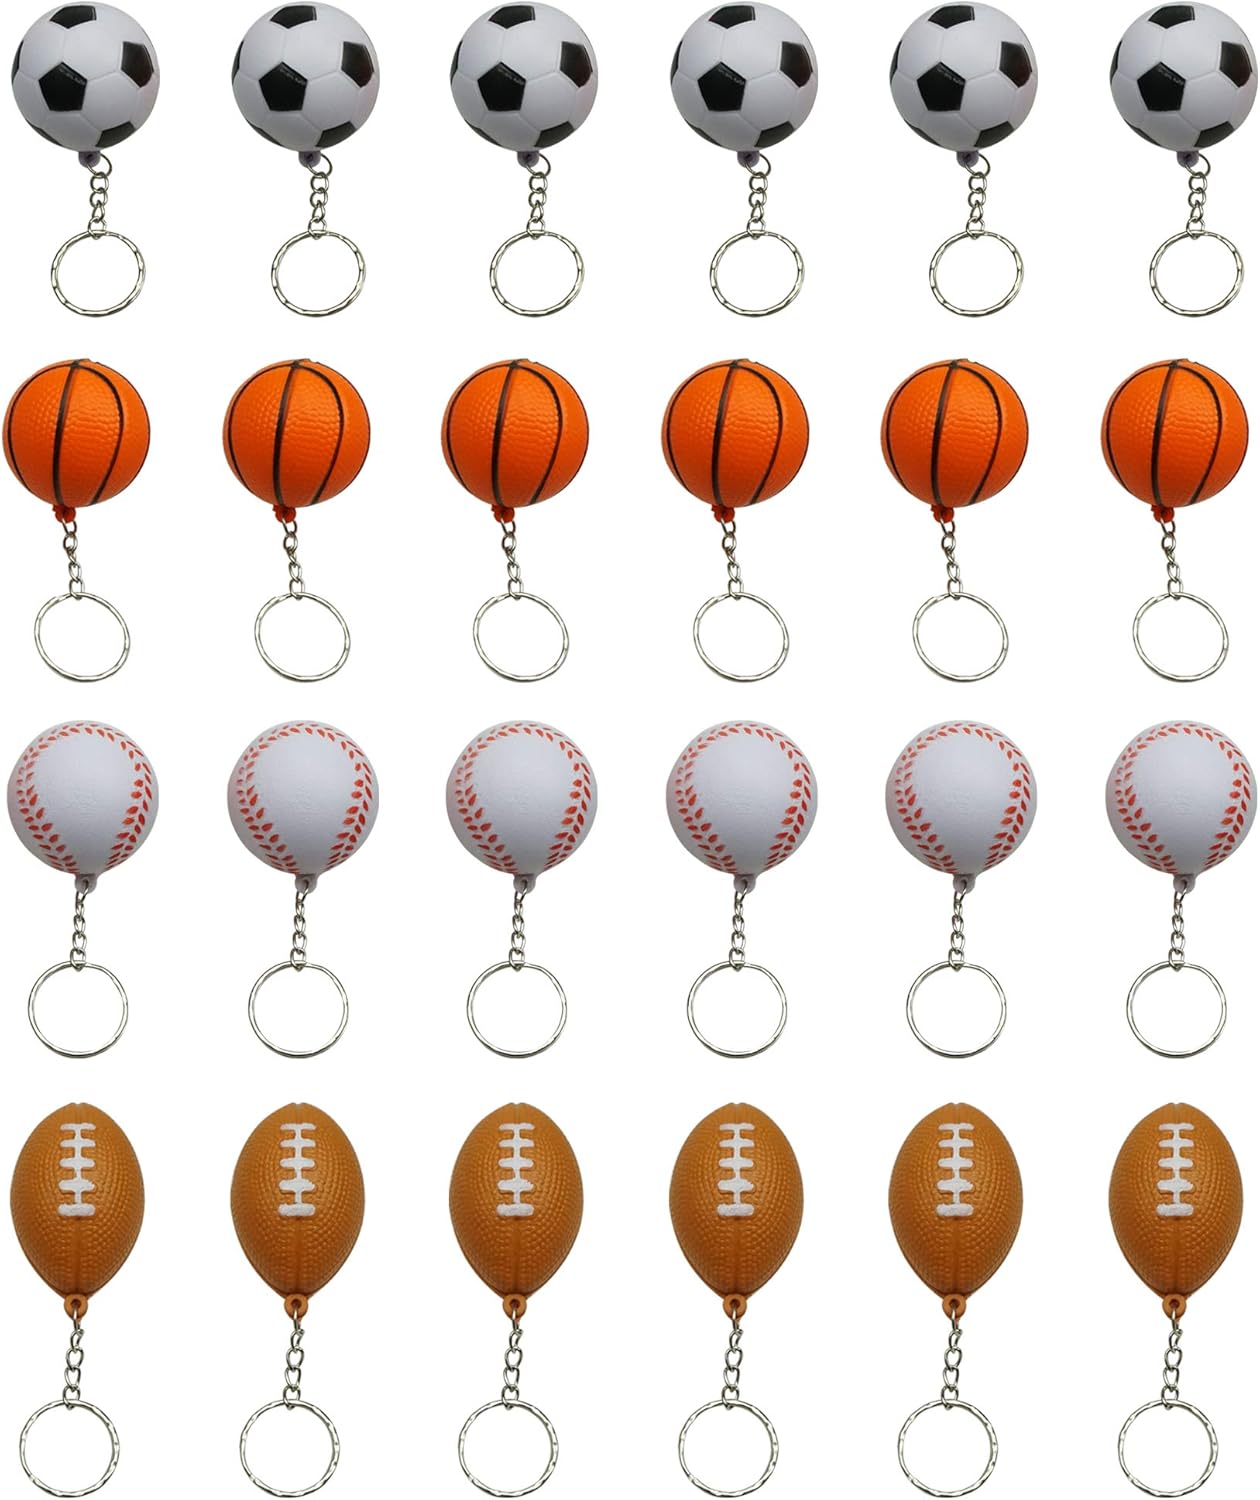
For sports-themed mitzvahs, small sports charms like these can also be tied onto the ribbon to reinforce the theme.
Stickers, Bags, Tags, and Boxes
Custom stickers are one of the easiest ways to personalize DIY Bar or Bat Mitzvah favors without adding extra work. Almost any container becomes event-ready with a label.
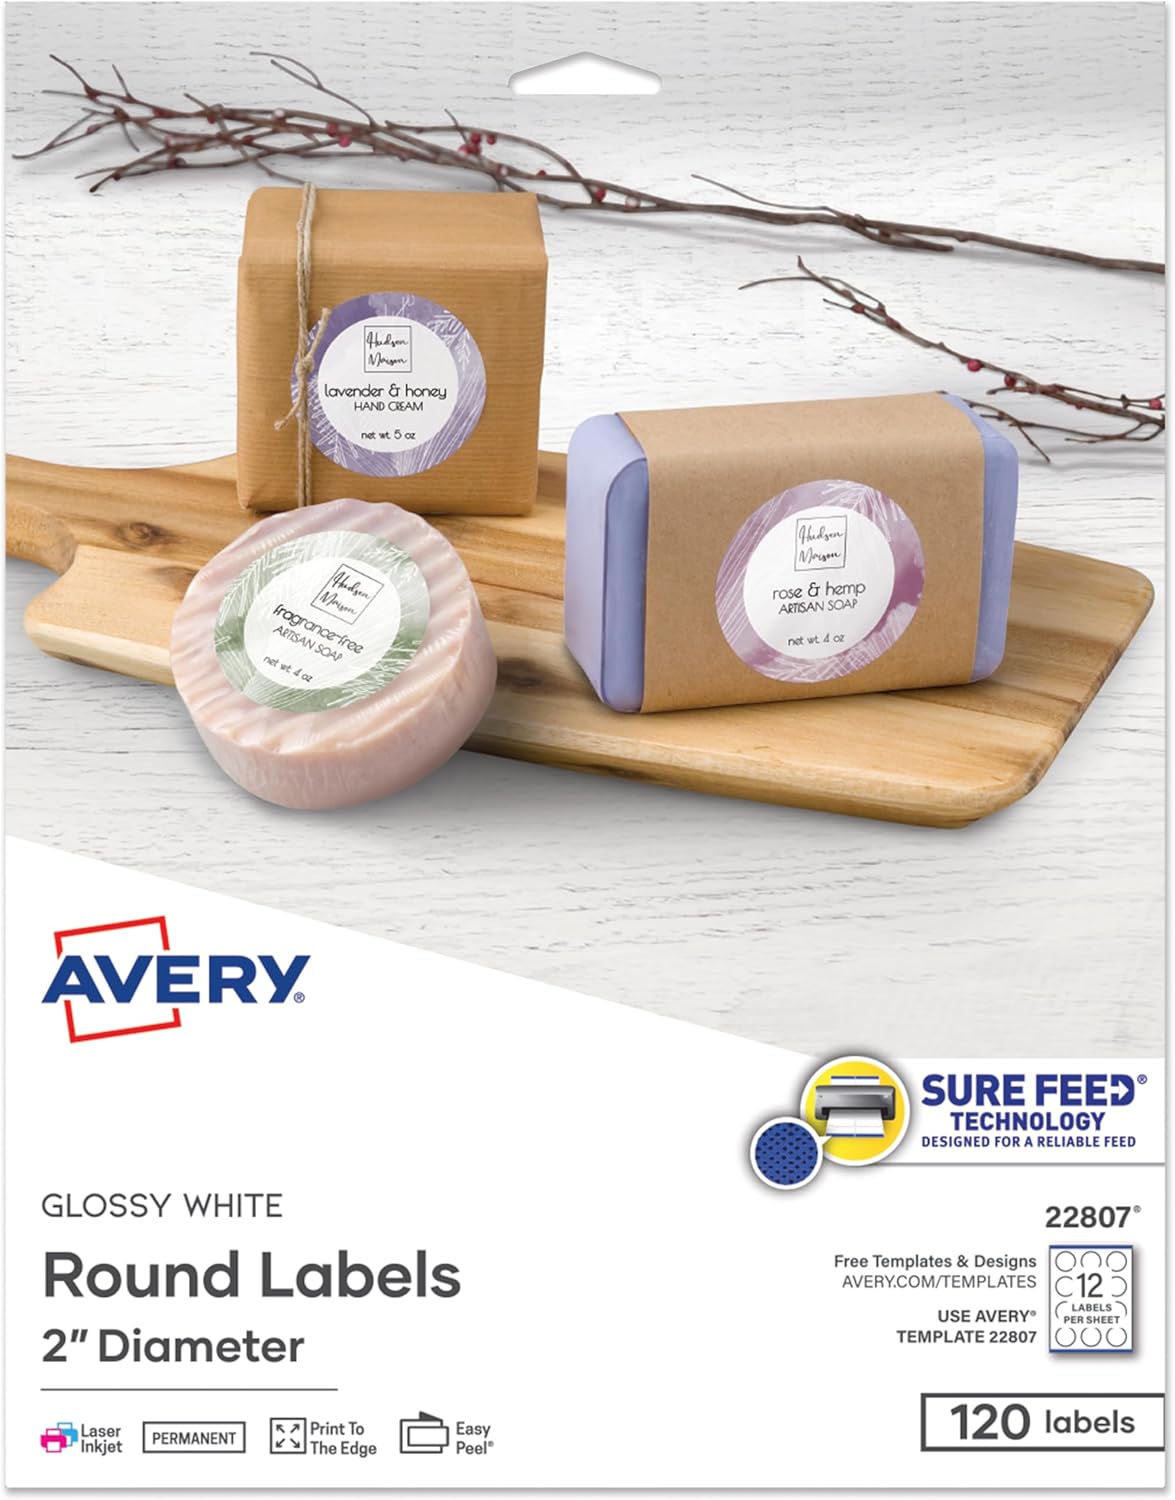
Choose a shape that works best for what you are labeling, like these printable circle labels.
Think beyond traditional favor bags. Stickers work beautifully on:
• out-of-town welcome bags
• snack bags
• water bottles
• bakery boxes
• candle tins
• favor boxes
Design once using an Avery template, then print as many as you need.
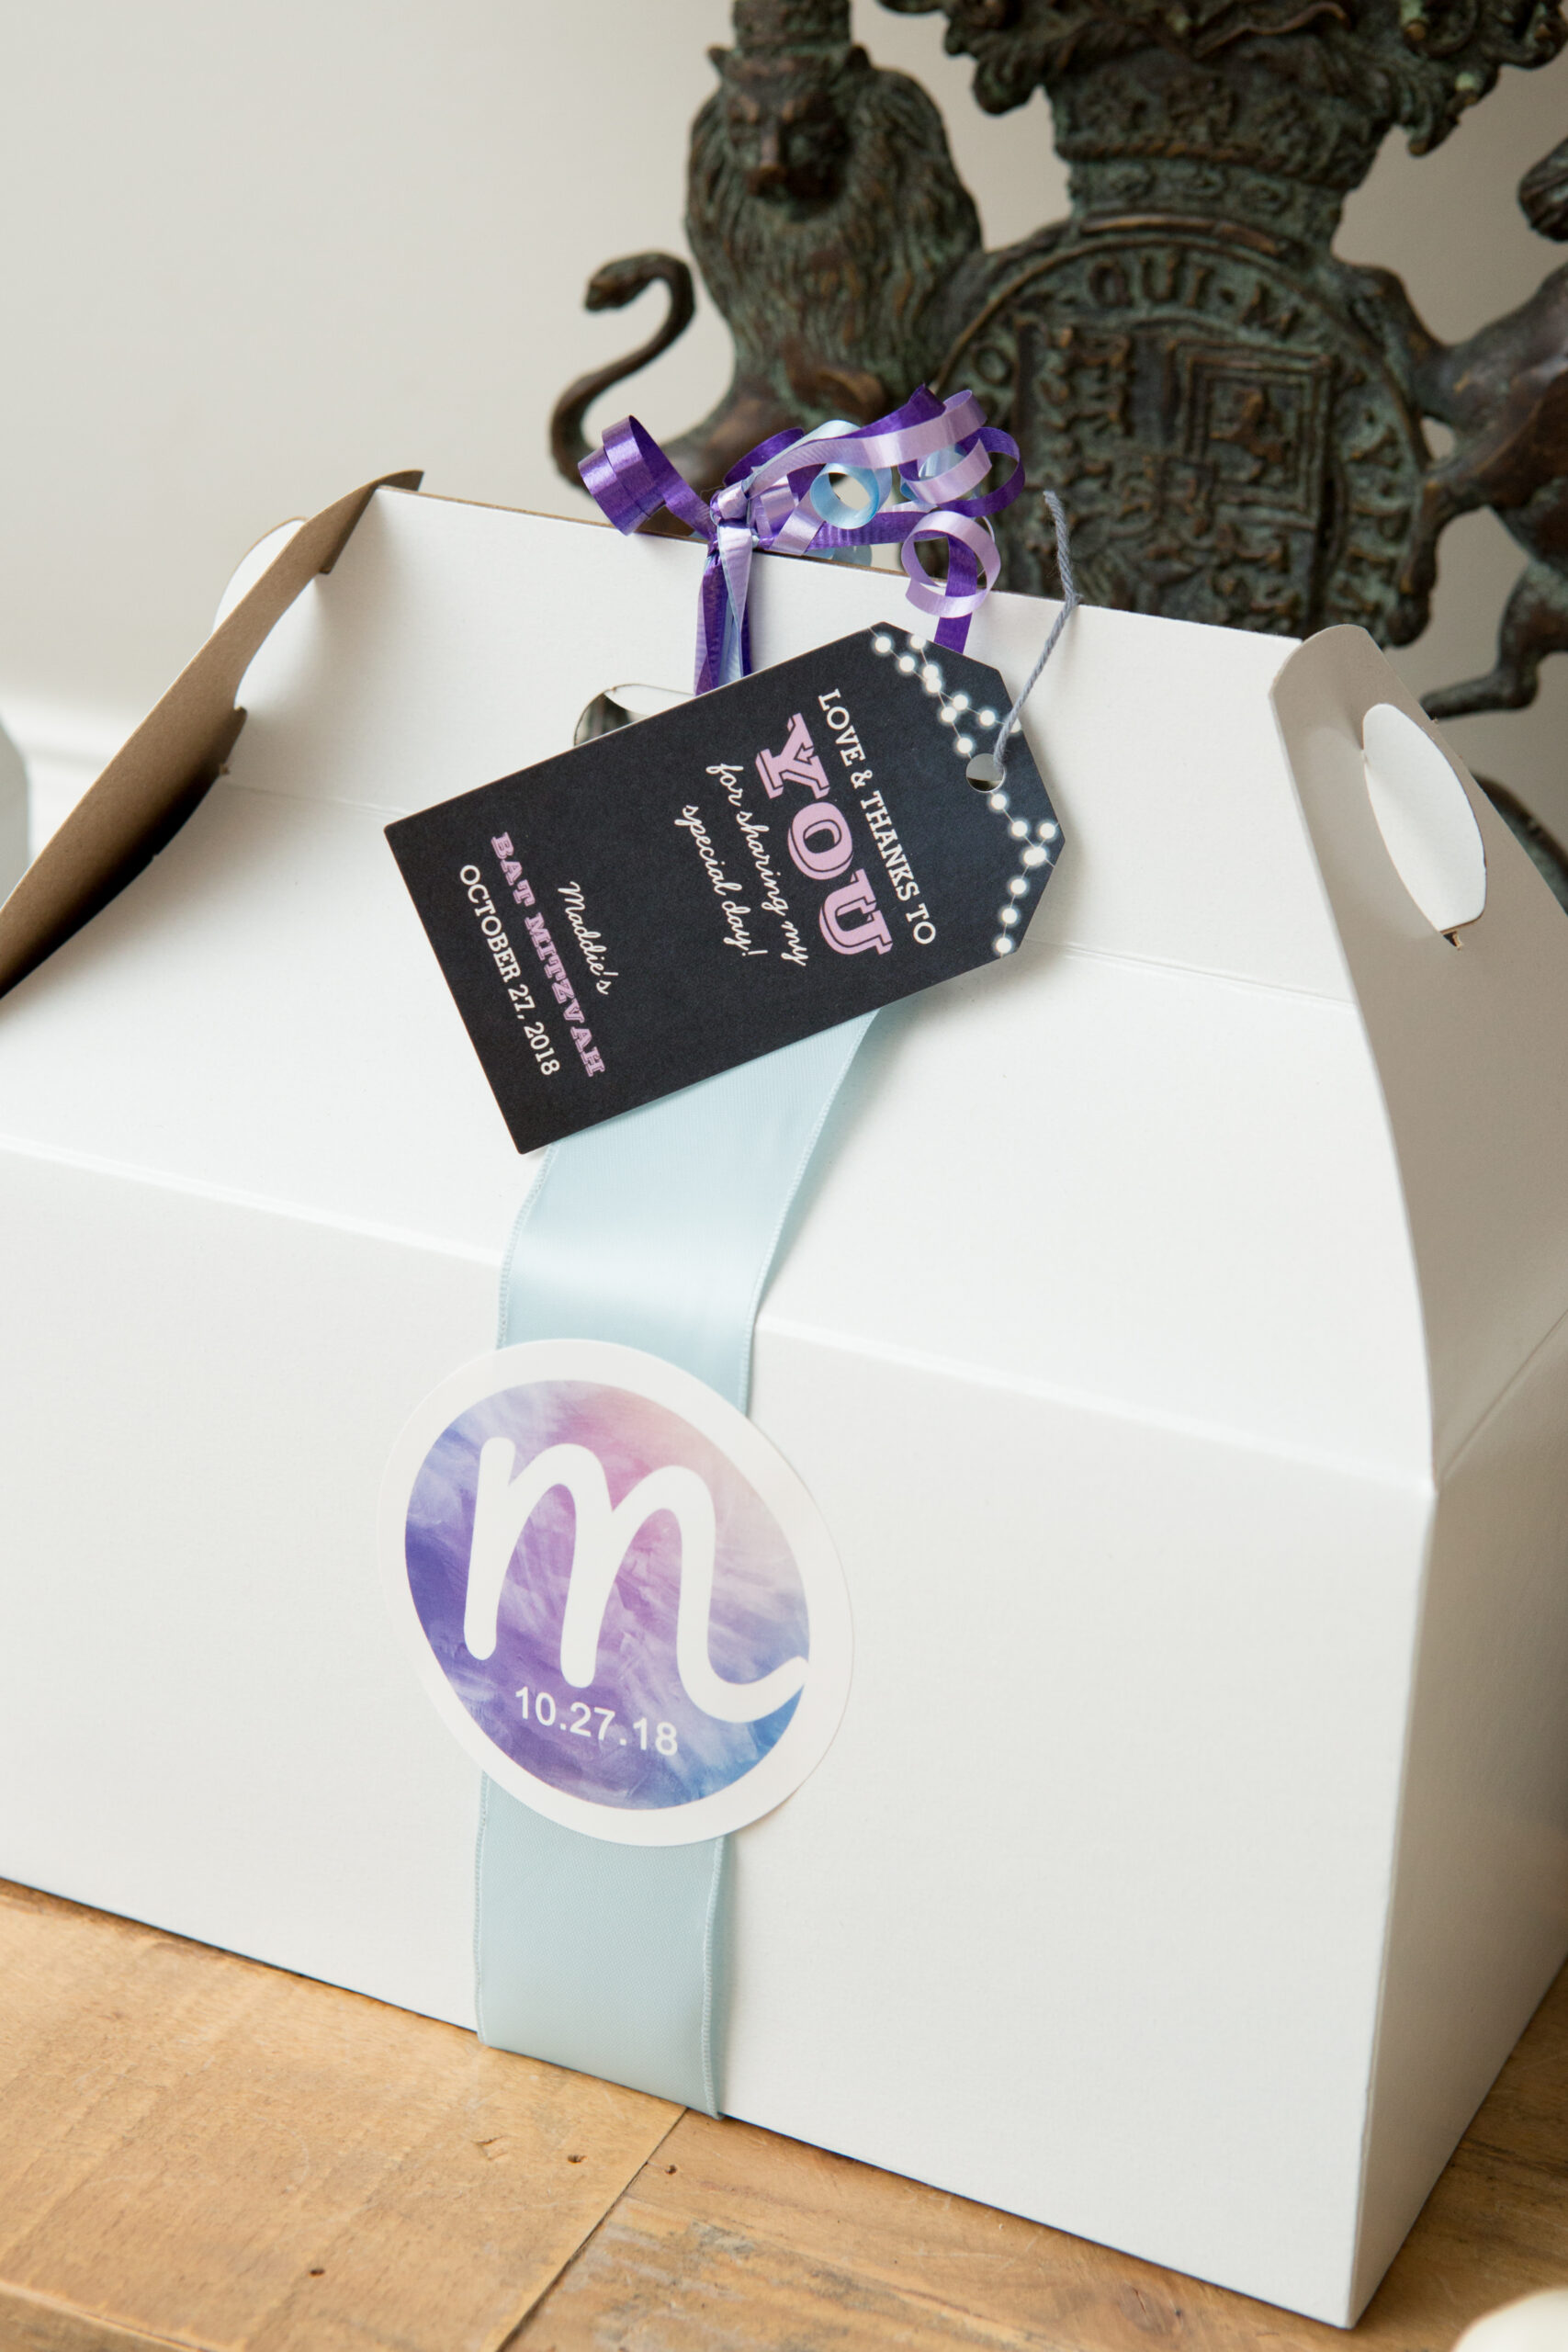
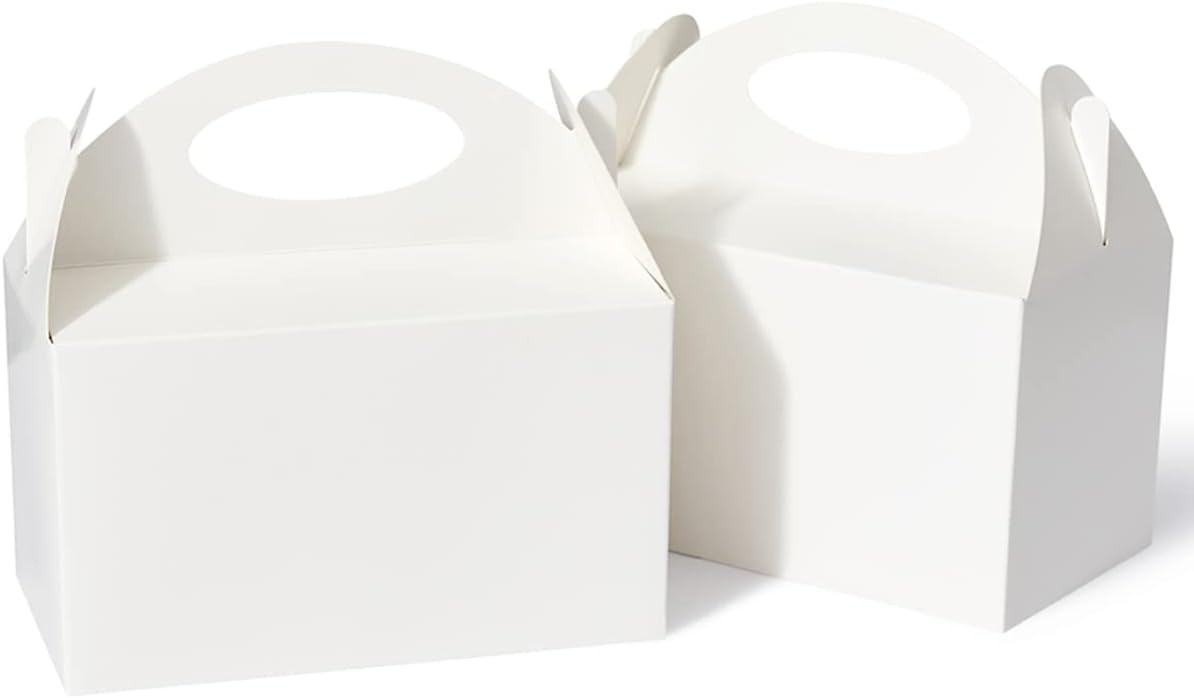
For boxed favors, gable boxes like these come in many colors and patterns and are easy for guests to grab on their way out or for your hotel to distribute to your out-of-town guests.
Clear cellophane bags with a logo sticker also work beautifully for baked goods or edible favors. Try self-sealing cellophane bags like these for an especially tidy look.

Final Thought
Beginner DIY favors succeed when you simplify the process. Focus on clean presentation, personalized labeling, and repeatable steps. You do not need specialty equipment to create something guests will appreciate. Start with printable tags, thoughtful packaging, and one cohesive detail tied throughout the event.
This post may contain affiliate links. As an Amazon Associate, I earn from qualifying purchases. This means if you click and buy through one of the links below, I may earn a small commission at no additional cost to you.
There are many levels of DIY favors. Some involve simply rolling items and attaching tags. Others include heat-pressing logos or screen printing custom apparel. For this post, we are focusing on beginner-level DIY mitzvah favors that look polished but require minimal tools. If you can print a document and tie a ribbon, you can absolutely handle these.
Rolling and Tagging Wearable Favors
Wearable favors like sweatshirts, t-shirts, towels, pajama pants, or blankets are some of the most popular Bar and Bat Mitzvah favors. Instead of complicated customization, focus on presentation. A neatly rolled item with a personalized tag instantly feels intentional and organized. All you need is a sturdy ribbon that holds its shape and looks substantial when tied.
Choose Ribbon Carefully
One detail people overlook is what type of ribbon to use. Thicker ribbon looks elevated, but it also requires a larger tag hole. Curling ribbon is typically used for gift wrapping and may not be heavy-duty enough to hold rolled items tight. We recommend satin ribbon that is about an inch wide or thinner. If your ribbon is wider or textured, you may also need a larger hole punch so your tags don’t tear during assembly.
For example, this 1 inch satin ribbon works nicely for most DIY favor setups.
If you prefer something slightly more delicate, a 5/8 inch satin ribbon can also look great when tied around smaller items.
If you go with thicker ribbon, you may need a larger hole punch like this one so you don’t rip any tags. Planning this ahead saves a surprising amount of frustration during setup week.
Bag It, Tag It
Another easy DIY mitzvah favor idea is to personalize bags, boxes, or containers with printed name tags. Avery templates make this extremely simple. Upload your guest list, connect it with a mail merge, and print all of the names at once.
Circle tags are a classic option and work well with ribbon or twine. You can find printable circle tags like these that feed right through your printer.
If you prefer something larger, rectangular tags also give you more space for names or a short message. These rectangular Avery printable tags work beautifully for DIY favors.
You can print first names only or both first and last names, depending on how formal you want the presentation to feel. Once tied, add a small embellishment that reinforces your theme. Think keychains, mini charms, wrapped candy, or anything lightweight that can tuck under the ribbon.
Tags automatically make something simple feel elevated, like these DIY s’mores kits.
Here are a few embellishments we love:
Themed keychains like these sneaker keychains work well for sports-themed events or sneaker-loving kids.
Luggage tags like these are another practical embellishment that guests can actually use after the party.
For sports-themed mitzvahs, small sports charms like these can also be tied onto the ribbon to reinforce the theme.
Stickers, Bags, Tags, and Boxes
Custom stickers are one of the easiest ways to personalize DIY Bar or Bat Mitzvah favors without adding extra work. Almost any container becomes event-ready with a label.
Choose a shape that works best for what you are labeling, like these printable circle labels.
Think beyond traditional favor bags. Stickers work beautifully on:
• out-of-town welcome bags
• snack bags
• water bottles
• bakery boxes
• candle tins
• favor boxes
Design once using an Avery template, then print as many as you need.
For boxed favors, gable boxes like these come in many colors and patterns and are easy for guests to grab on their way out or for your hotel to distribute to your out-of-town guests.
Clear cellophane bags with a logo sticker also work beautifully for baked goods or edible favors. Try self-sealing cellophane bags like these for an especially tidy look.
Final Thought
Beginner DIY favors succeed when you simplify the process. Focus on clean presentation, personalized labeling, and repeatable steps. You do not need specialty equipment to create something guests will appreciate. Start with printable tags, thoughtful packaging, and one cohesive detail tied throughout the event.
This post may contain affiliate links. As an Amazon Associate, I earn from qualifying purchases. This means if you click and buy through one of the links below, I may earn a small commission at no additional cost to you.