Centerpieces can add up quickly, but they don’t have to blow your budget. With a few smart choices, you can create tables that feel polished, cohesive, and intentional without overspending.
Start by using anything your venue already has available. Then check Facebook Marketplace, local event resale groups, or your favorite Buy Nothing group. You can often find vases and decor that were used once and are still in great shape. If you still need pieces, these are our go-to items for DIY mitzvah centerpieces that feel easy, sophisticated, and far more expensive than they are.
If you’re building your decor plan from scratch, make sure every table element works together. Consistency always looks more elevated than overcomplicating things.
Vases We Love for DIY Mitzvah Centerpieces
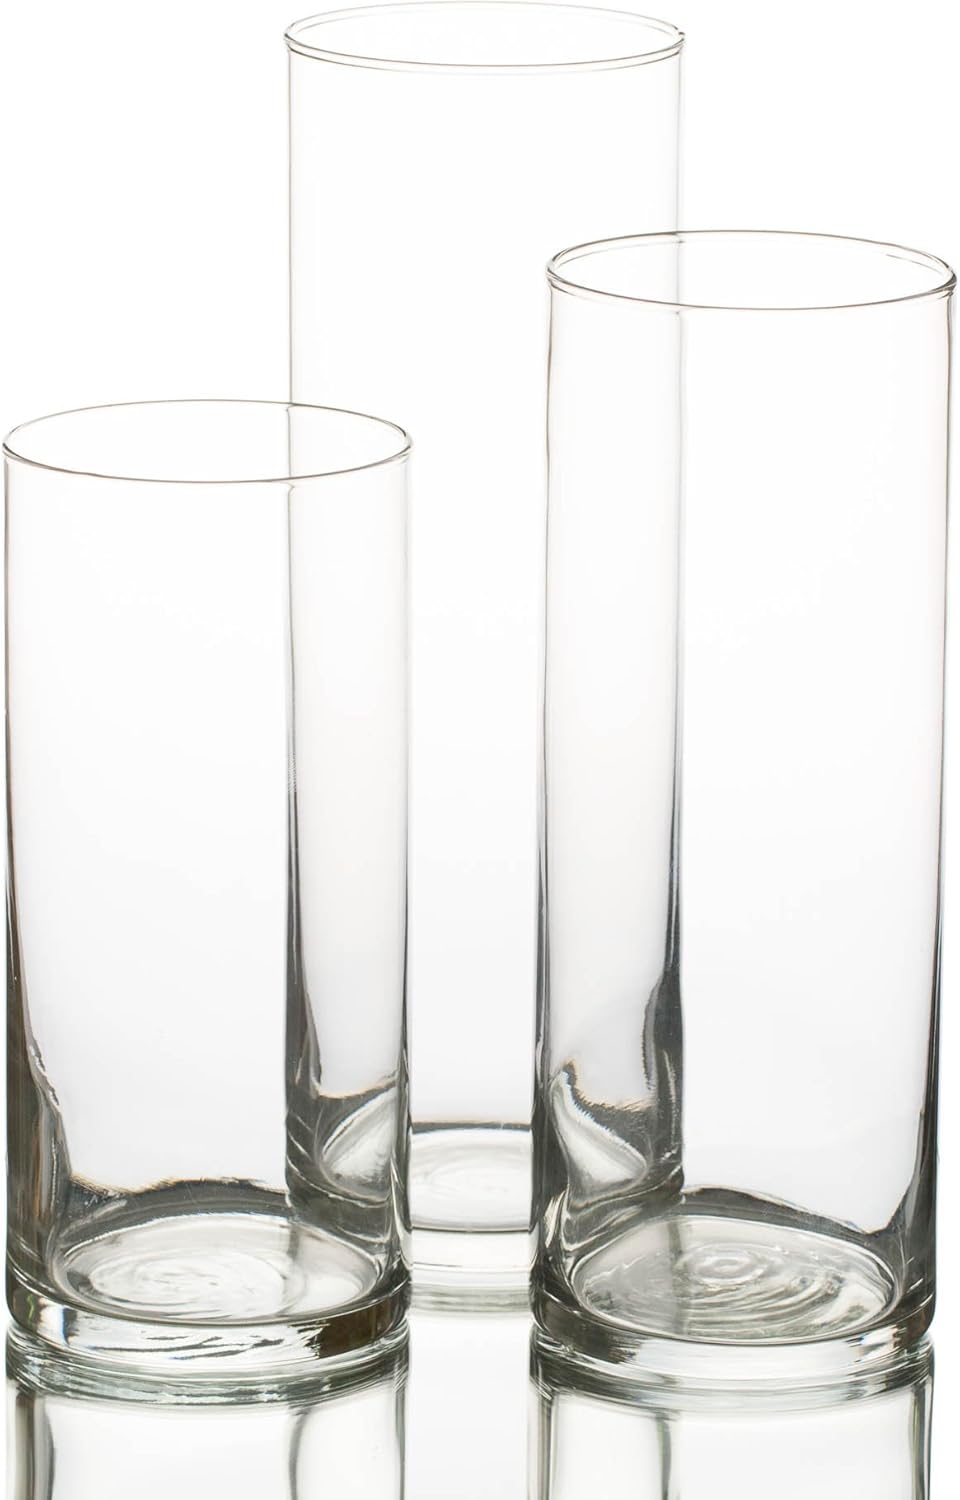
Trios of glass cylinder vases are a staple for a reason. Clean, modern, and easy to style for almost any theme.
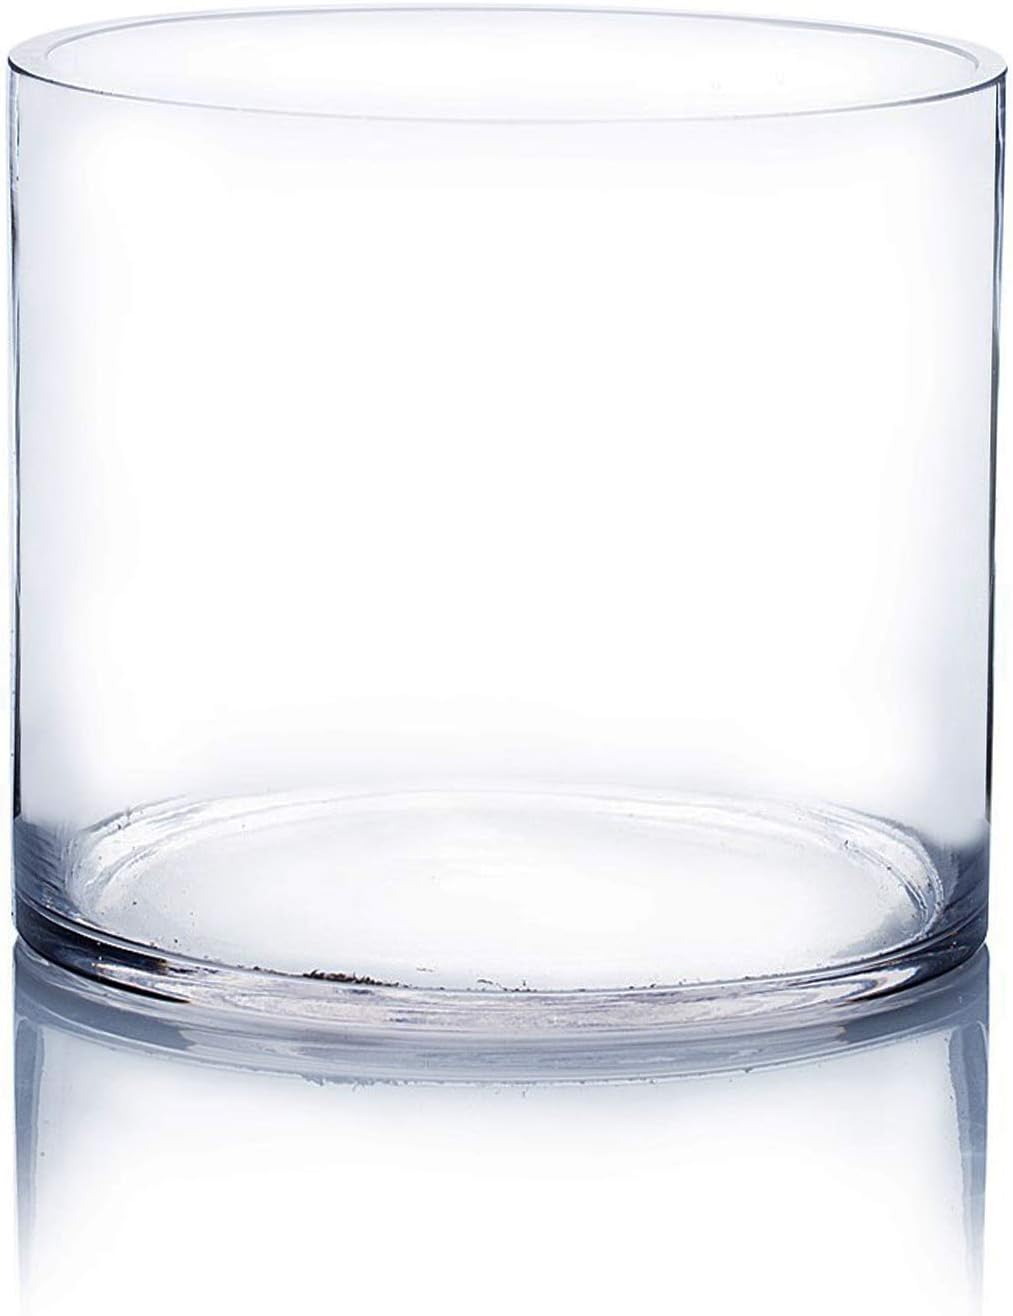
Wide mouth glass vases work well when you want more volume or are adding larger fillers or lighting.
If you’re feeling nervous about all that glass, plastic cylinder vases are also available and much more forgiving on kid-heavy dance floors.
What to Put In or On Your DIY Centerpieces
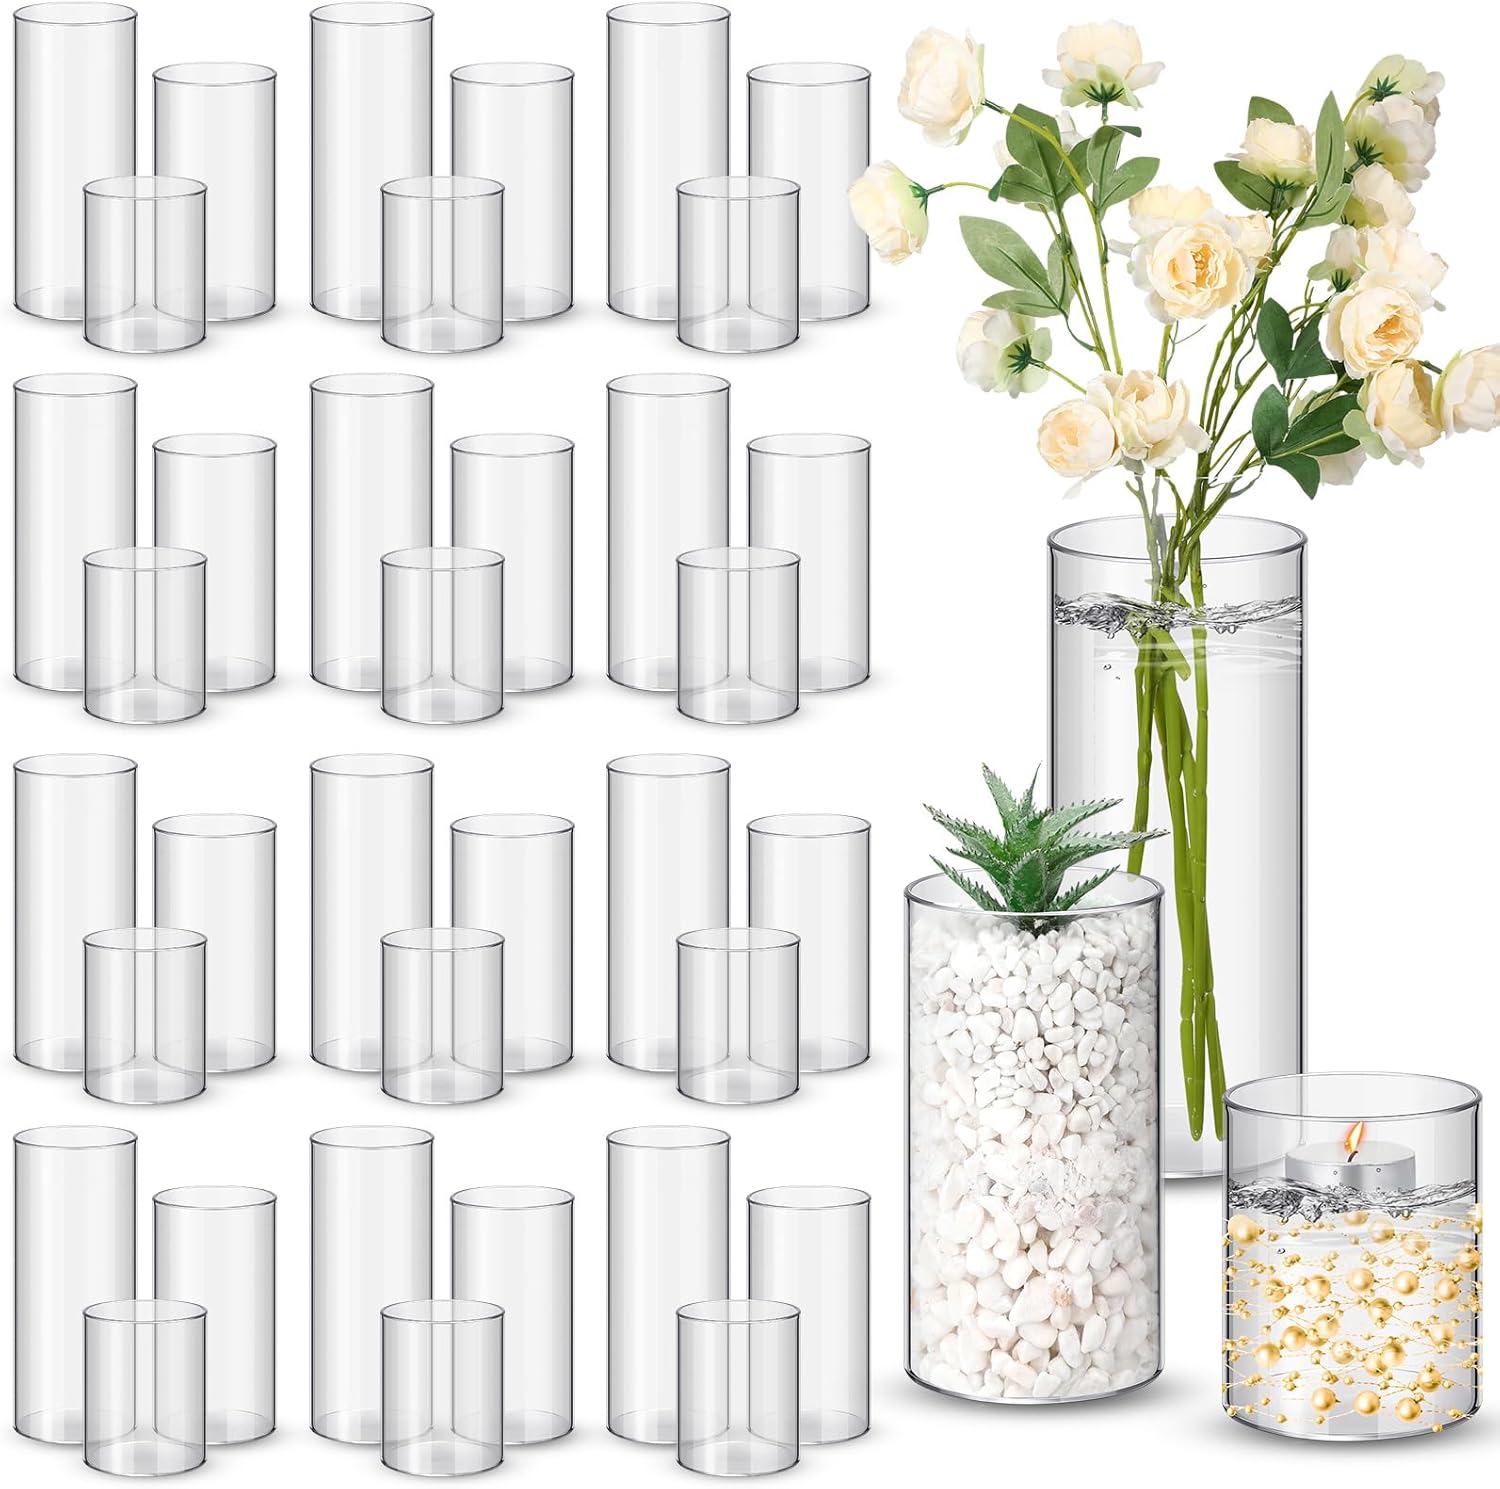
Once you have your vases, it’s time to fill them. If you’re doing a lot of tables, remember that you will need more filler than you think. Order in bulk whenever possible.
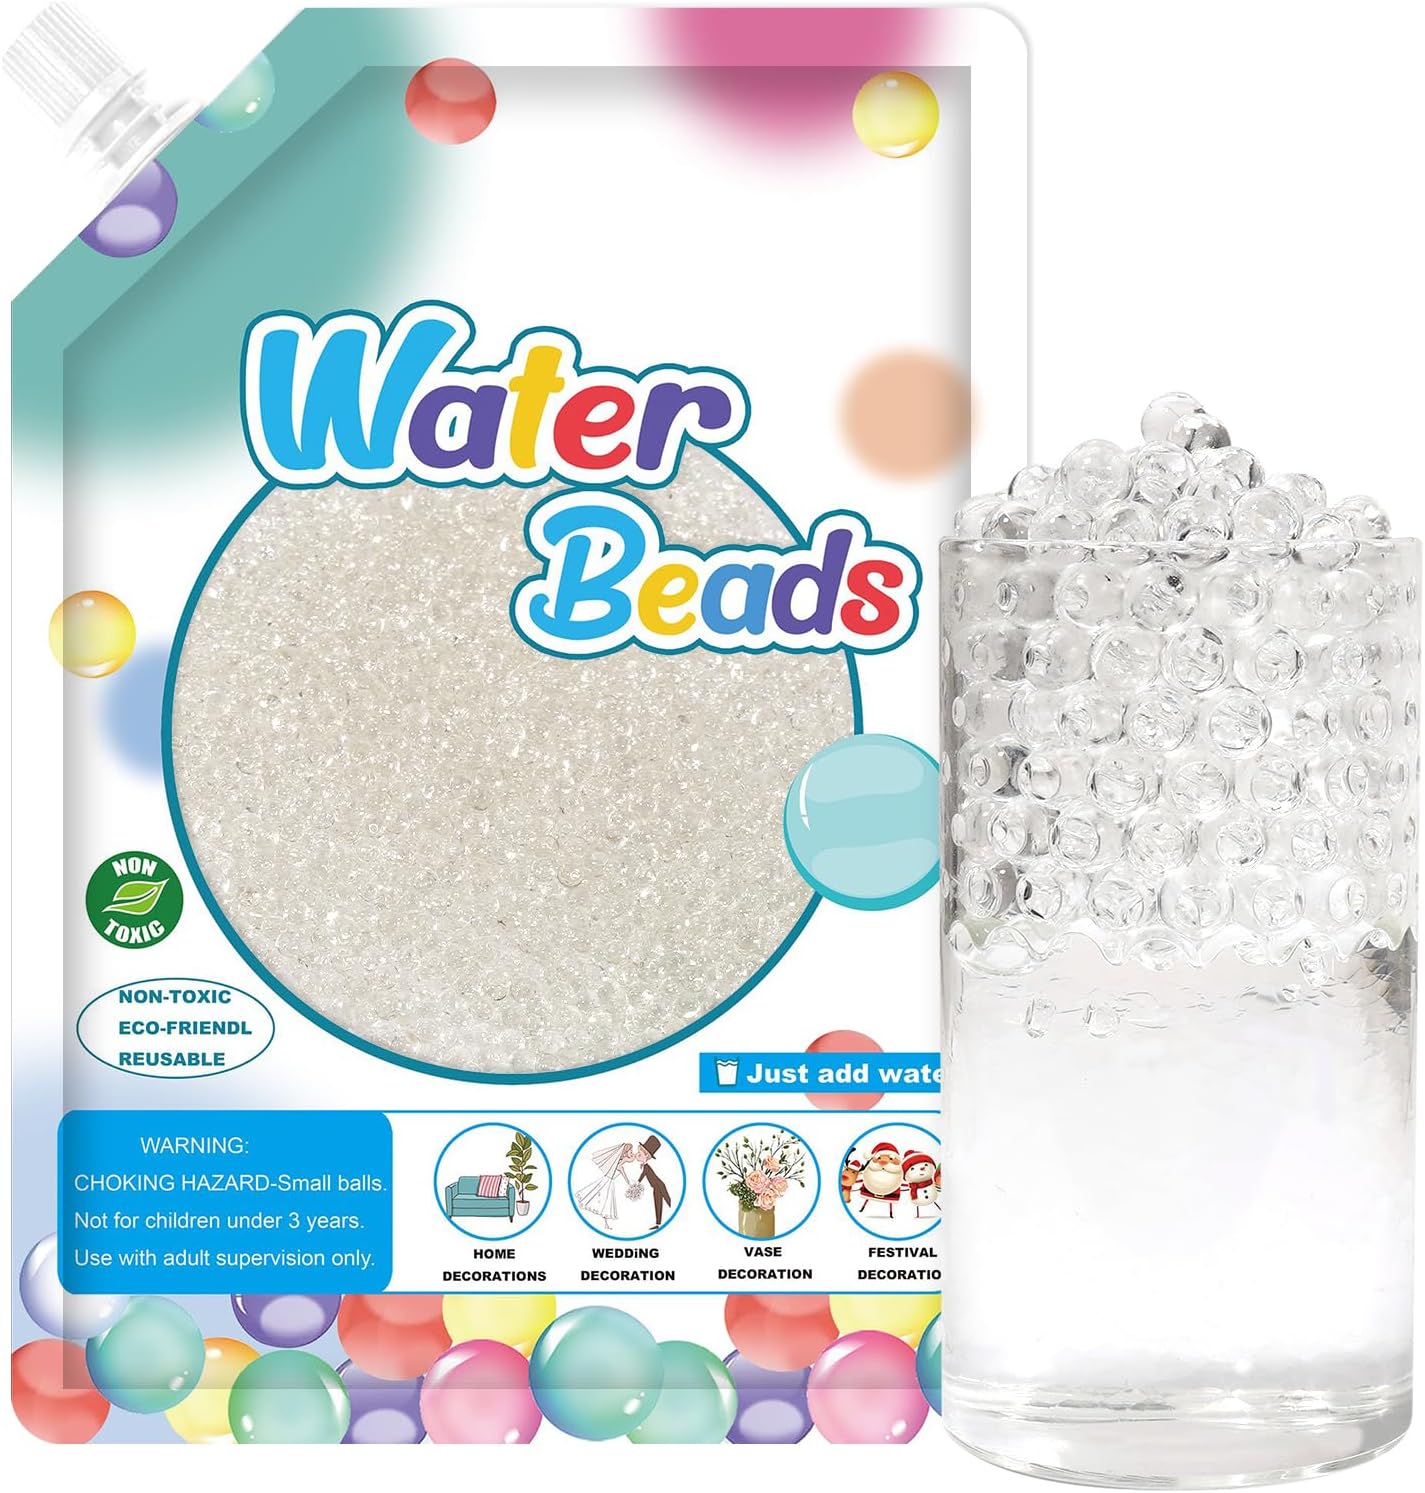
Water beads create that floating look inside a vase. Leave yourself plenty of time for them to fully expand. If you can still see them individually, they need more water.
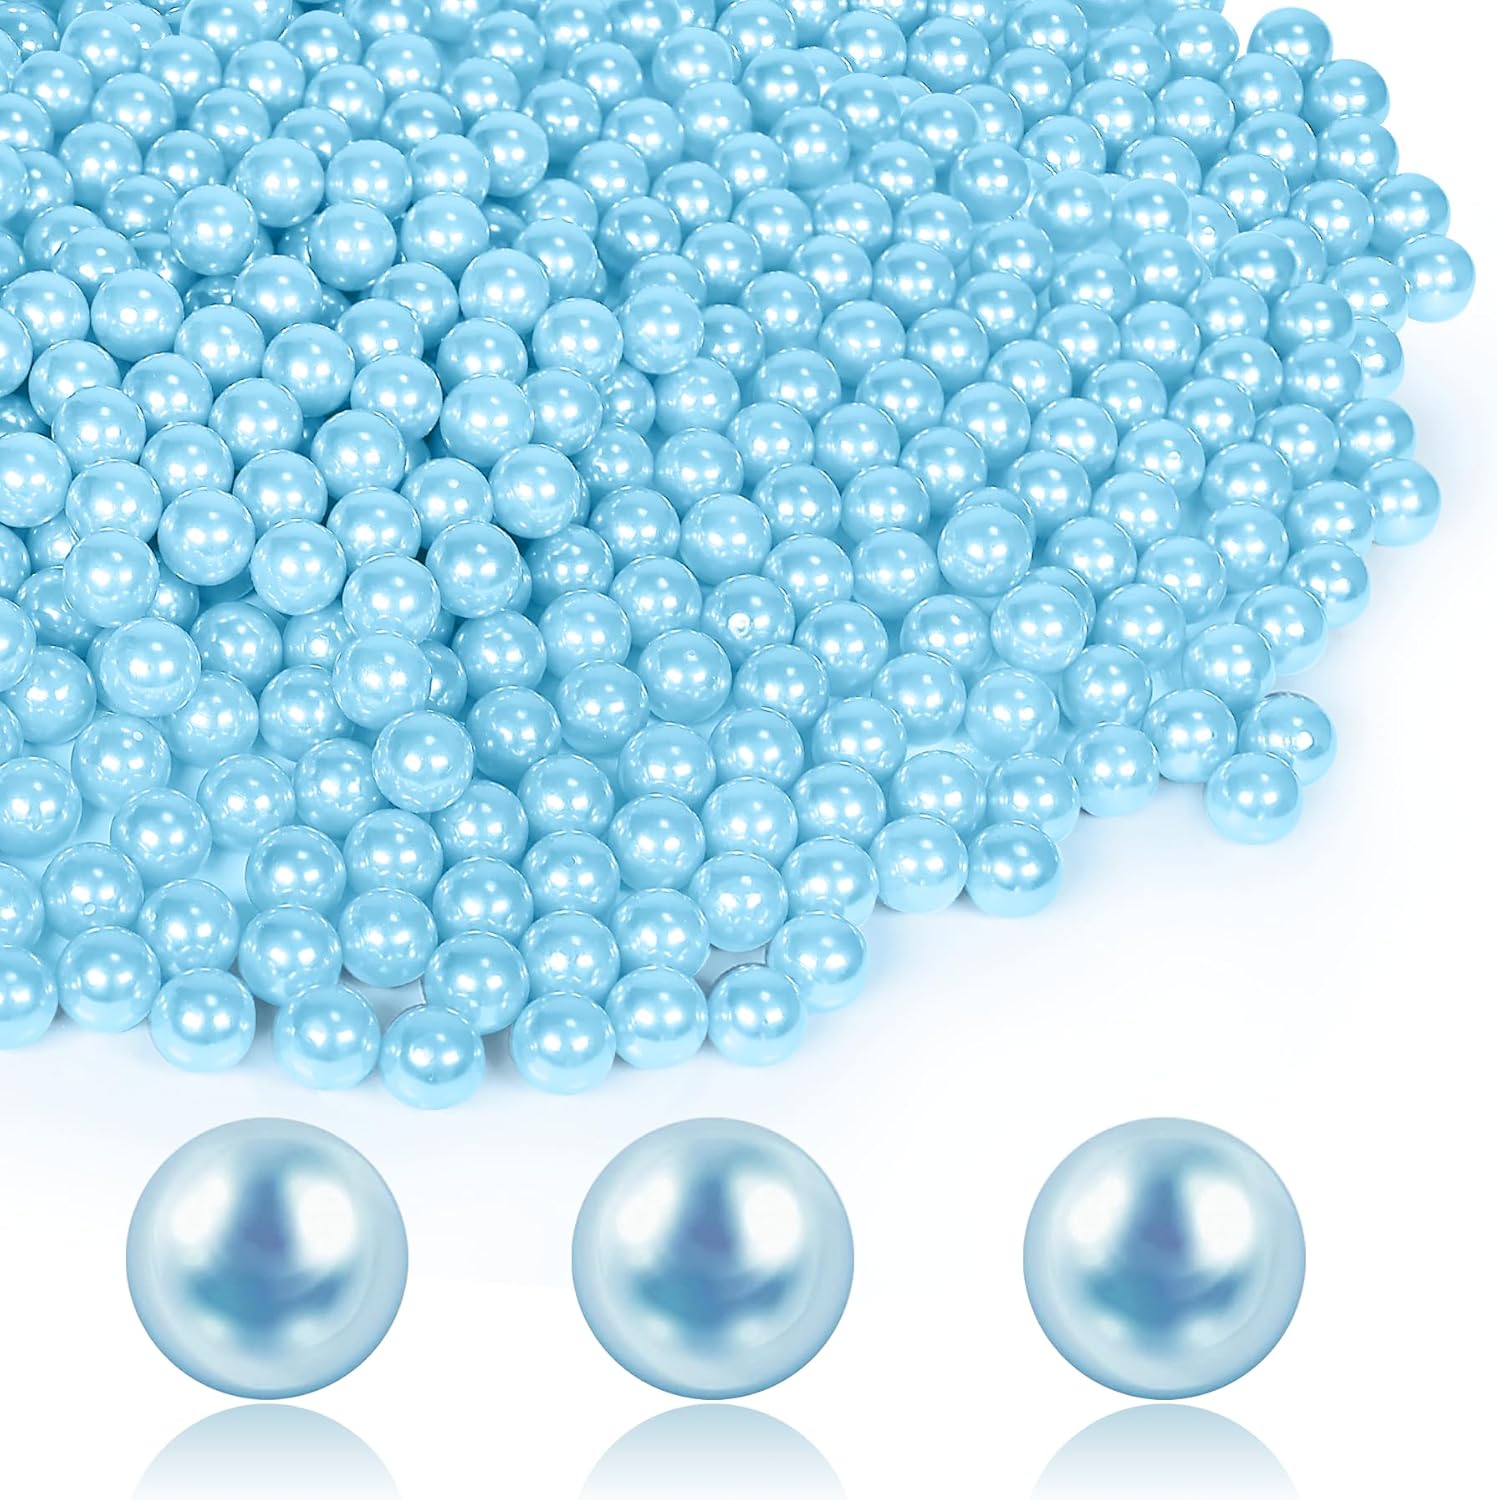
Colorful beads can sit at the bottom of the vase or float with water beads for added dimension and color.
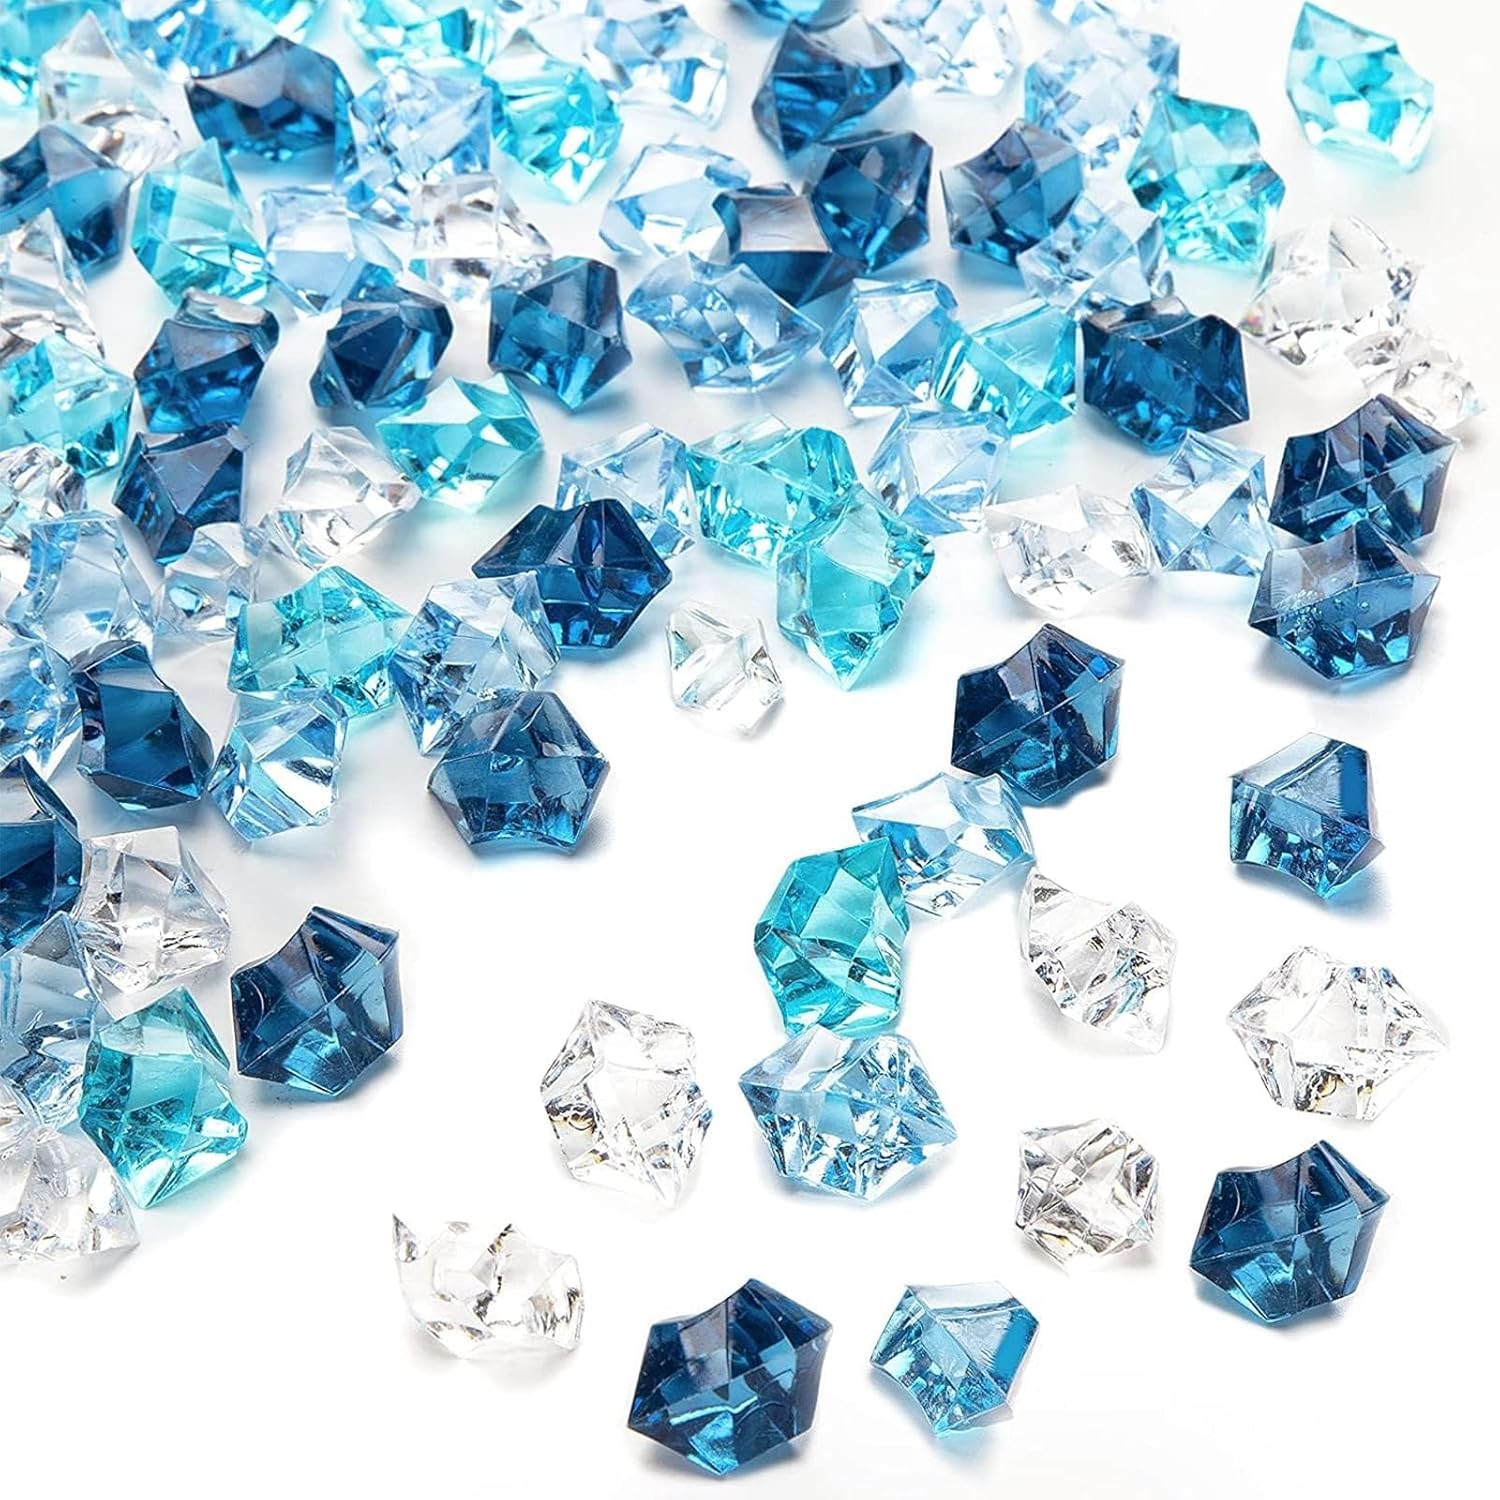
Plastic crystals come in many colors and are great for hiding battery packs from fairy lights inside the vase.
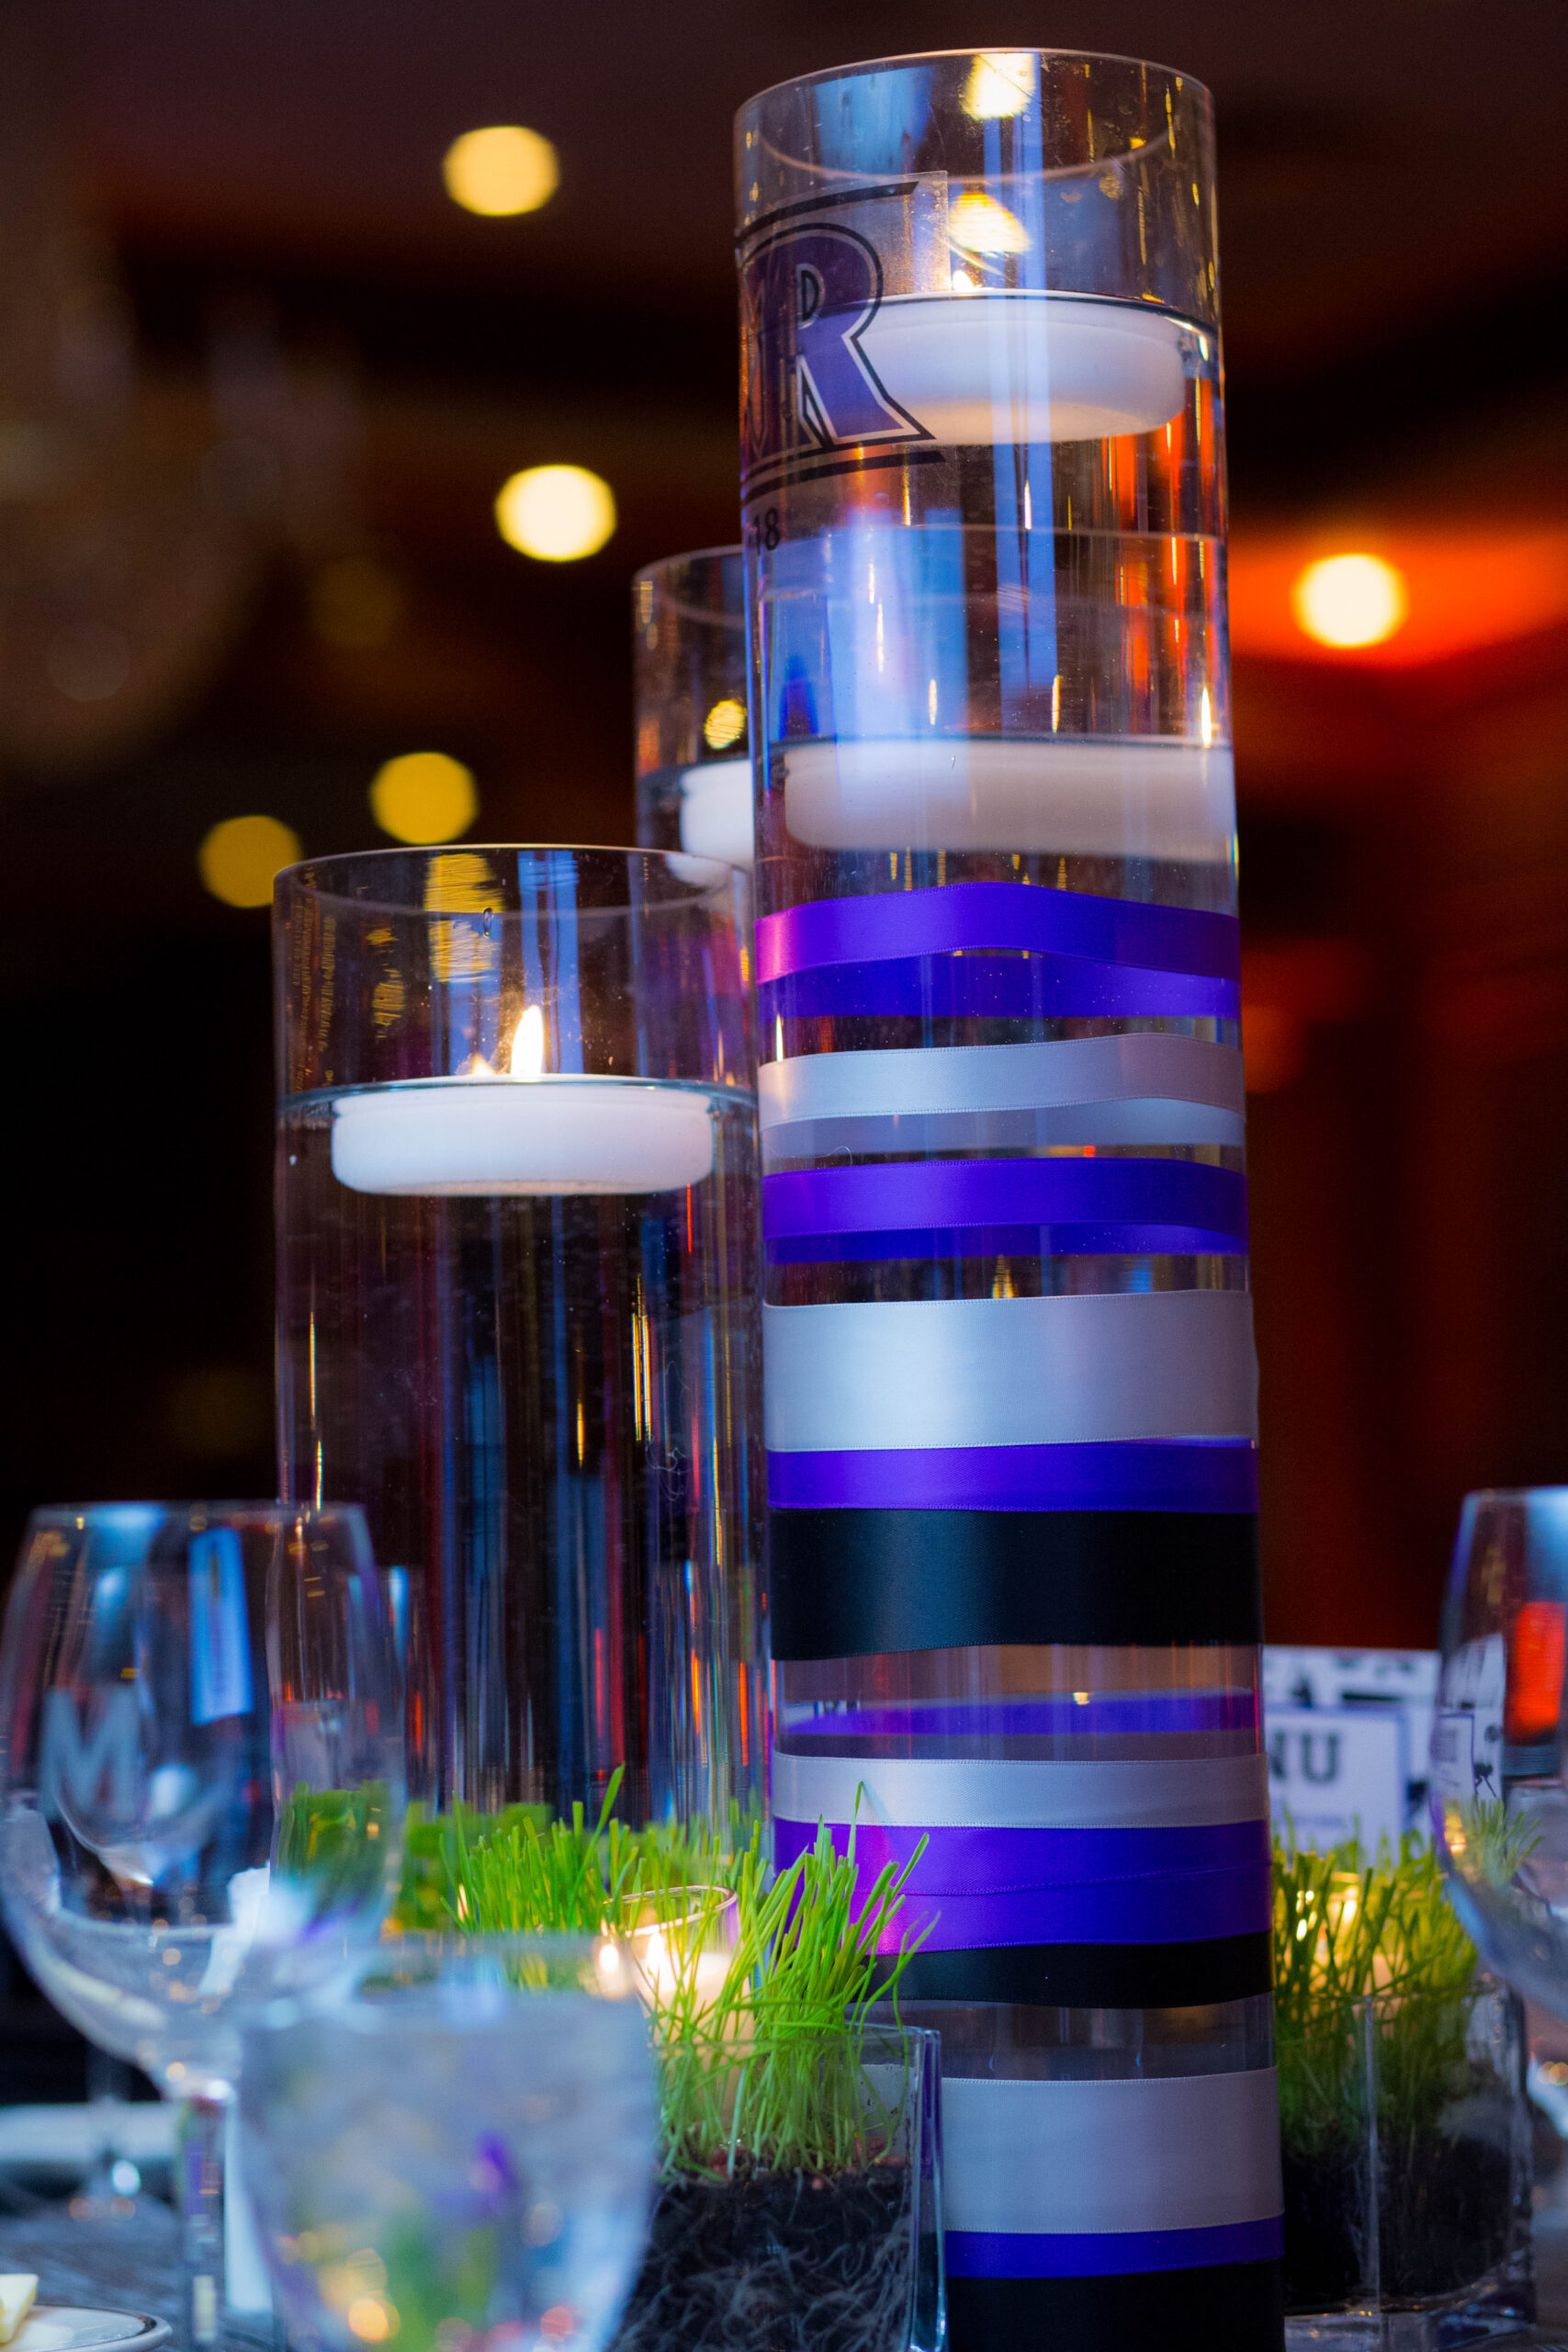
Wrap vases with ribbon in varying widths to bring in your colors and logo without spending much.
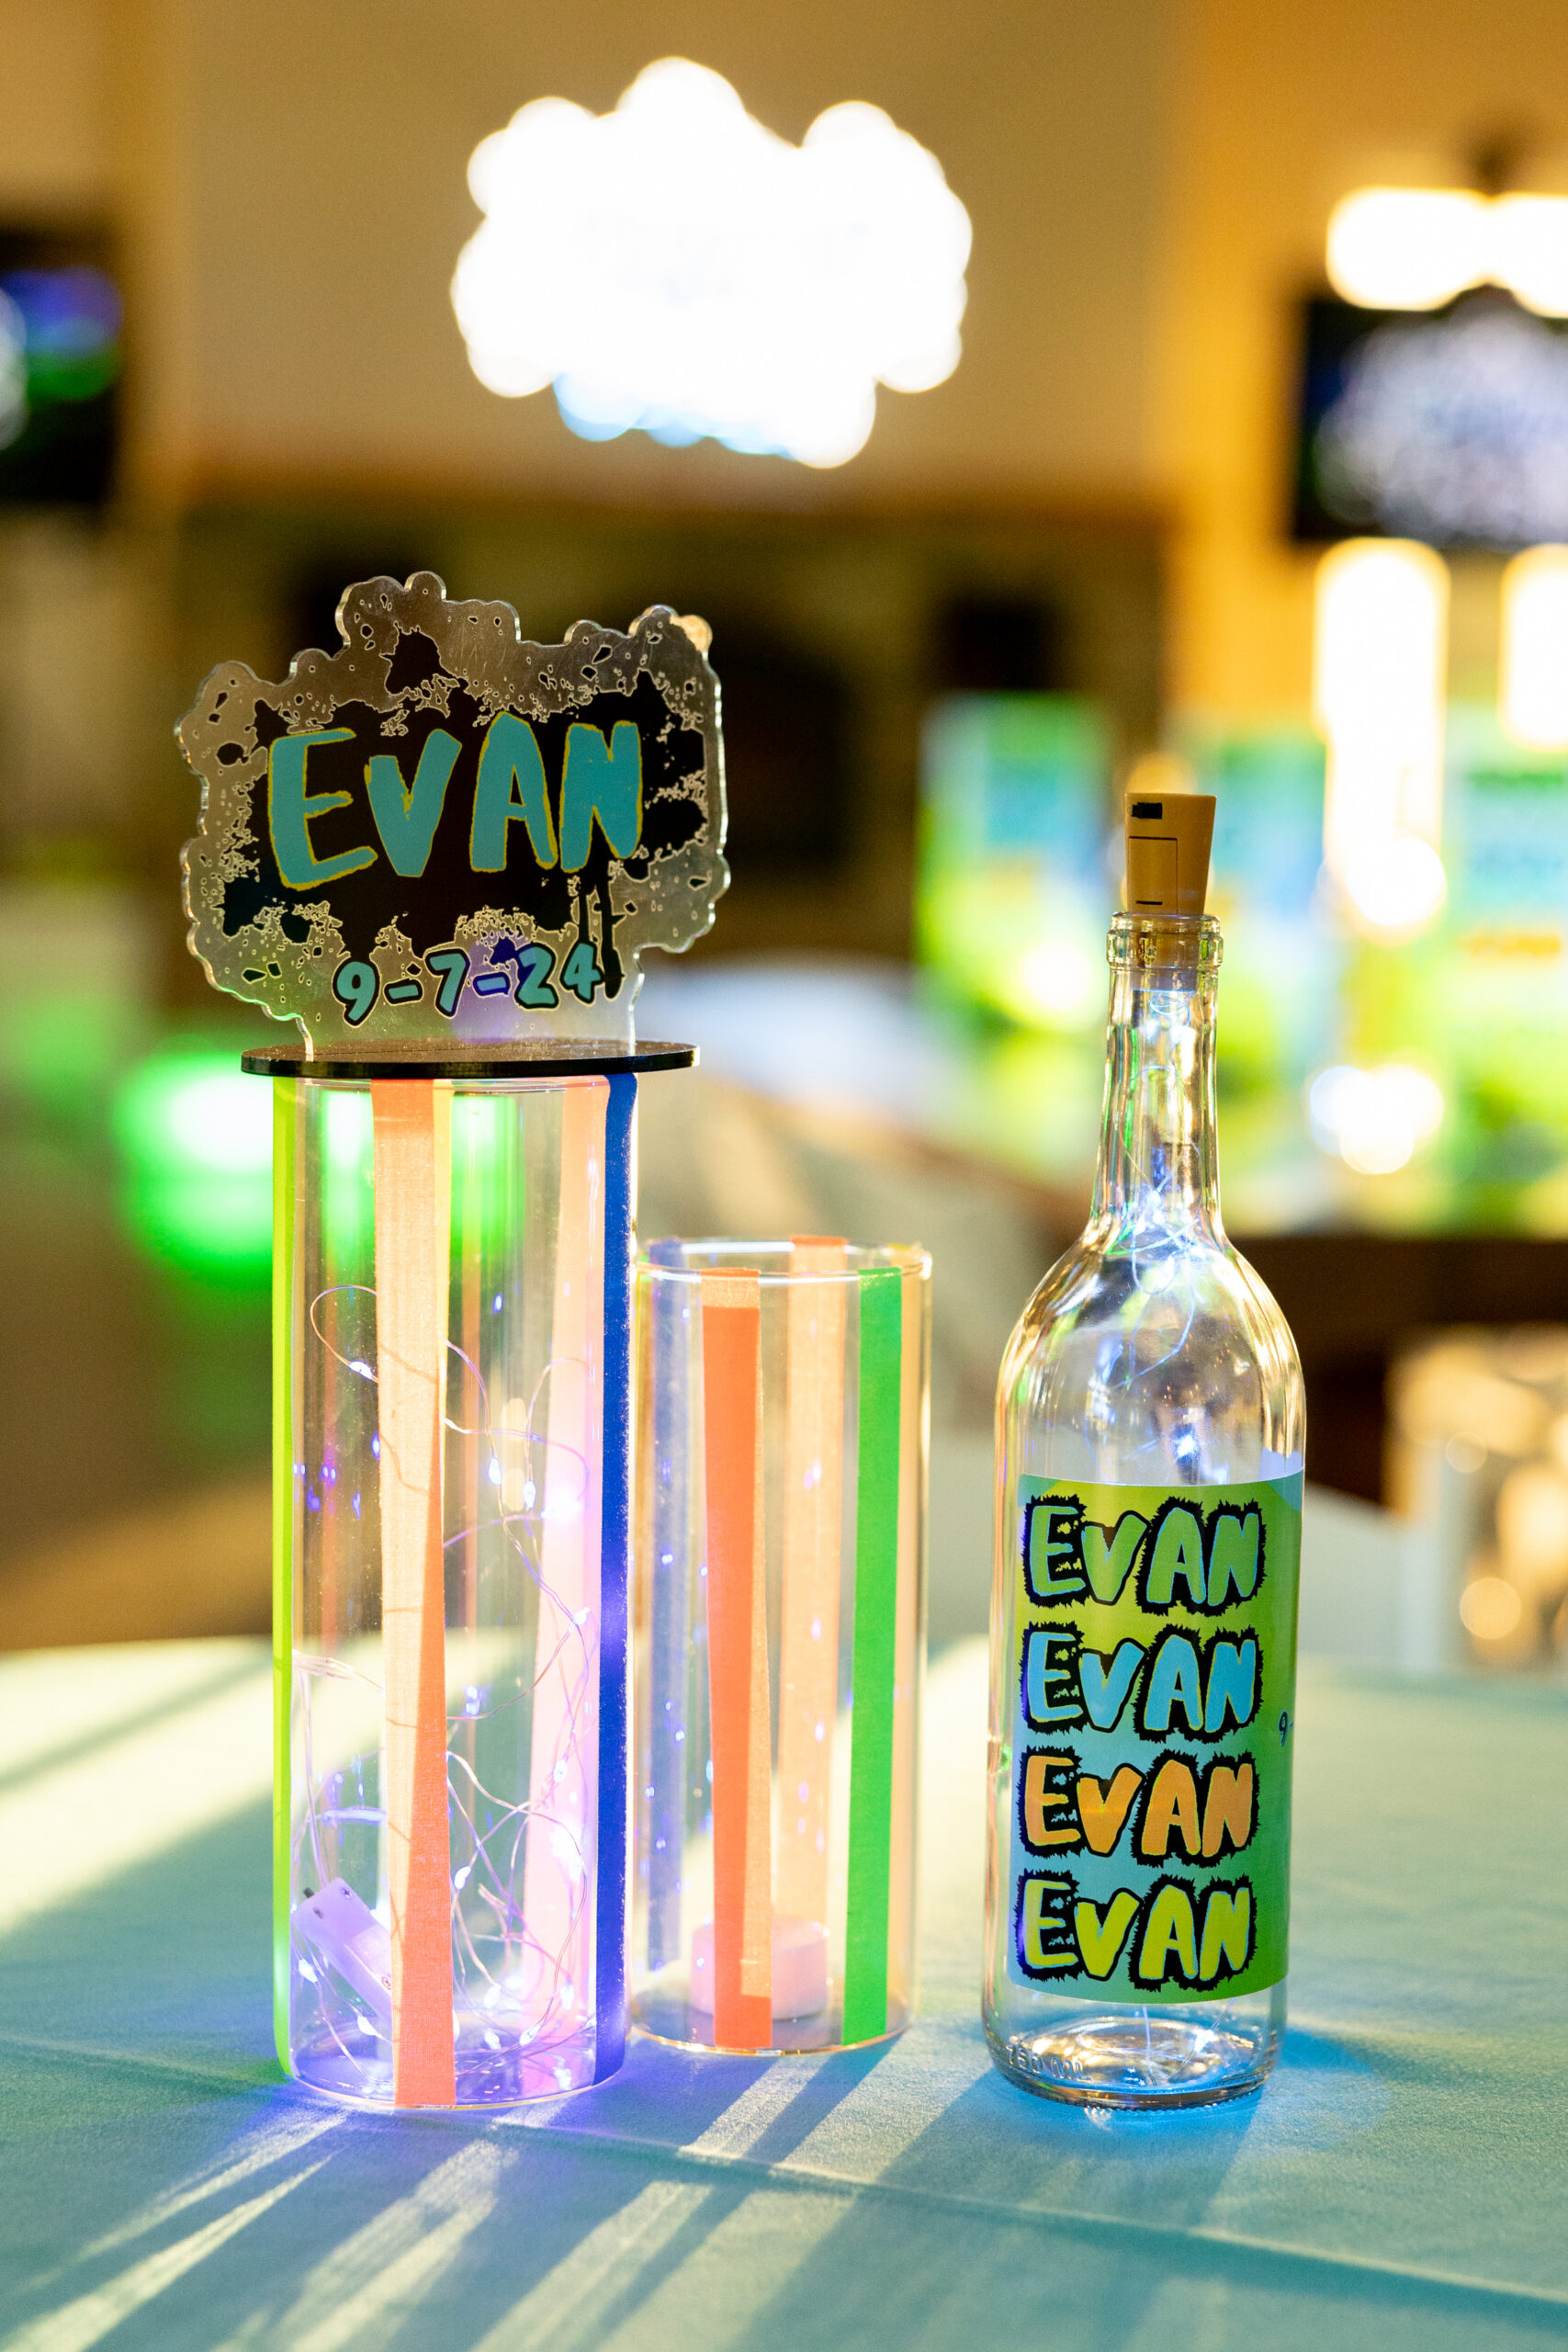
You can also use colored tape or custom logo stickers for a branded look that still feels polished.
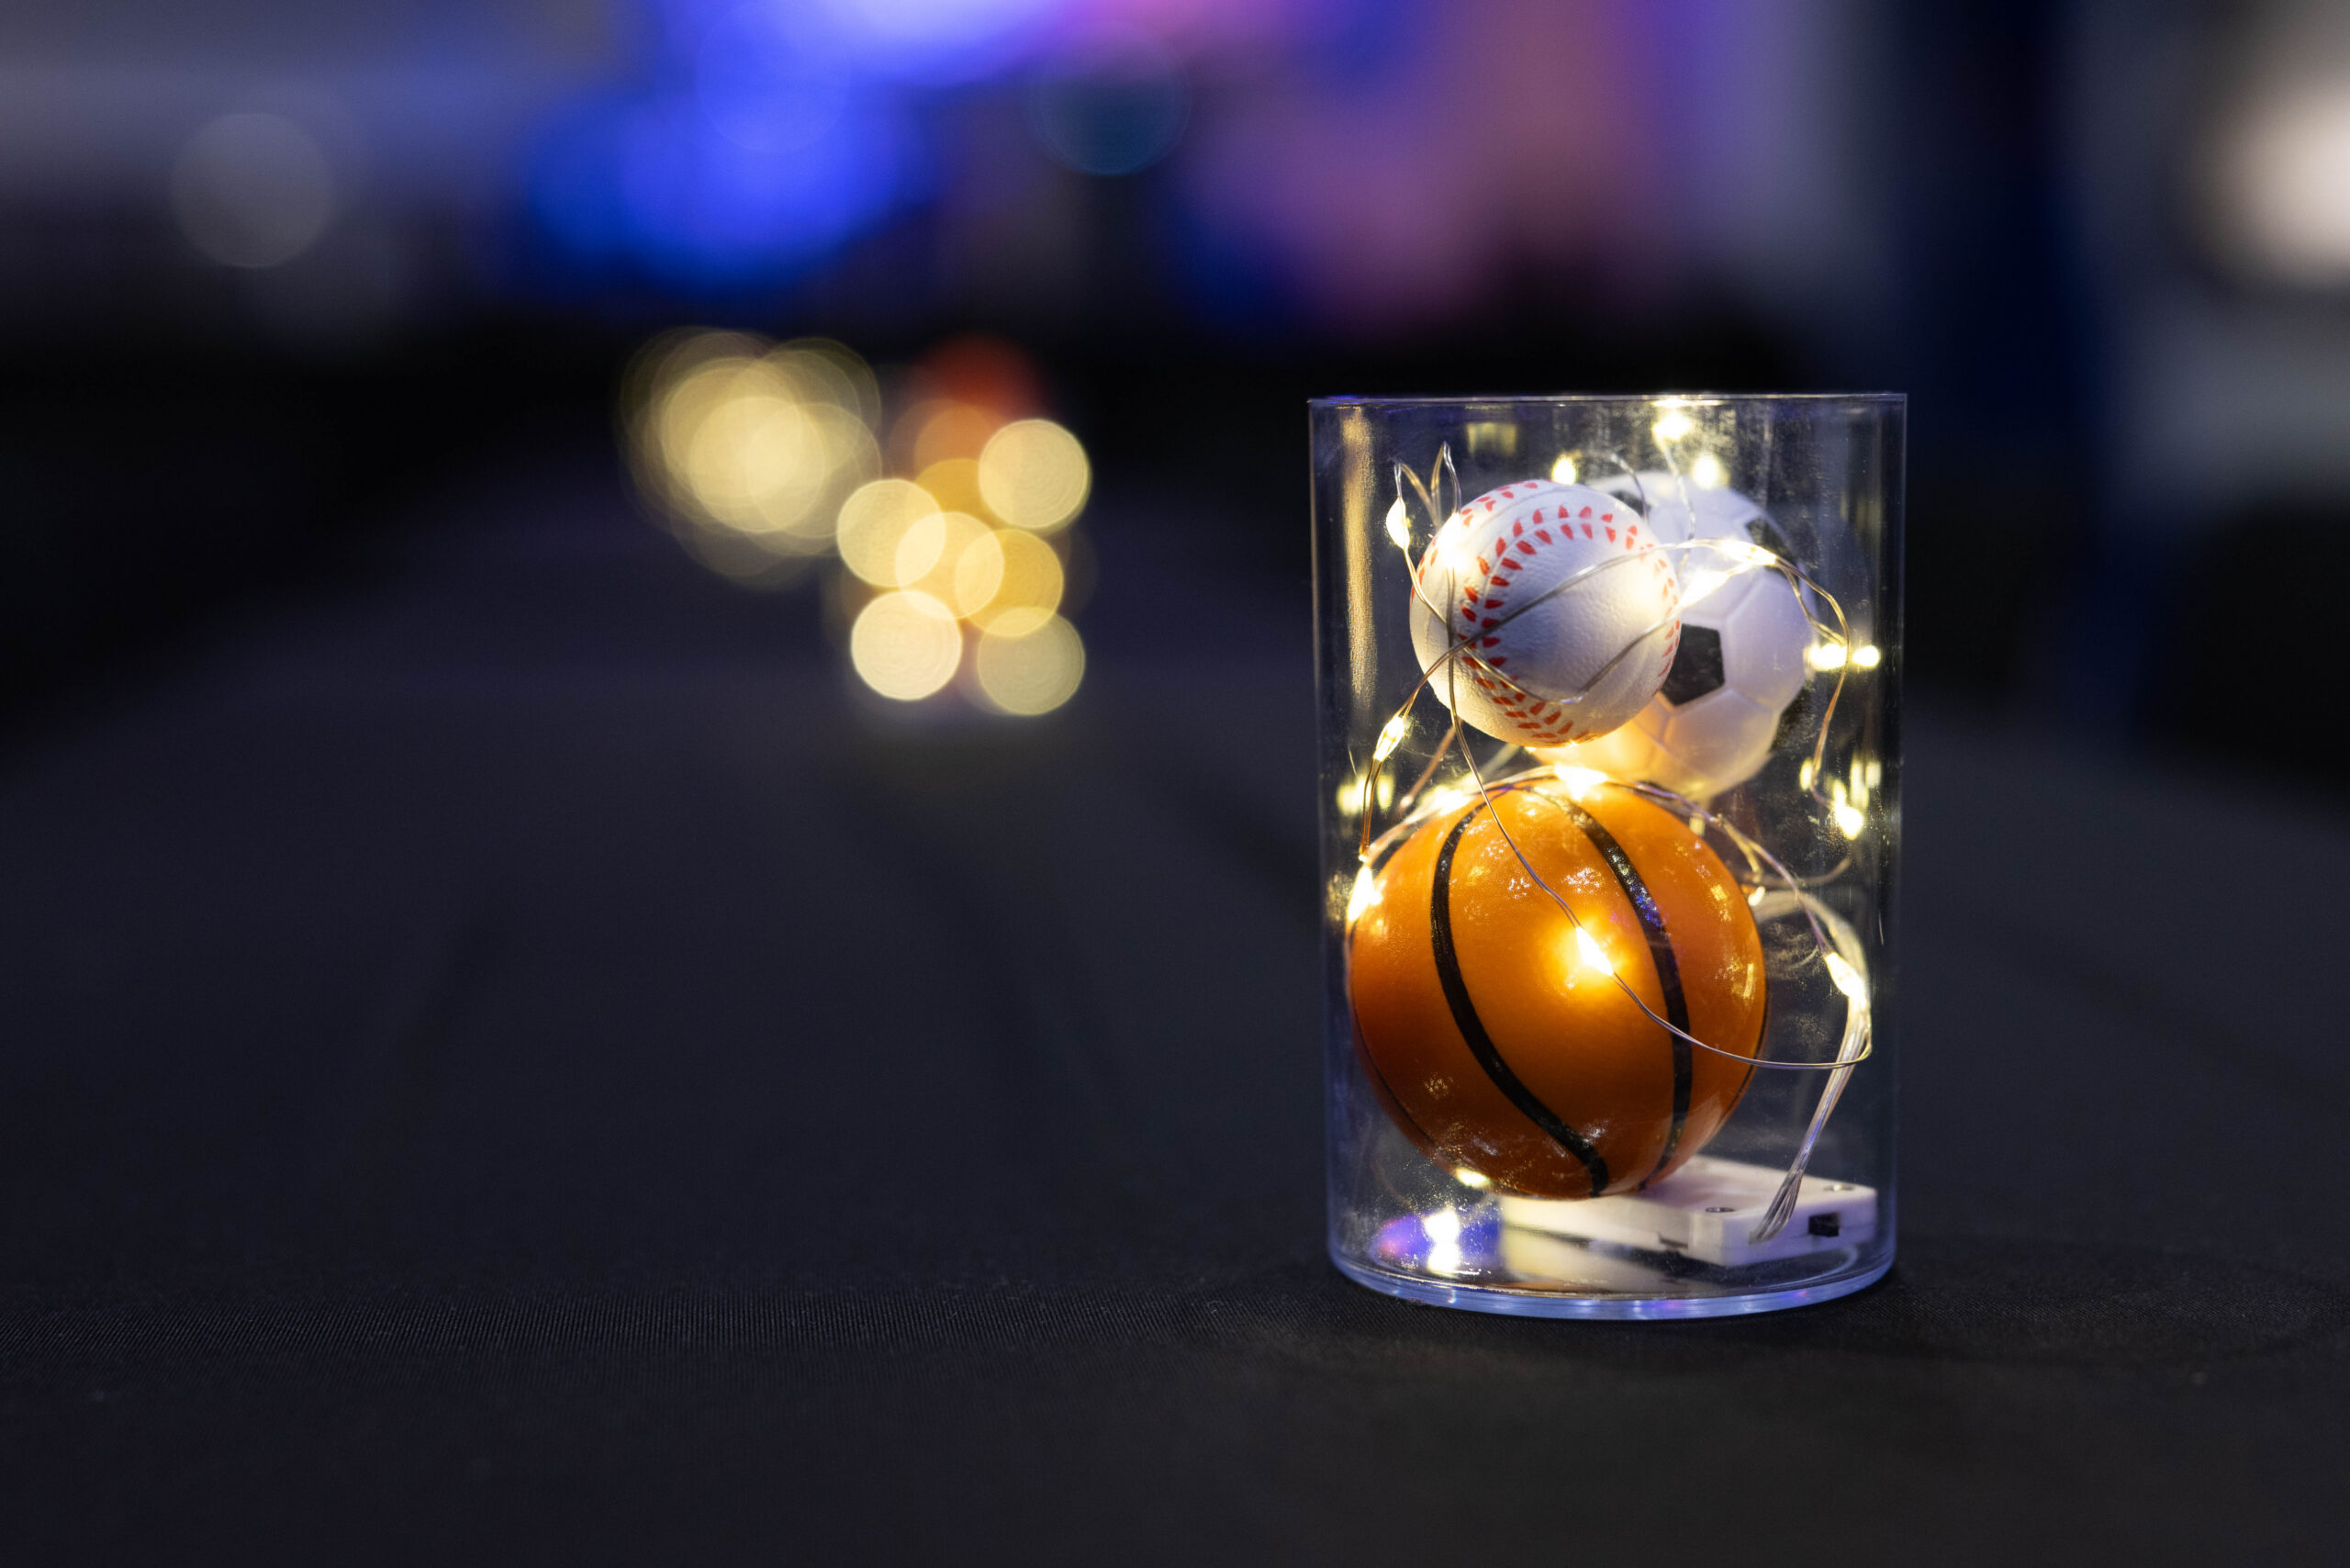
Mini sports balls are always popular for themed parties. Secure them together or cover the top so they stay part of the decor and not thrown on the dance floor.

Top your vase with a paper lantern, glowing orb, or light-up shape like a lightning bolt, heart, or star to bring height and personality to the table.
Add Lighting to Your DIY Centerpieces
Lighting instantly elevates even the simplest centerpiece. Once the room’s lights go down, a soft glow from the tables makes the room feel finished.
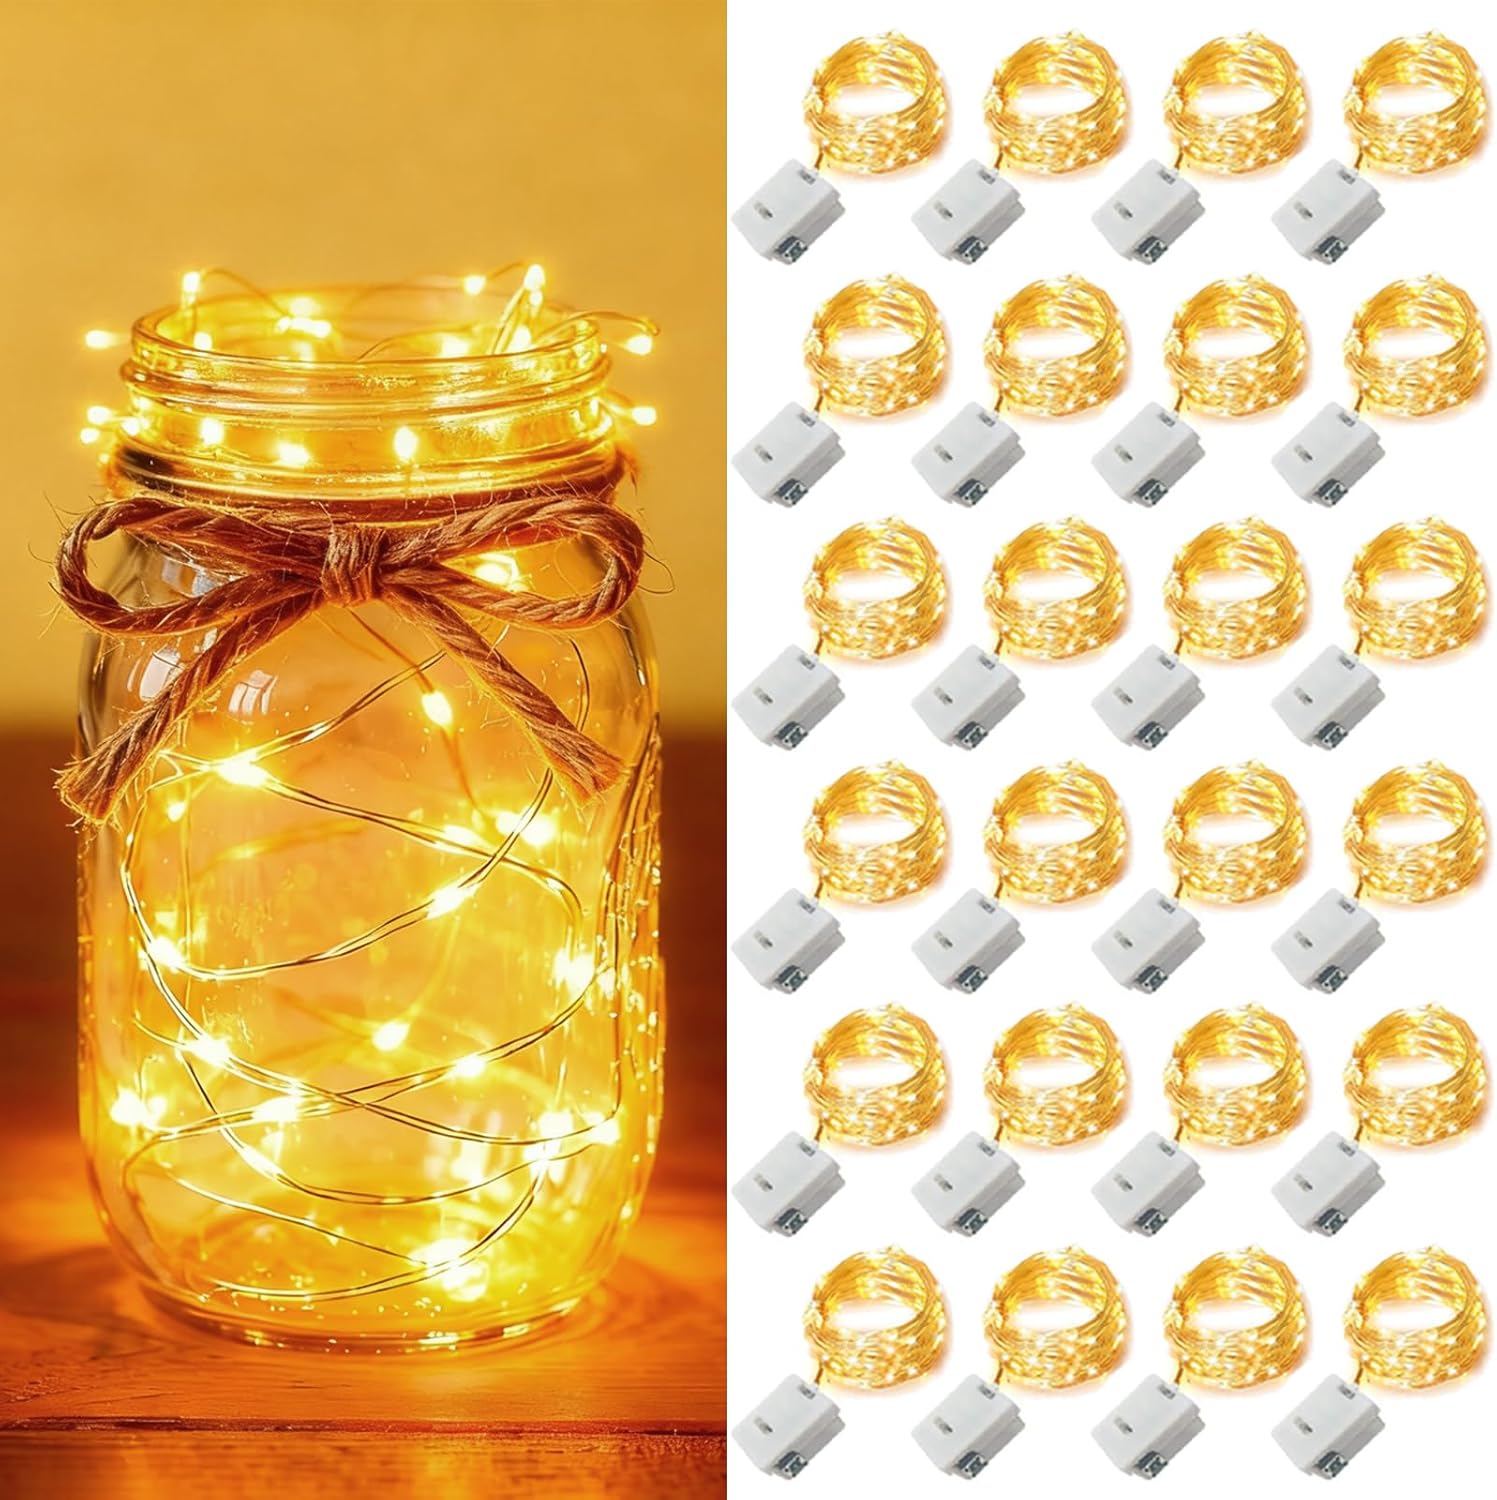
Fairy lights can go inside the vase, around it, or under filler for a soft glow.
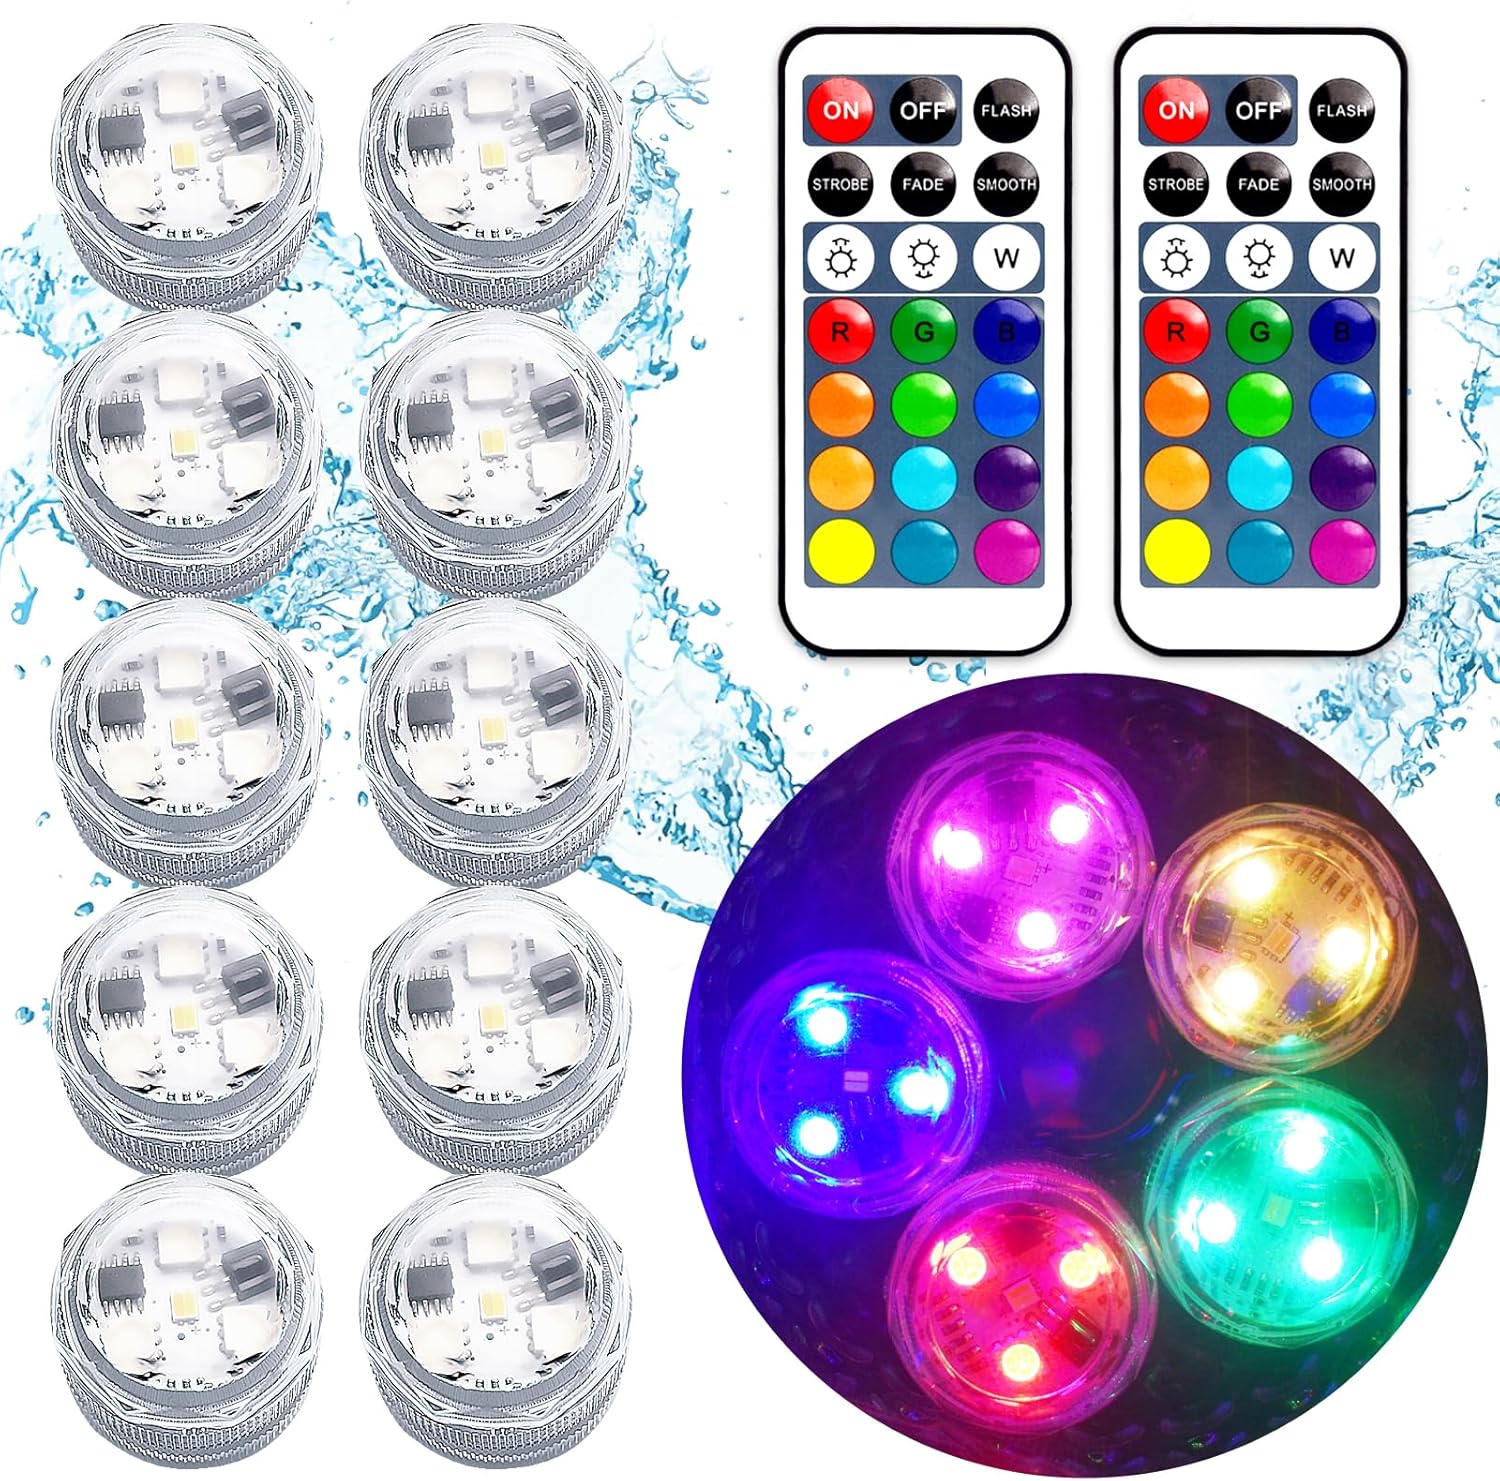
LED submersible lights are another easy option when you want light coming from inside the vase, especially when using water beads.
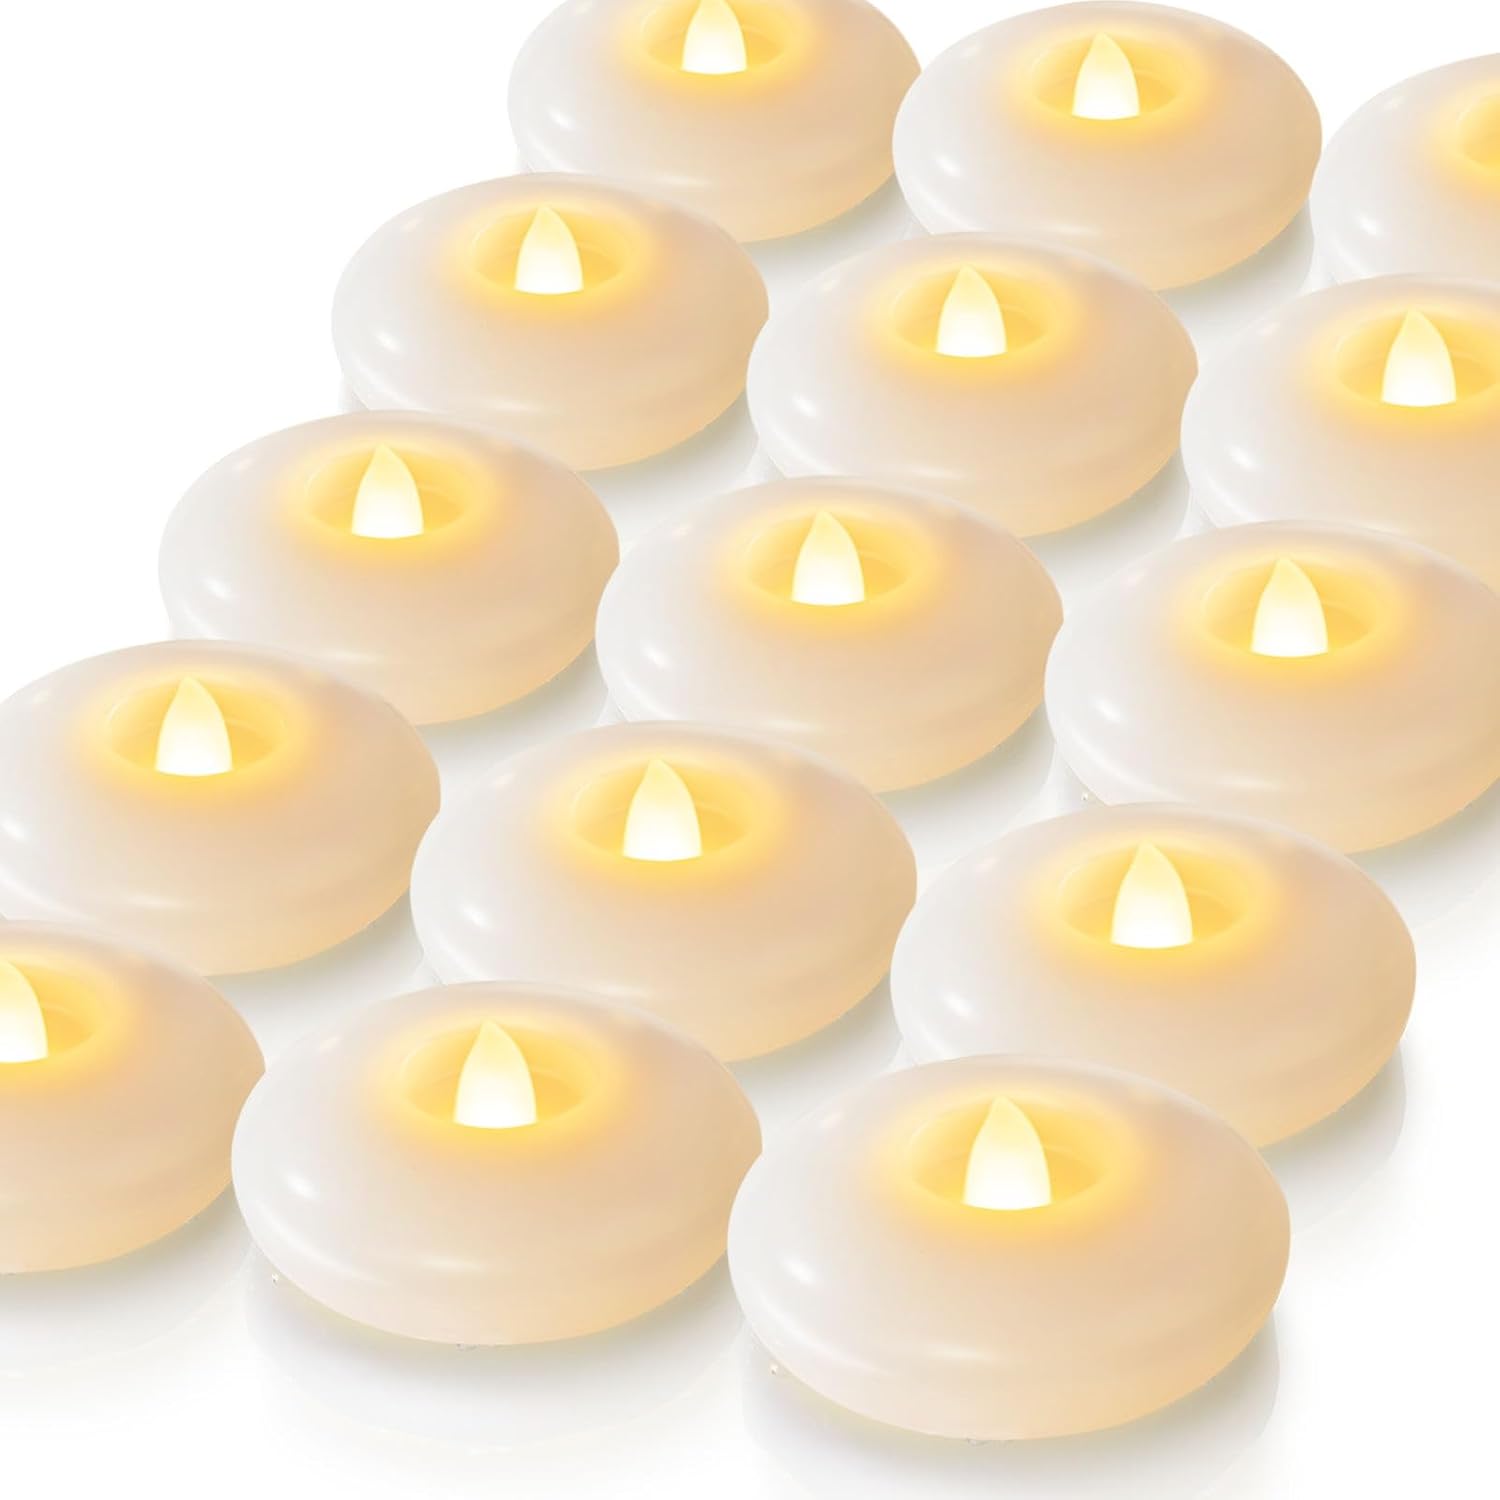
LED floating candles are great if you plan to reuse or resell your vases later.
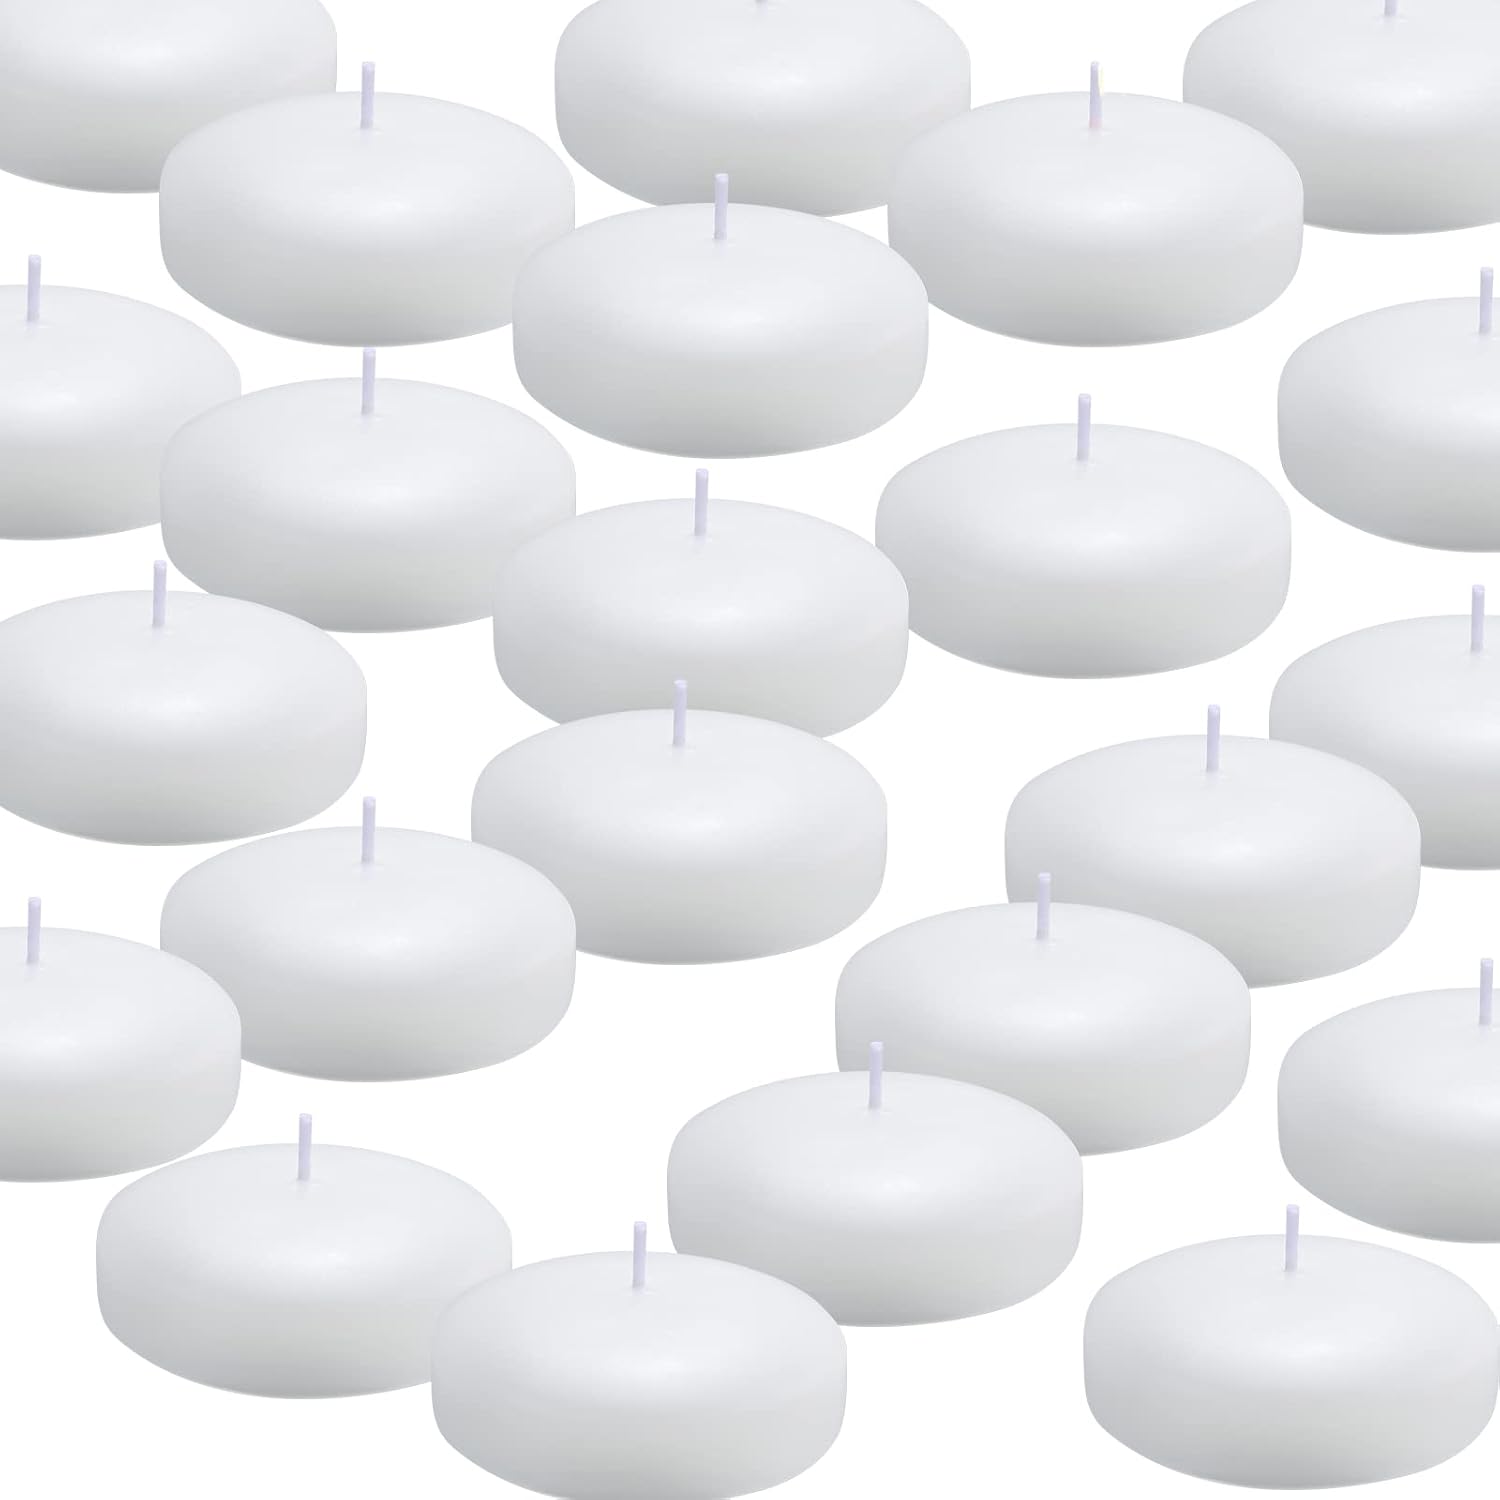
Floating candles add elegance but may leave wax behind, so keep that in mind if you want to repurpose or sell your vases after the event.
Don’t Forget the Finishing Touches!
Once your centerpieces are set, finish the table so it feels complete.
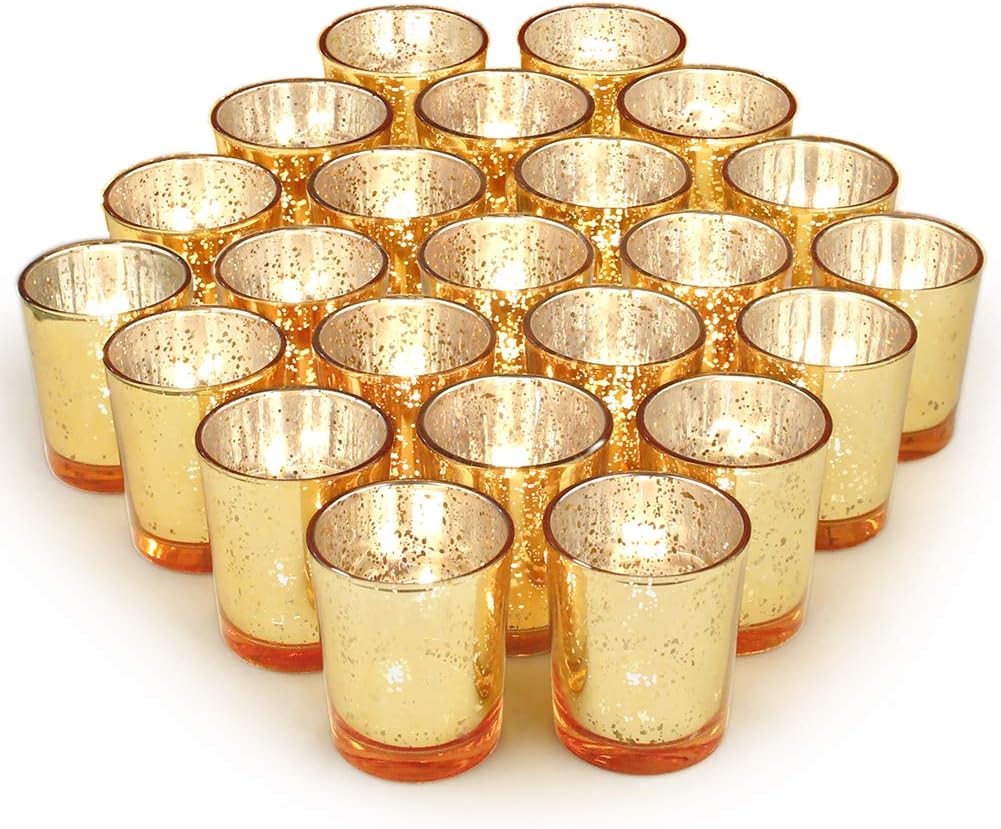
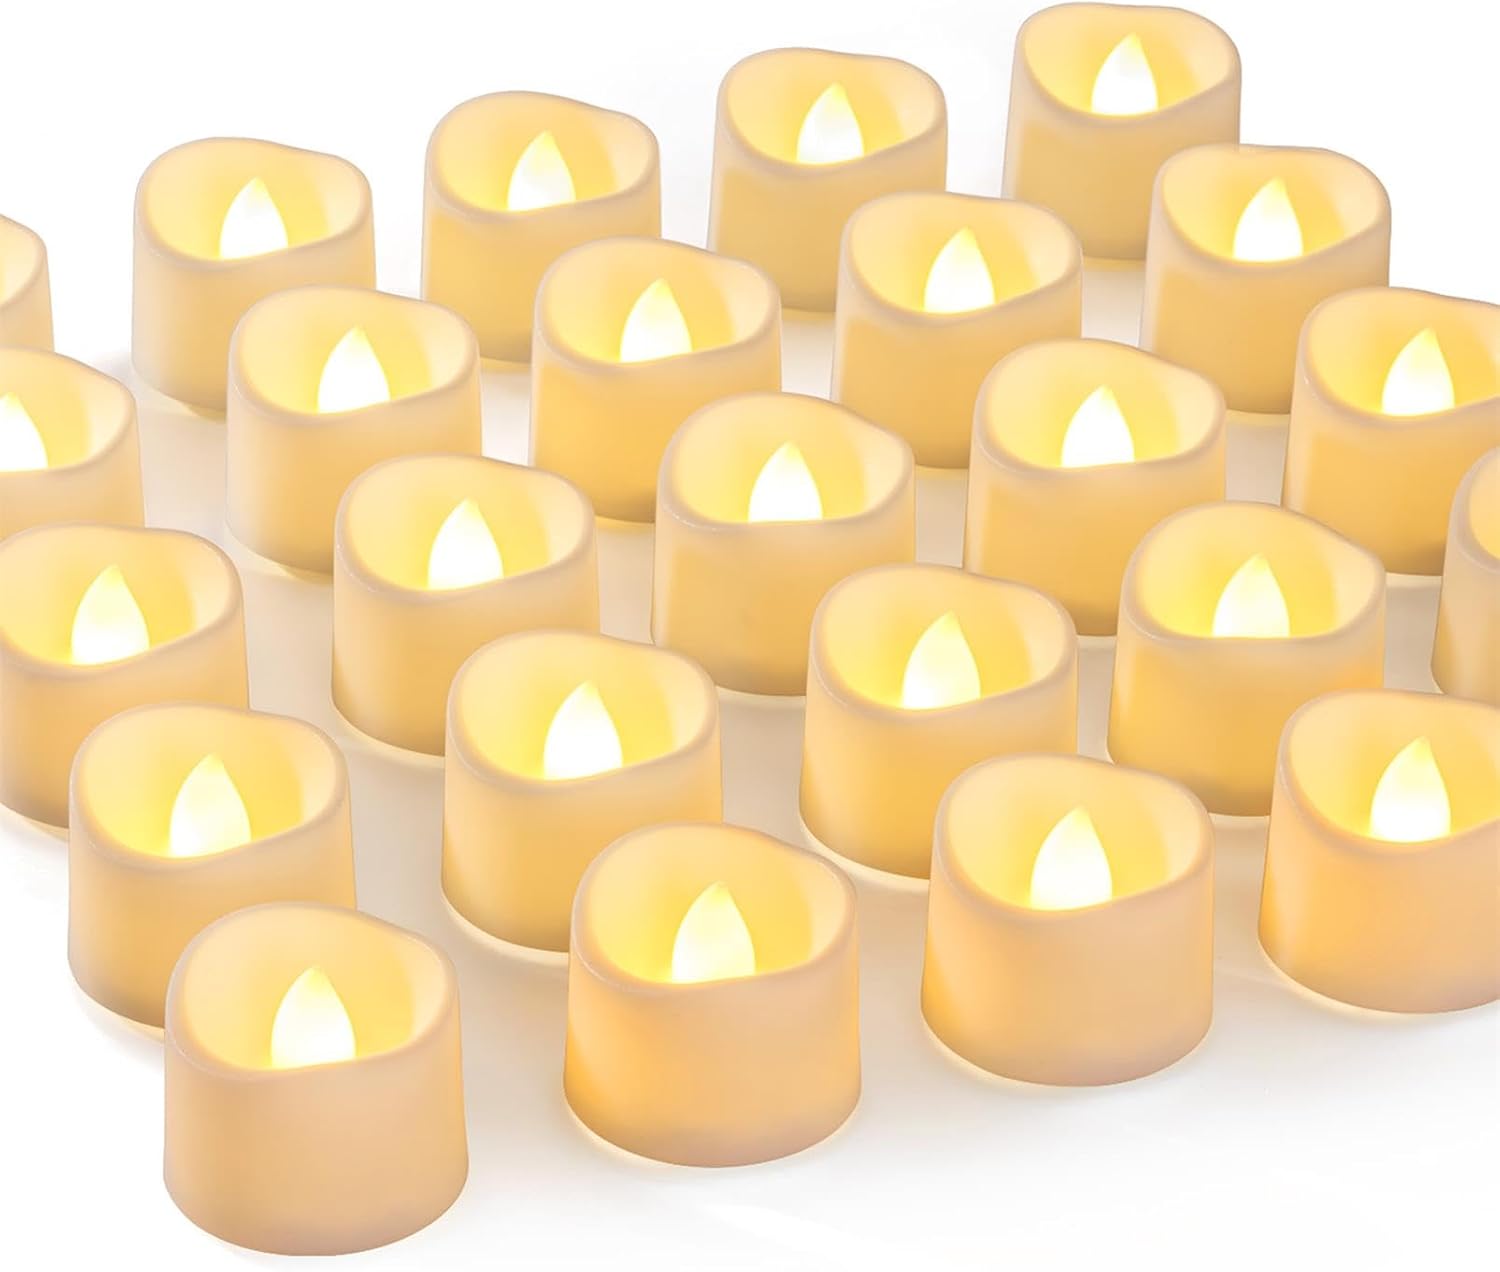
Gold or silver votive holders in groups of 3 or 5 with LED votive candles add warmth and help tie everything together. If you want items to remain reusable or sellable after your event, LED is the way to go. They also give you flexibility for both kid and adult tables. We do not recommend giving kids easy access to open flames. Many venues or caterers include votives in their rentals, so always ask before purchasing.
Avoid mirrors underneath your centerpieces. The look feels dated and often isn’t necessary. Use what your venue already has available whenever possible.
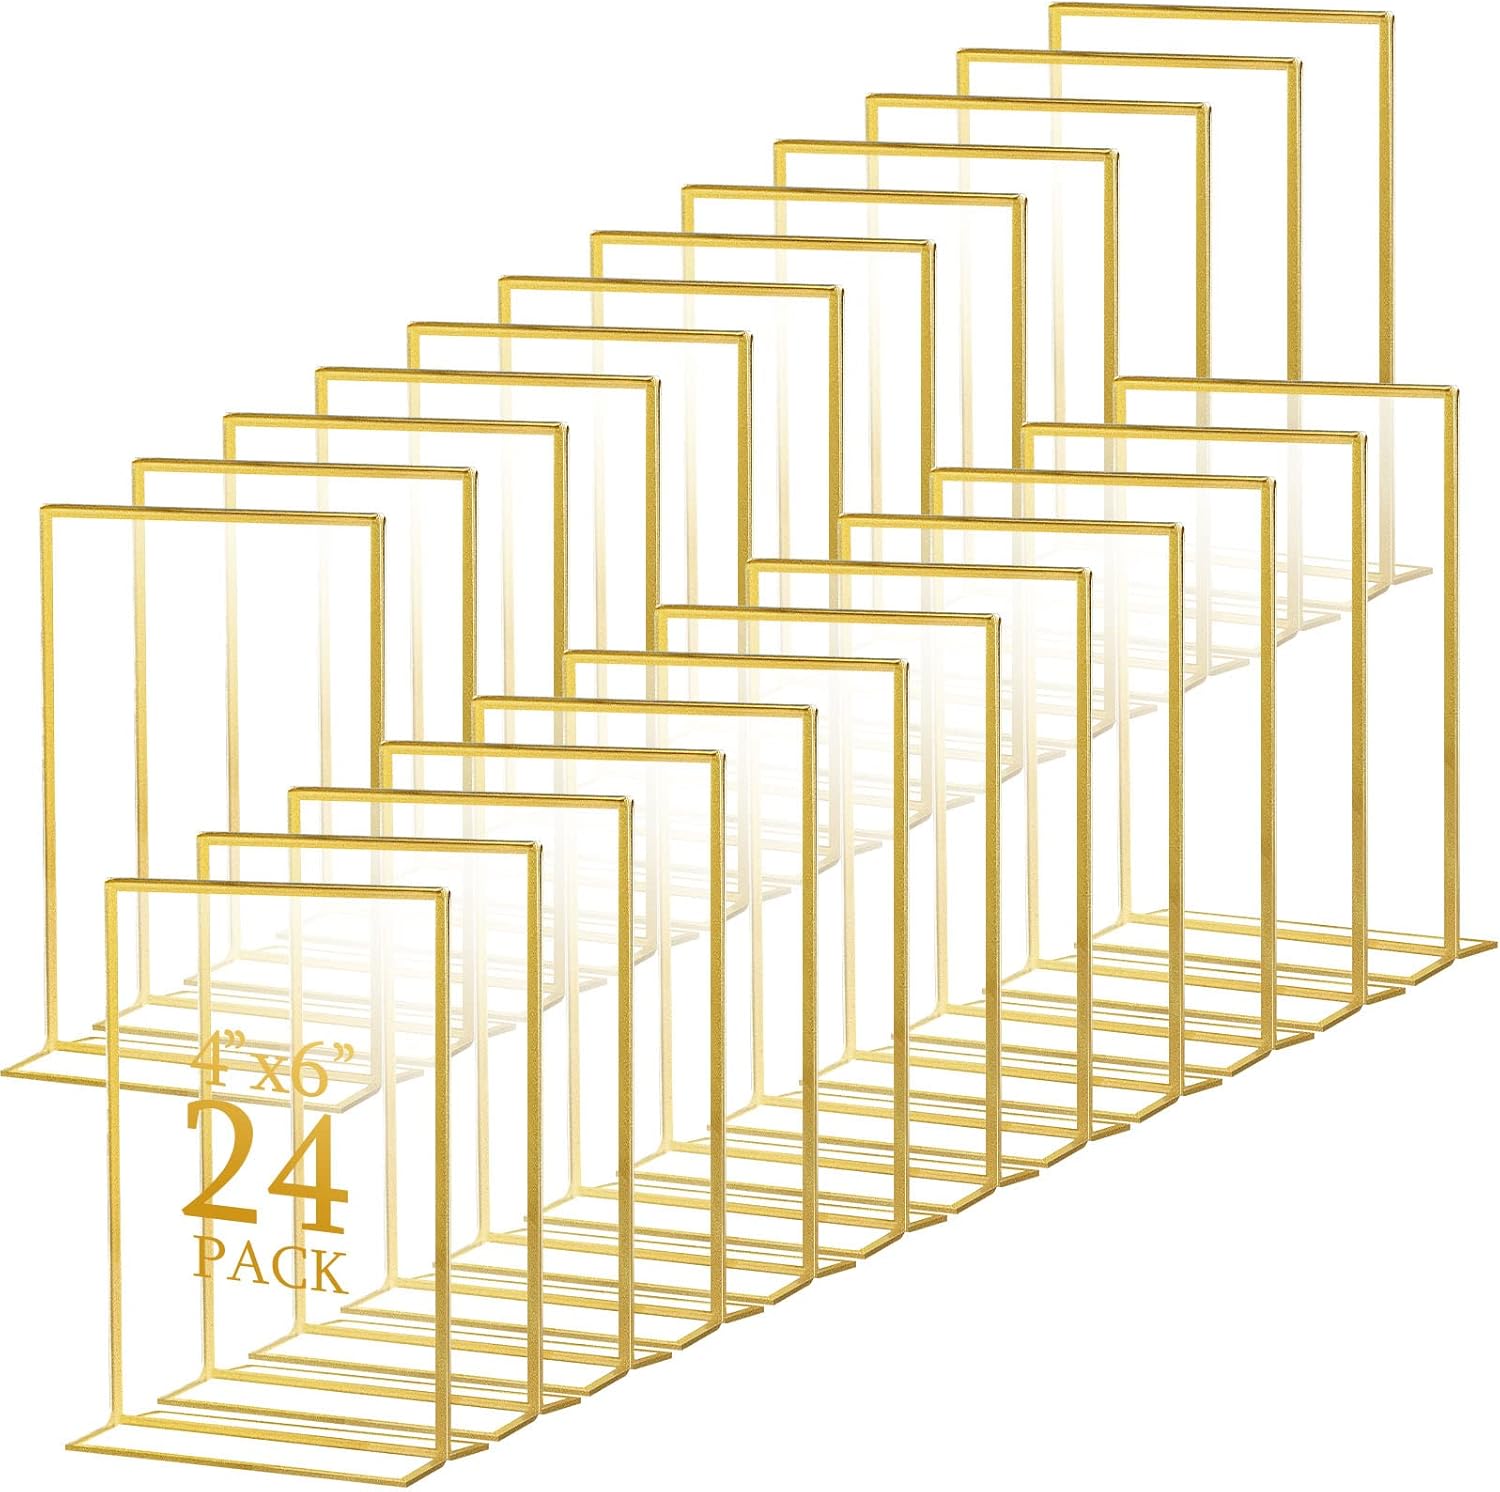
Add a picture frame with a table number that matches your logo,
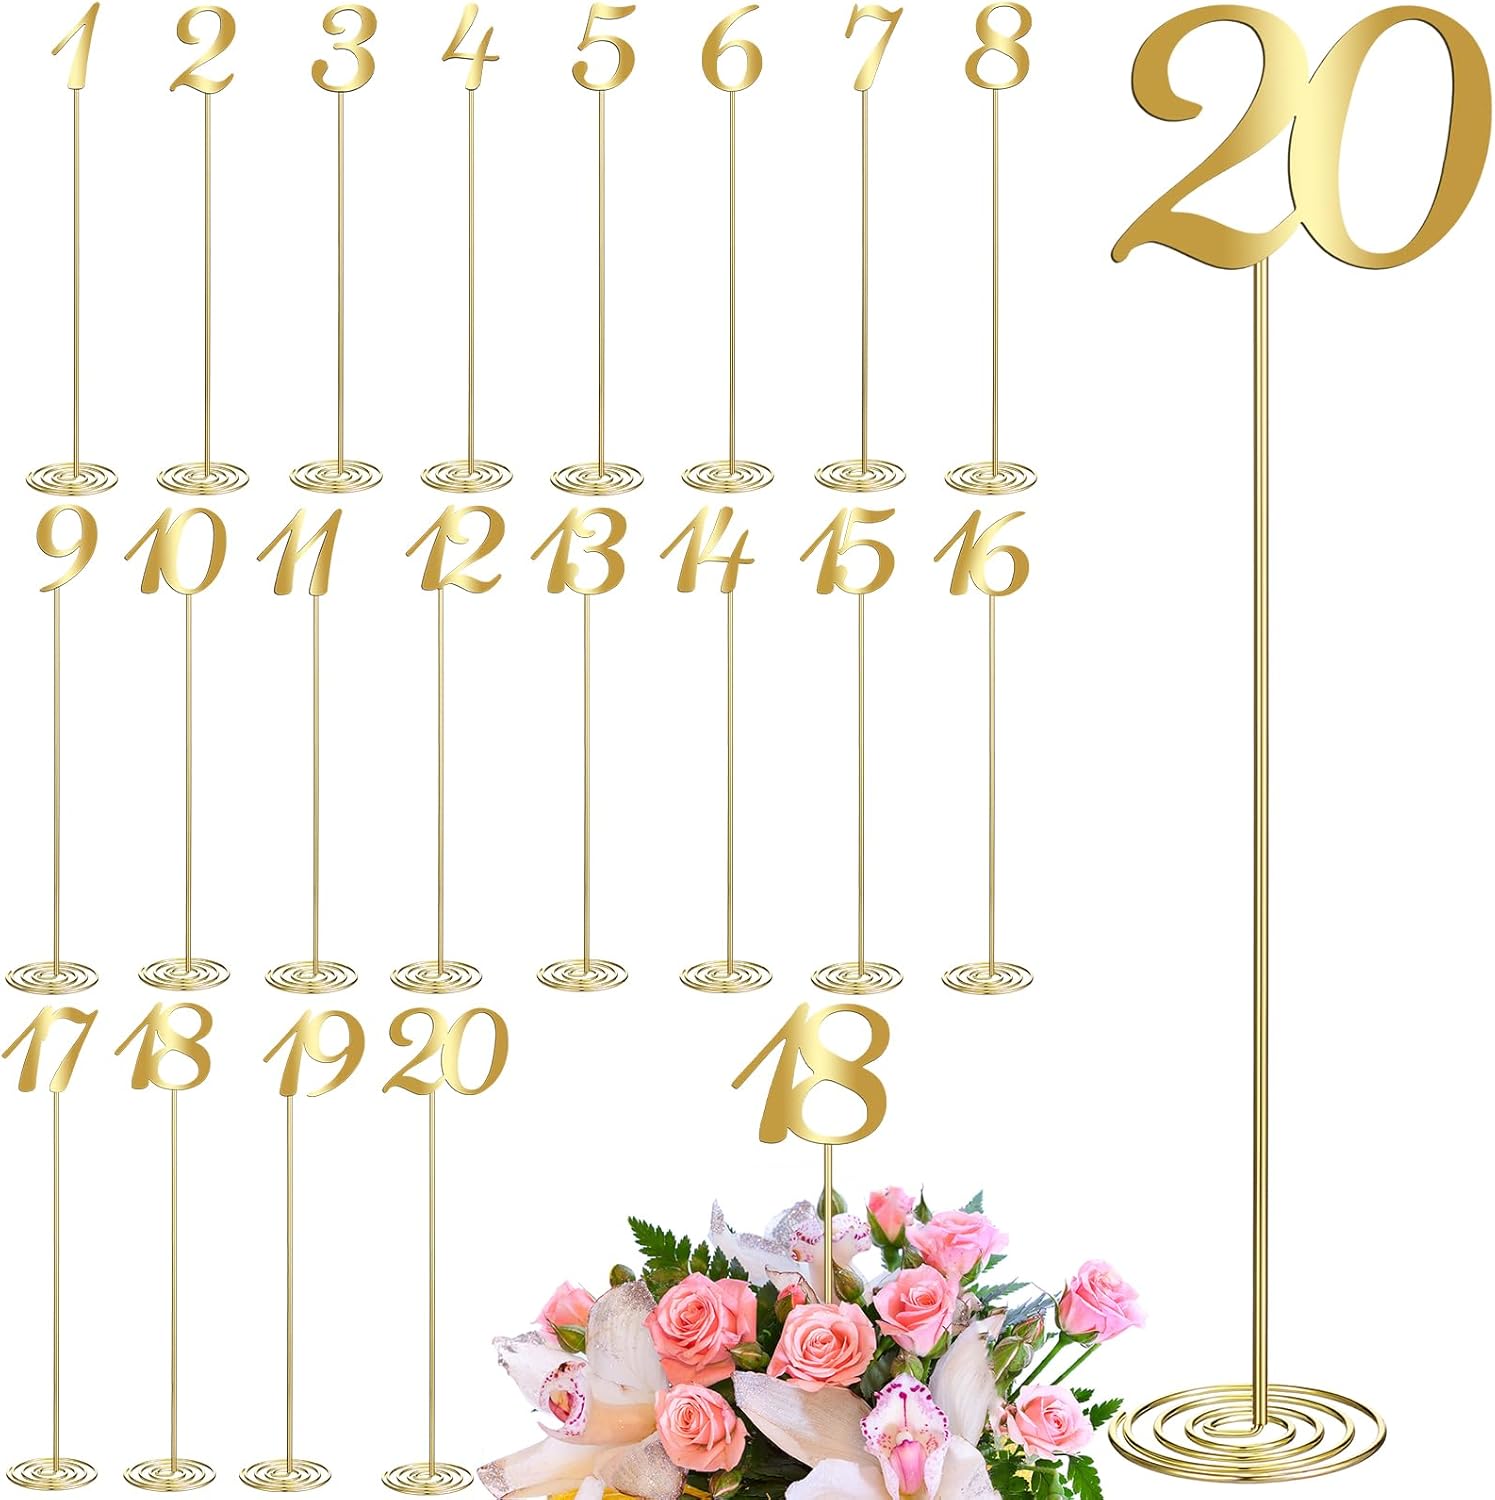
or simple table numbers that coordinate with your overall design.
Simple centerpieces done well will always look better than complicated ones done halfway. Keep it clean, consistent, and intentional.
This post contains affiliate links. If you purchase through these links, we may earn a small commission at no cost to you.