The welcome table is the first thing your guests interact with at the party. It should be in a high traffic spot — on the way in, or positioned so guests naturally pass it heading into cocktail hour. Sometimes it’s a full table. Sometimes it’s a floor easel next to a small surface for escort cards. Either way, it should coordinate with the overall aesthetic of the event, whether you’re working from a logo, a color palette, or both.
Here’s what belongs on it.
Sign in board, book or object
The sign-in item is entirely a personal preference. Some families love a large acrylic board. Others want a guest book. Others have a theme-specific object that makes more sense than either of those. The right choice is whatever fits your child, your aesthetic, and what you actually want to do with it after the party.
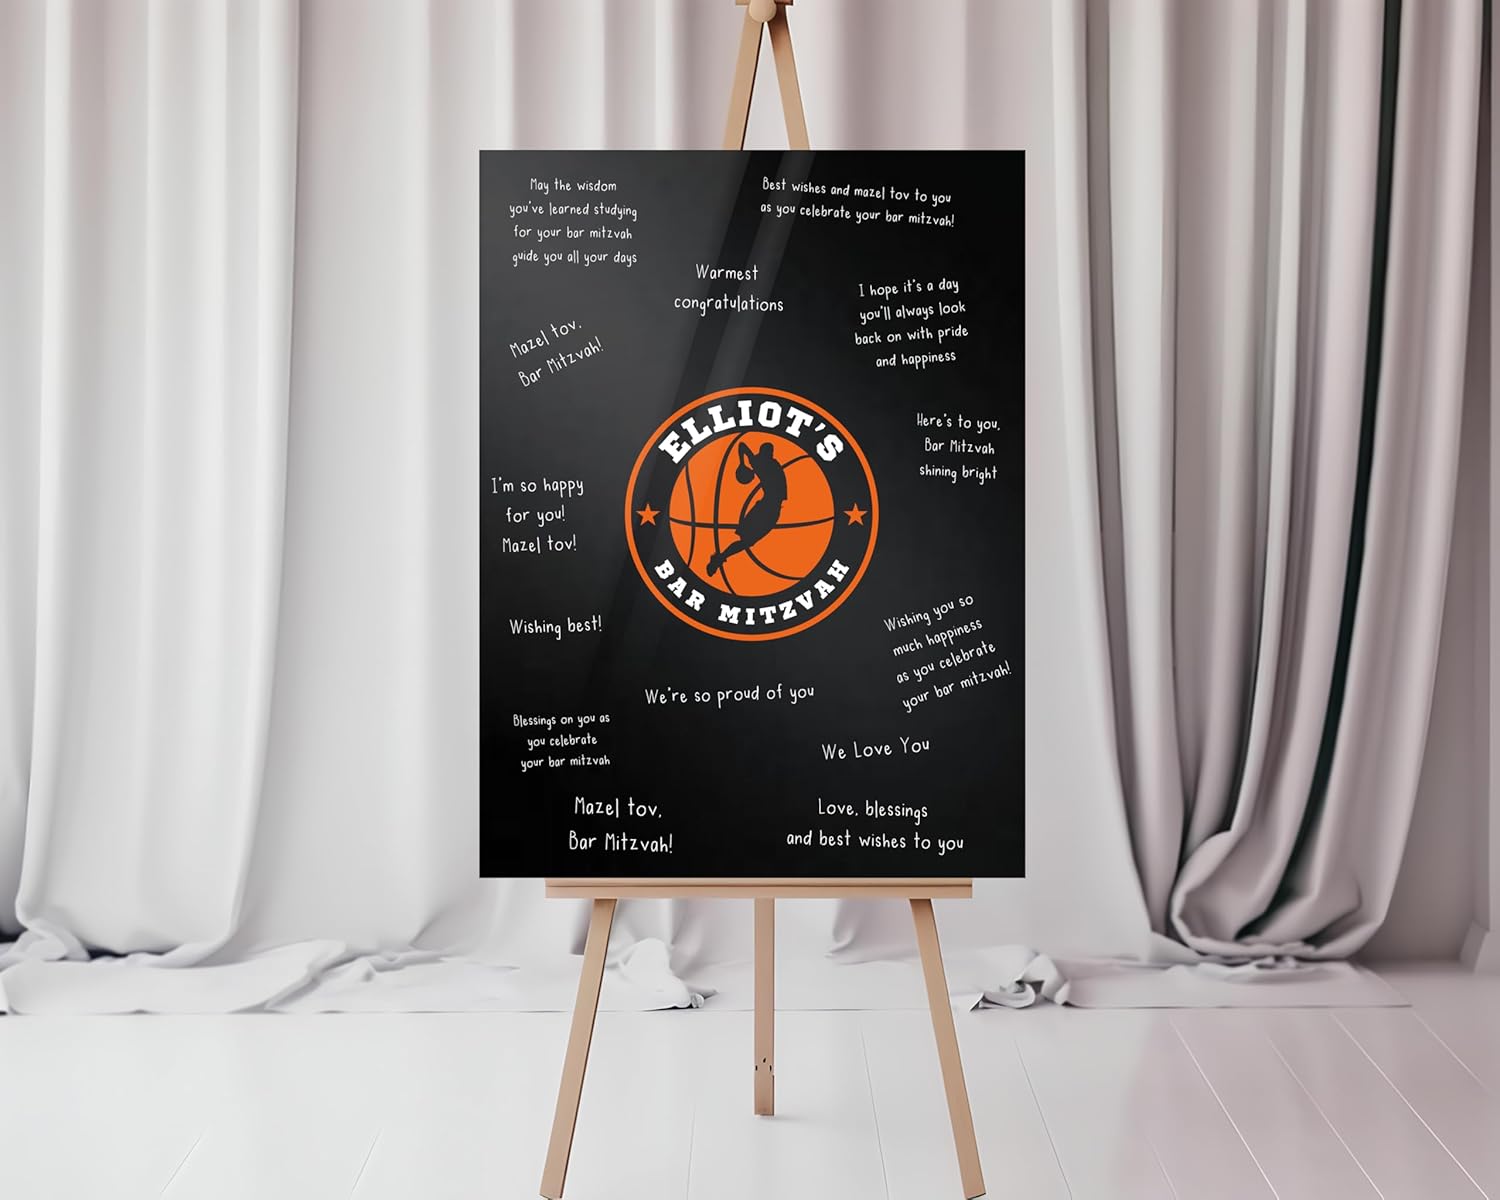
Boards can go on a floor easel or flat on the table depending on the size and the space. For a large custom acrylic board, this 24×36 option is made to your logo or theme.
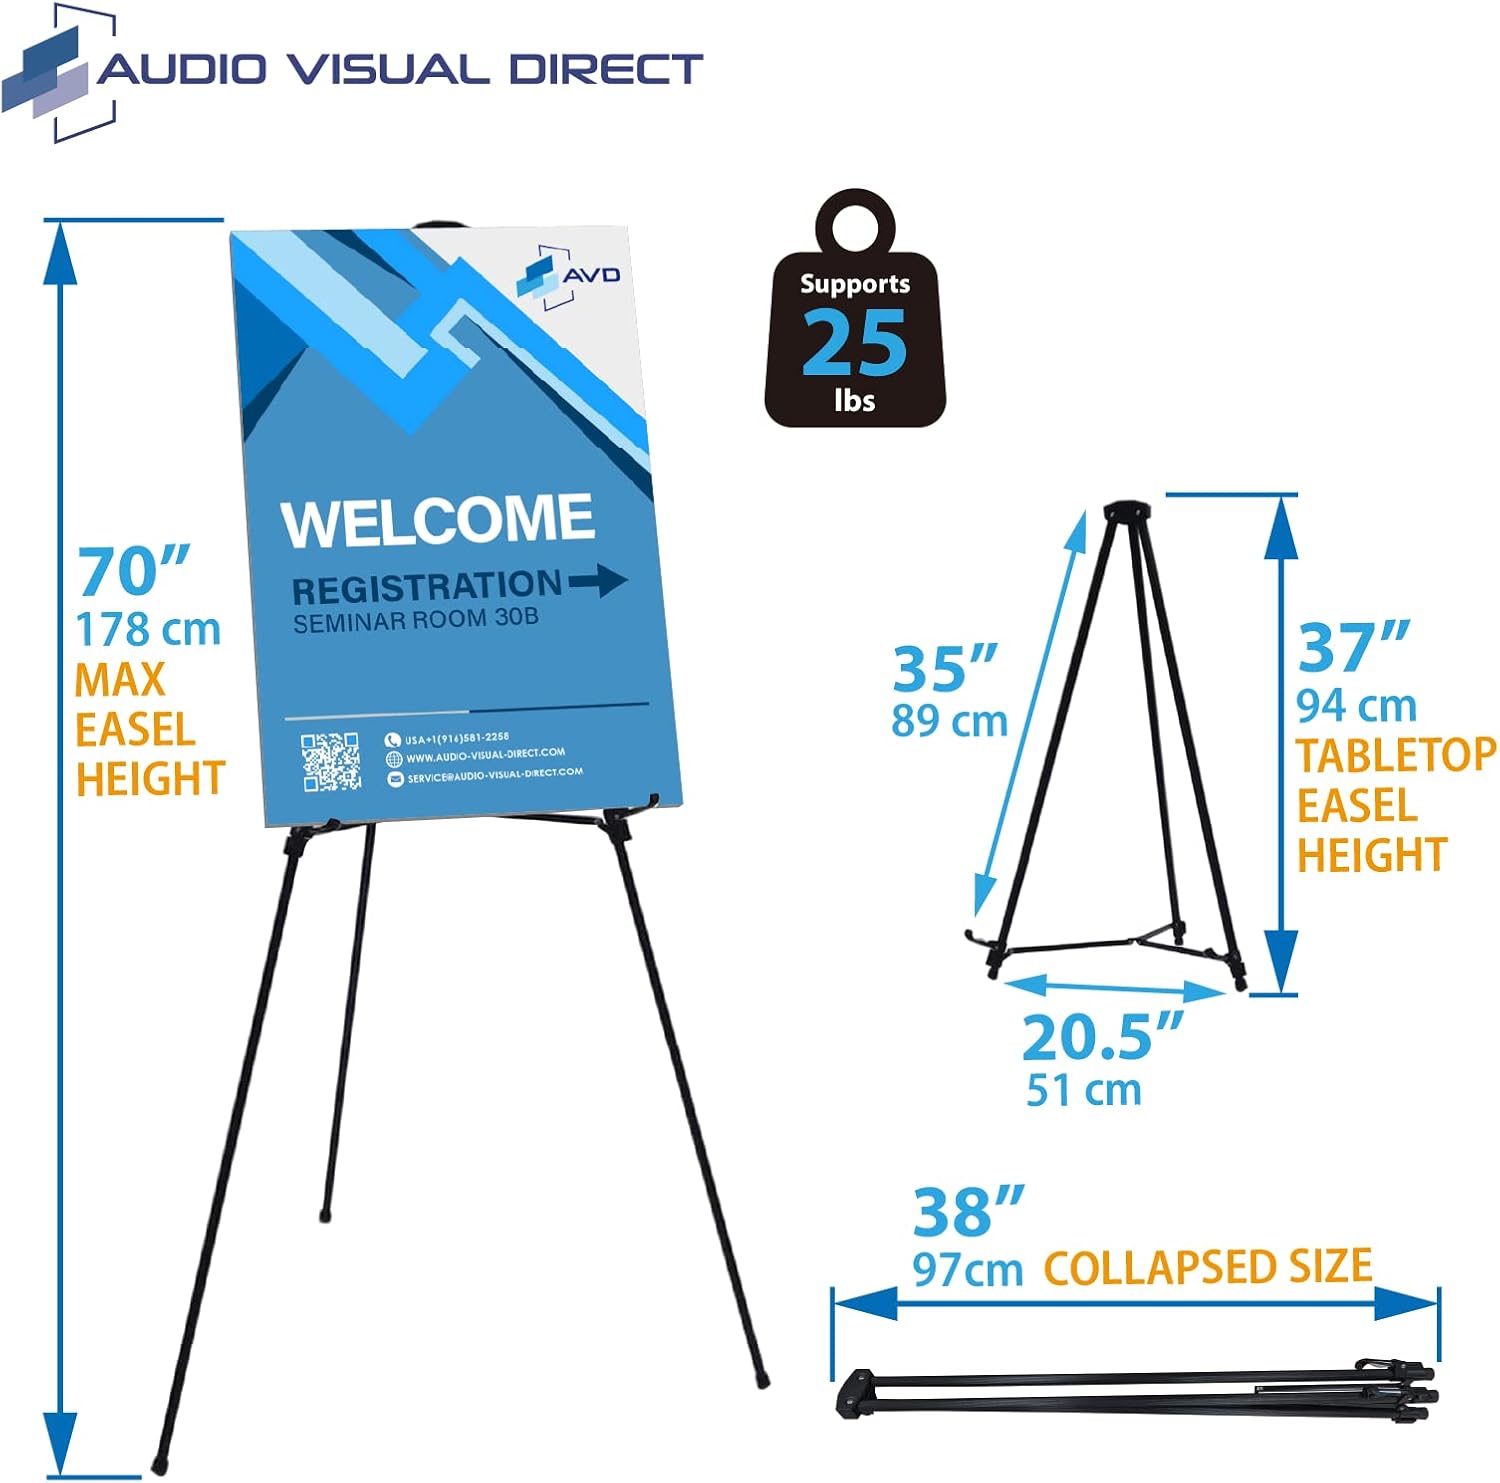
If you’re using an easel, this is the exact one I bring to events. I love that it folds down small and has telescoping legs. That way it can be used to stand next to a table or could go on top of a table.
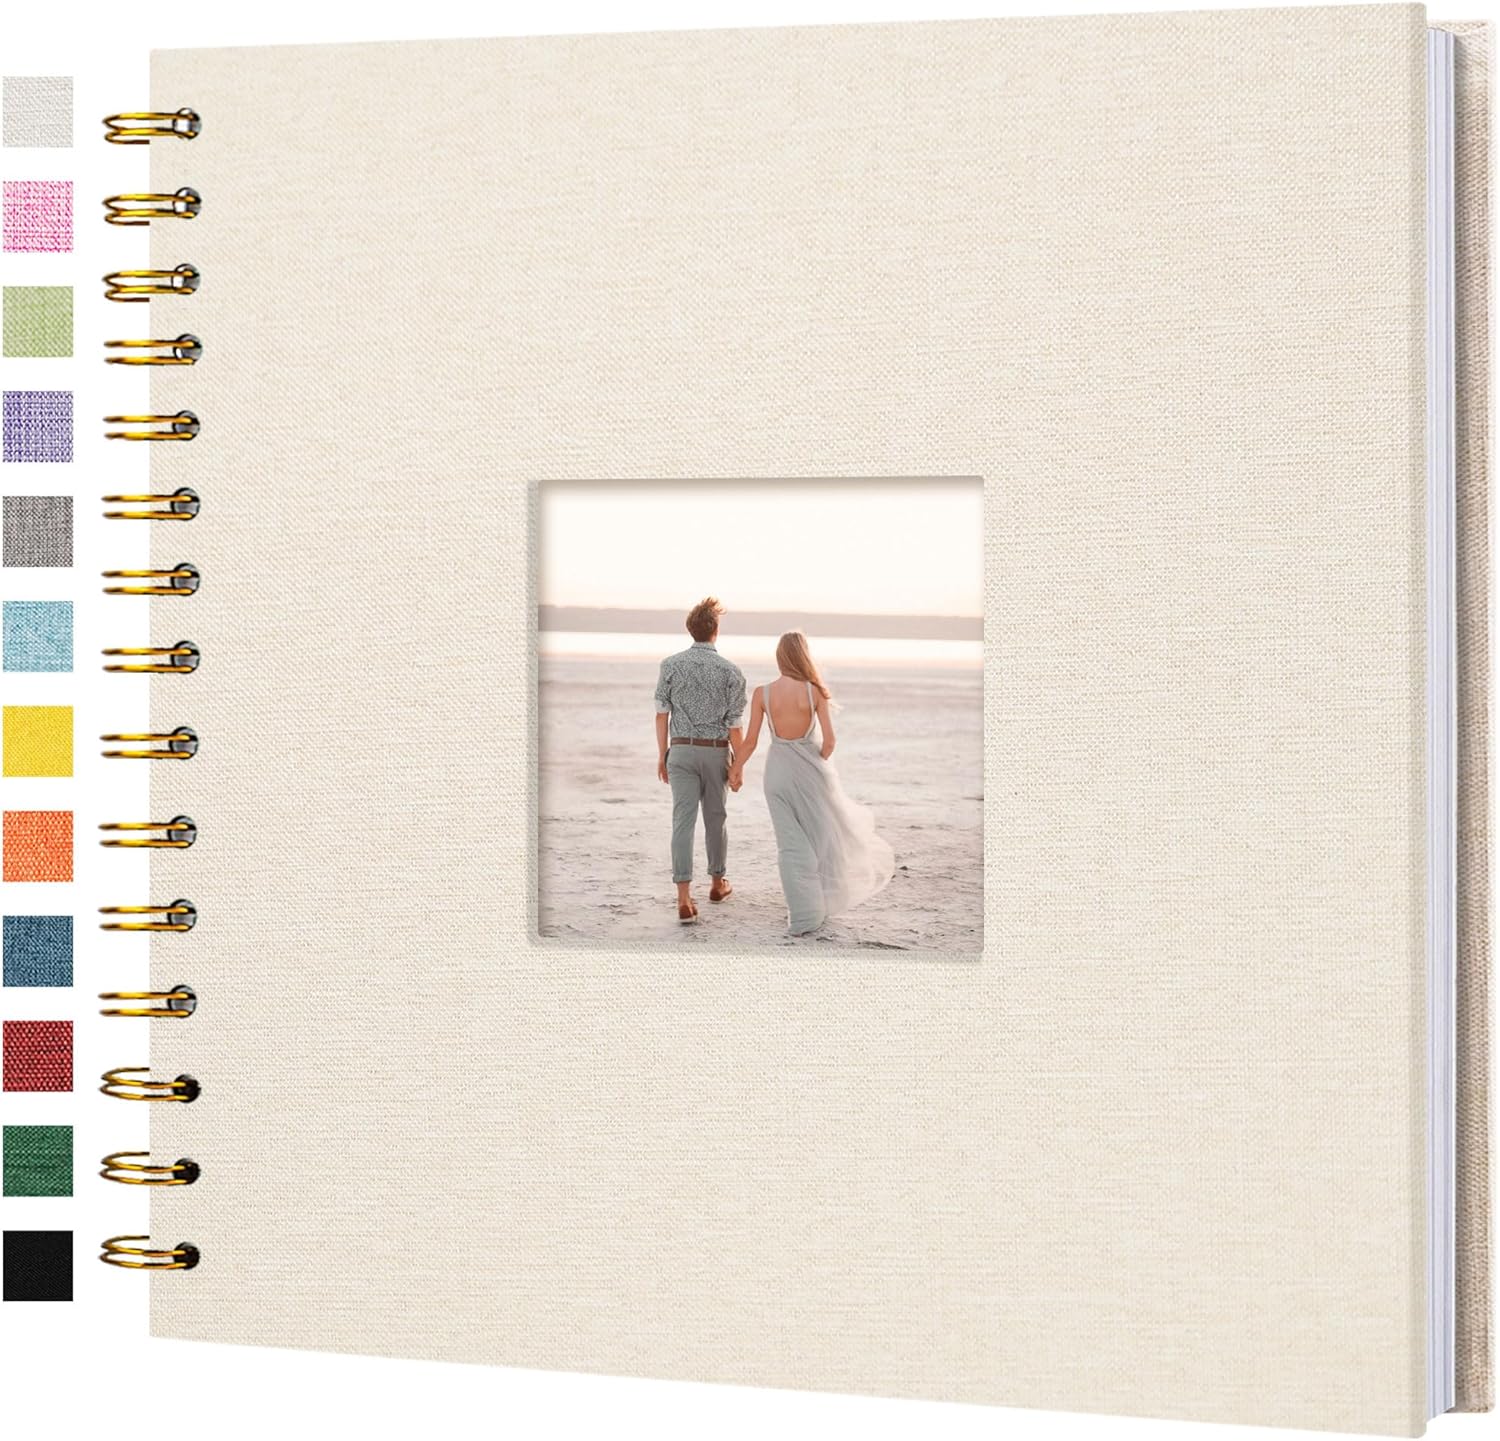
If you want a guest book instead, skip the ones with printed lines or prompts. A clean blank-page journal works for any theme and doesn’t date itself. This linen, hardcover guest book has space to put a photo of the guest of honor and comes in a variety of colors.
For creative sign-in ideas beyond boards and books including some that might surprise you — this post has a lot of options.
Markers.
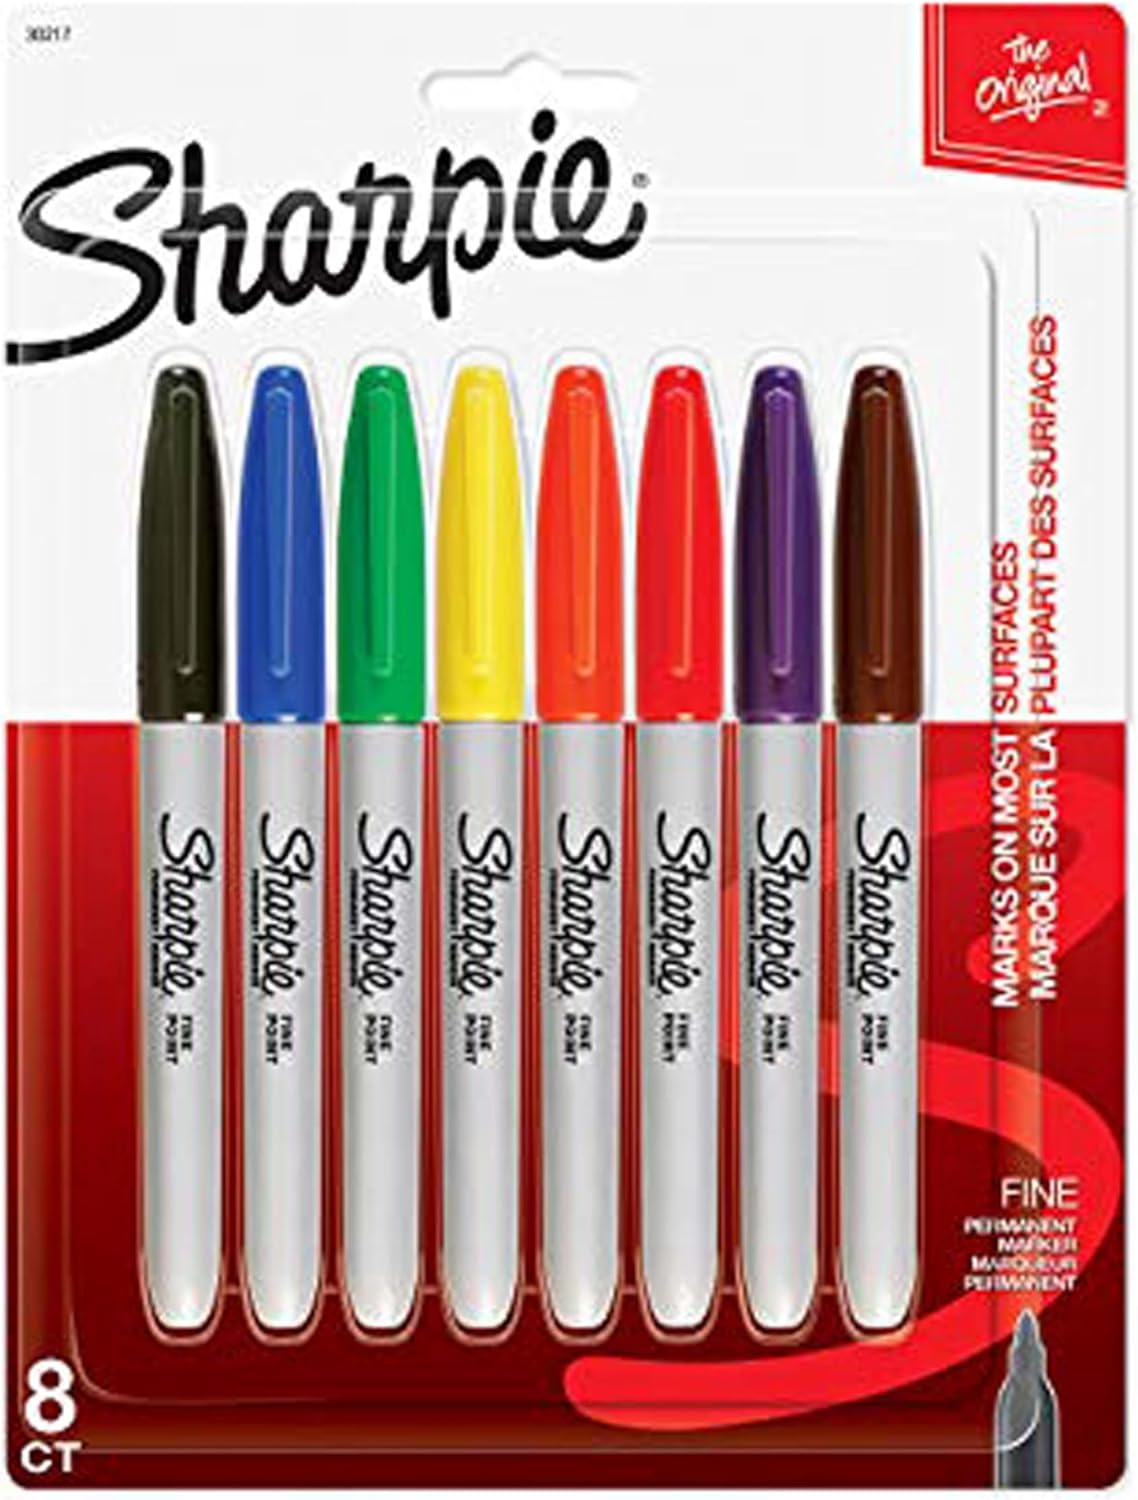
Standard Sharpies work on a lot of surfaces.
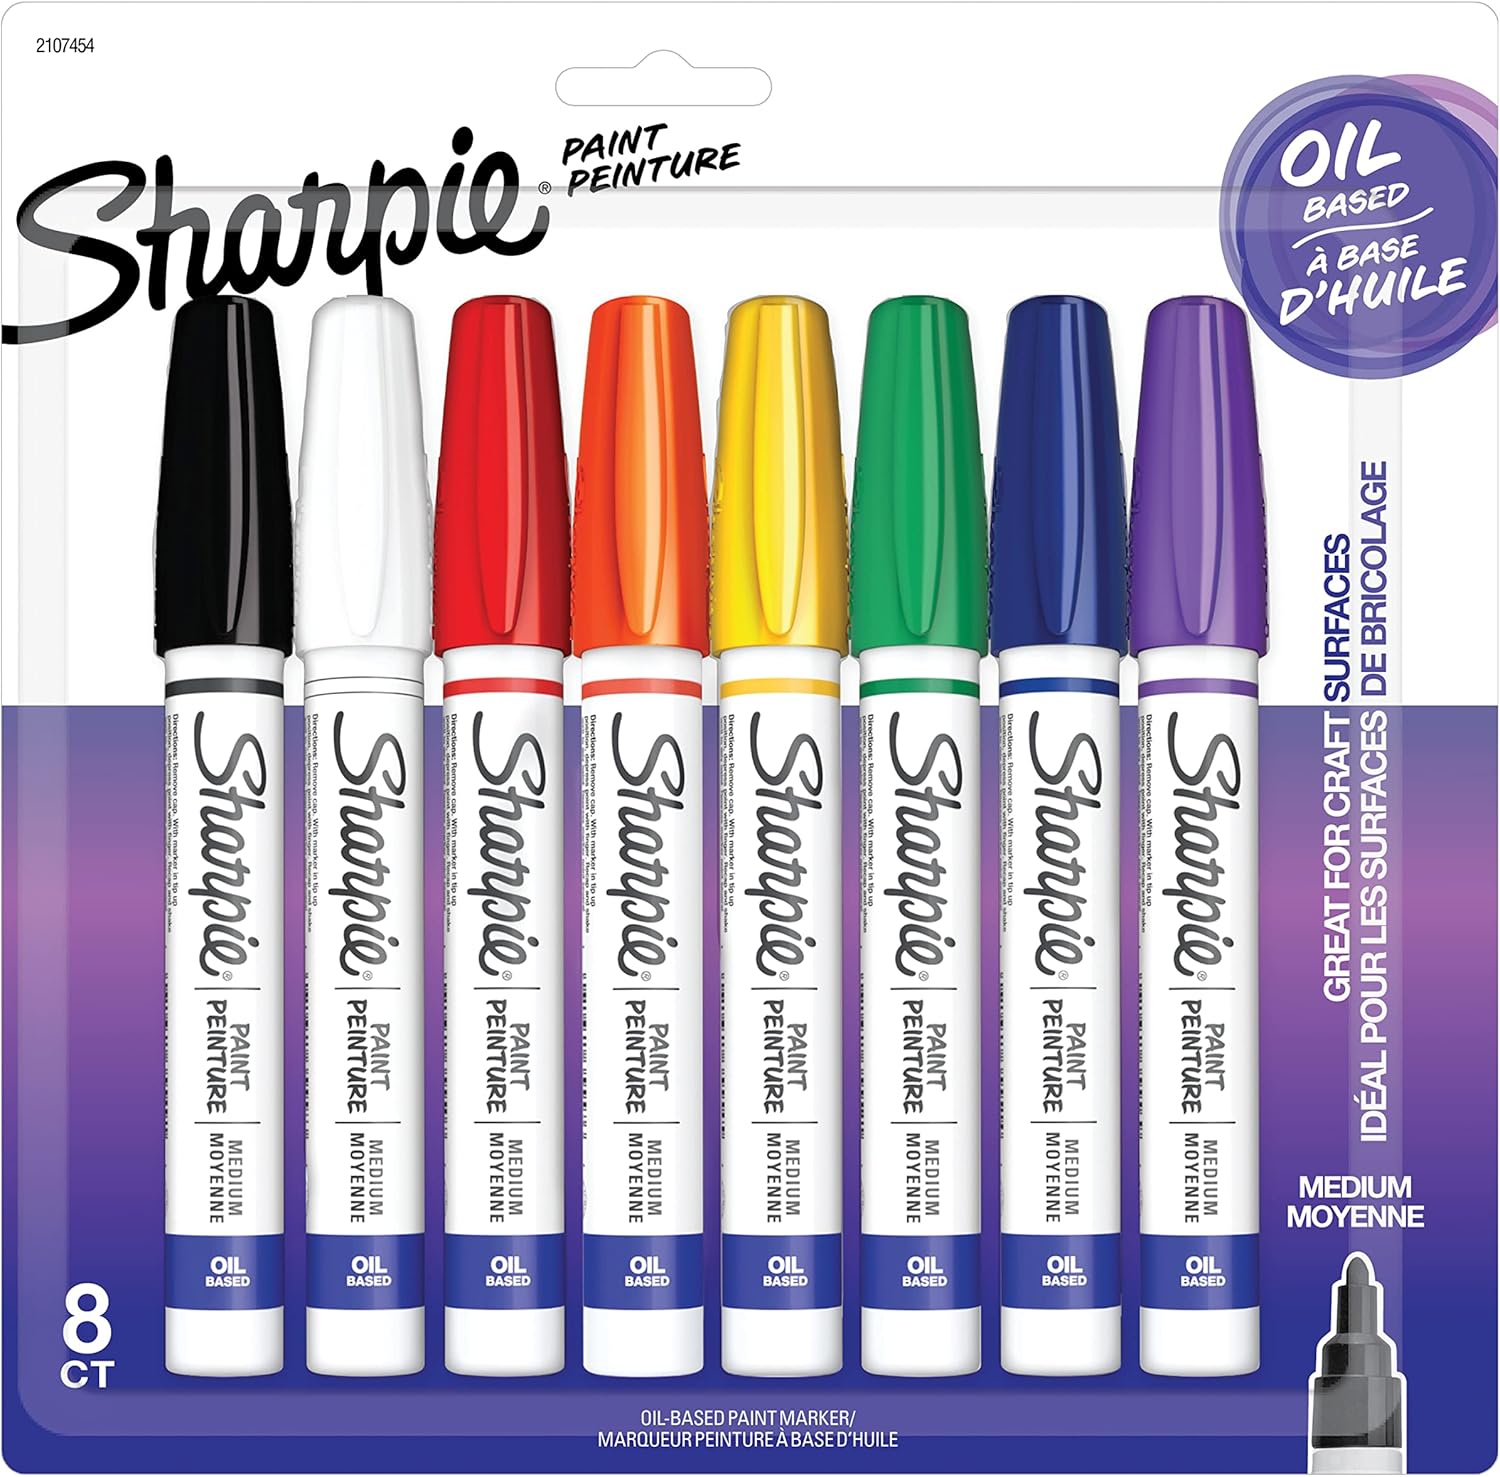
So do Sharpie Oil-Based Paint Markers, which are what I’d reach for on acrylic or anything non-porous. The 8-count assorted set gives you options to pull three colors that work with your palette. Three markers on the table. That’s enough. And any paint marker needs to be primed before the party — press the tip down on a scrap surface until the paint flows through. Find out it doesn’t work the night before, not during cocktail hour.
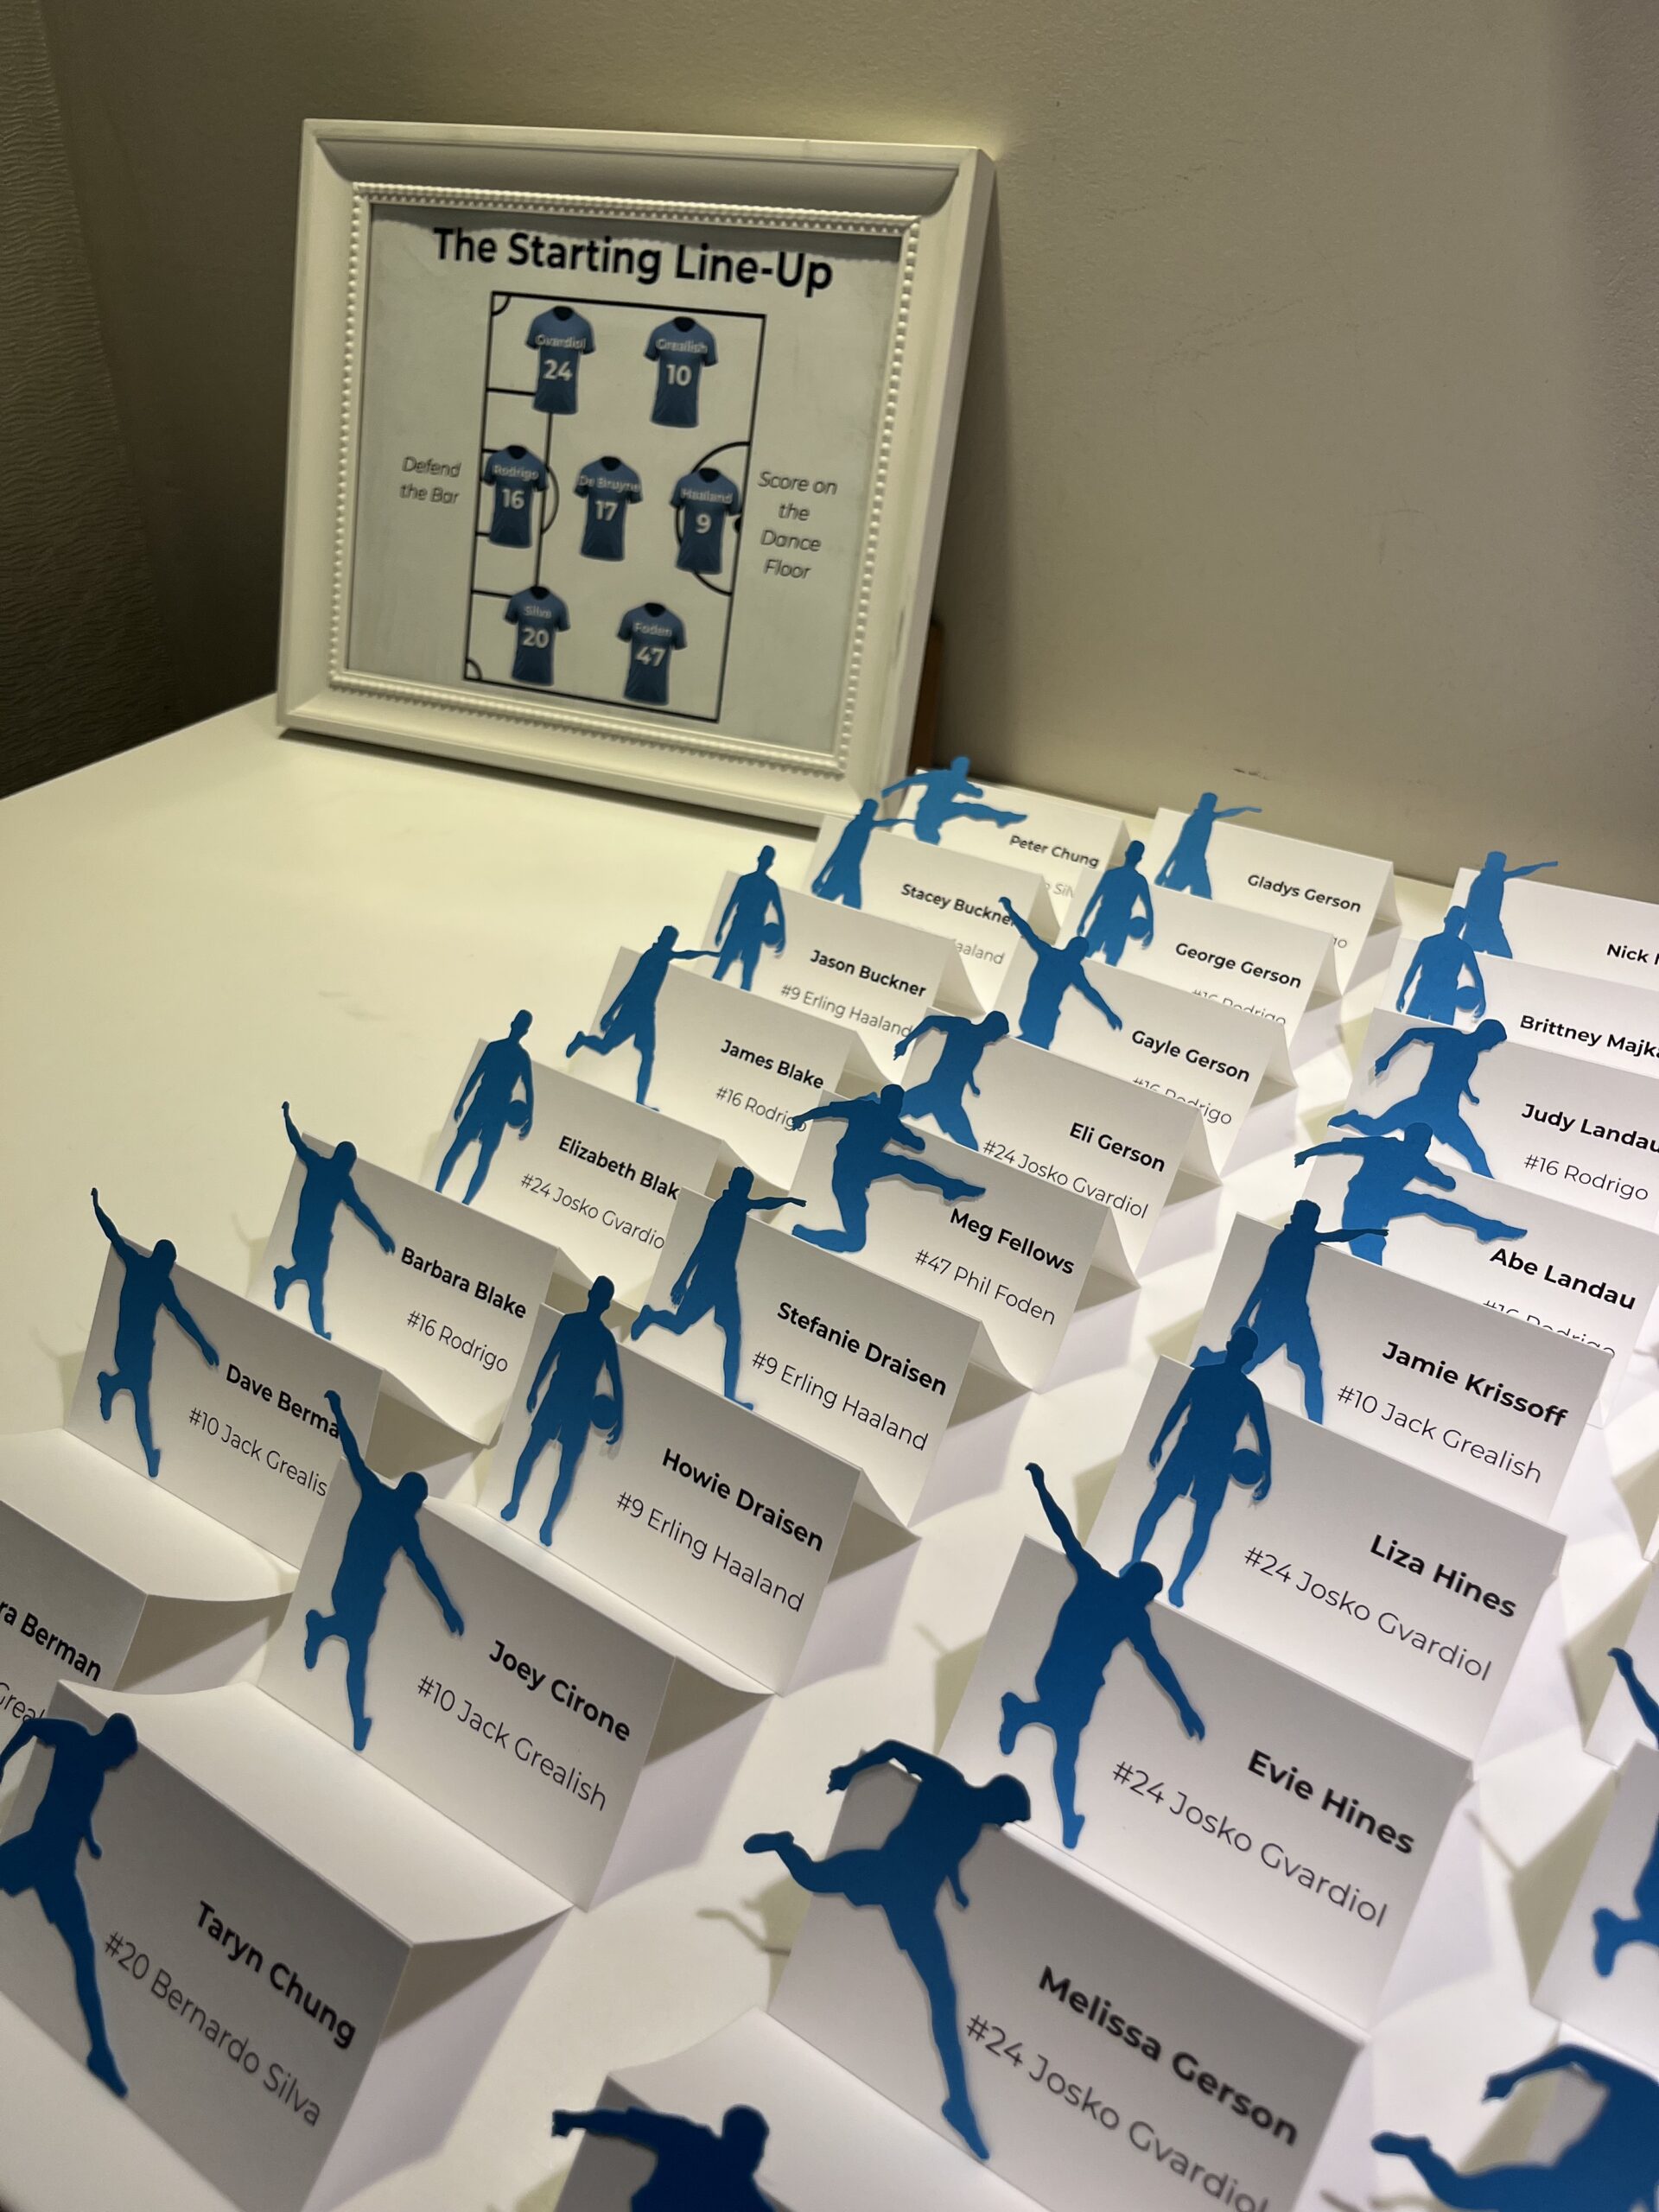
The Escort Cards
Escort cards tell guests where they’re sitting. They live on or right next to the welcome table, and guests pick them up on their way in. For a full breakdown of how to DIY them or print them yourself, this post covers everything.
The Gift Box

You need a place for envelopes. A simple card box with a slot on top keeps everything together and means you’re not searching at the end of the night. I love this option because it comes in many different finishes and can easily be customized with a logo sticker.
The Sign
A small framed sign explaining where guests should sign in is more useful than it sounds. If you have a planner, they’ll stand at the table during cocktail hour and guide guests through it. If you don’t, a sign does that job. It’s also another place to bring in your font, your colors, or your logo. Something simple like “Sign our board and find your seat” is all it needs to say.

A client recently used these adorable scalloped magnetic acrylic frames. They open without any hardware, look polished from both sides, and the scalloped edge adds a design detail without trying too hard.
The SilverDot magnetic frames are a cleaner, more minimal version of the same idea. Easy to set up and great for any signs you may want–bar, menu and more.
The Accent
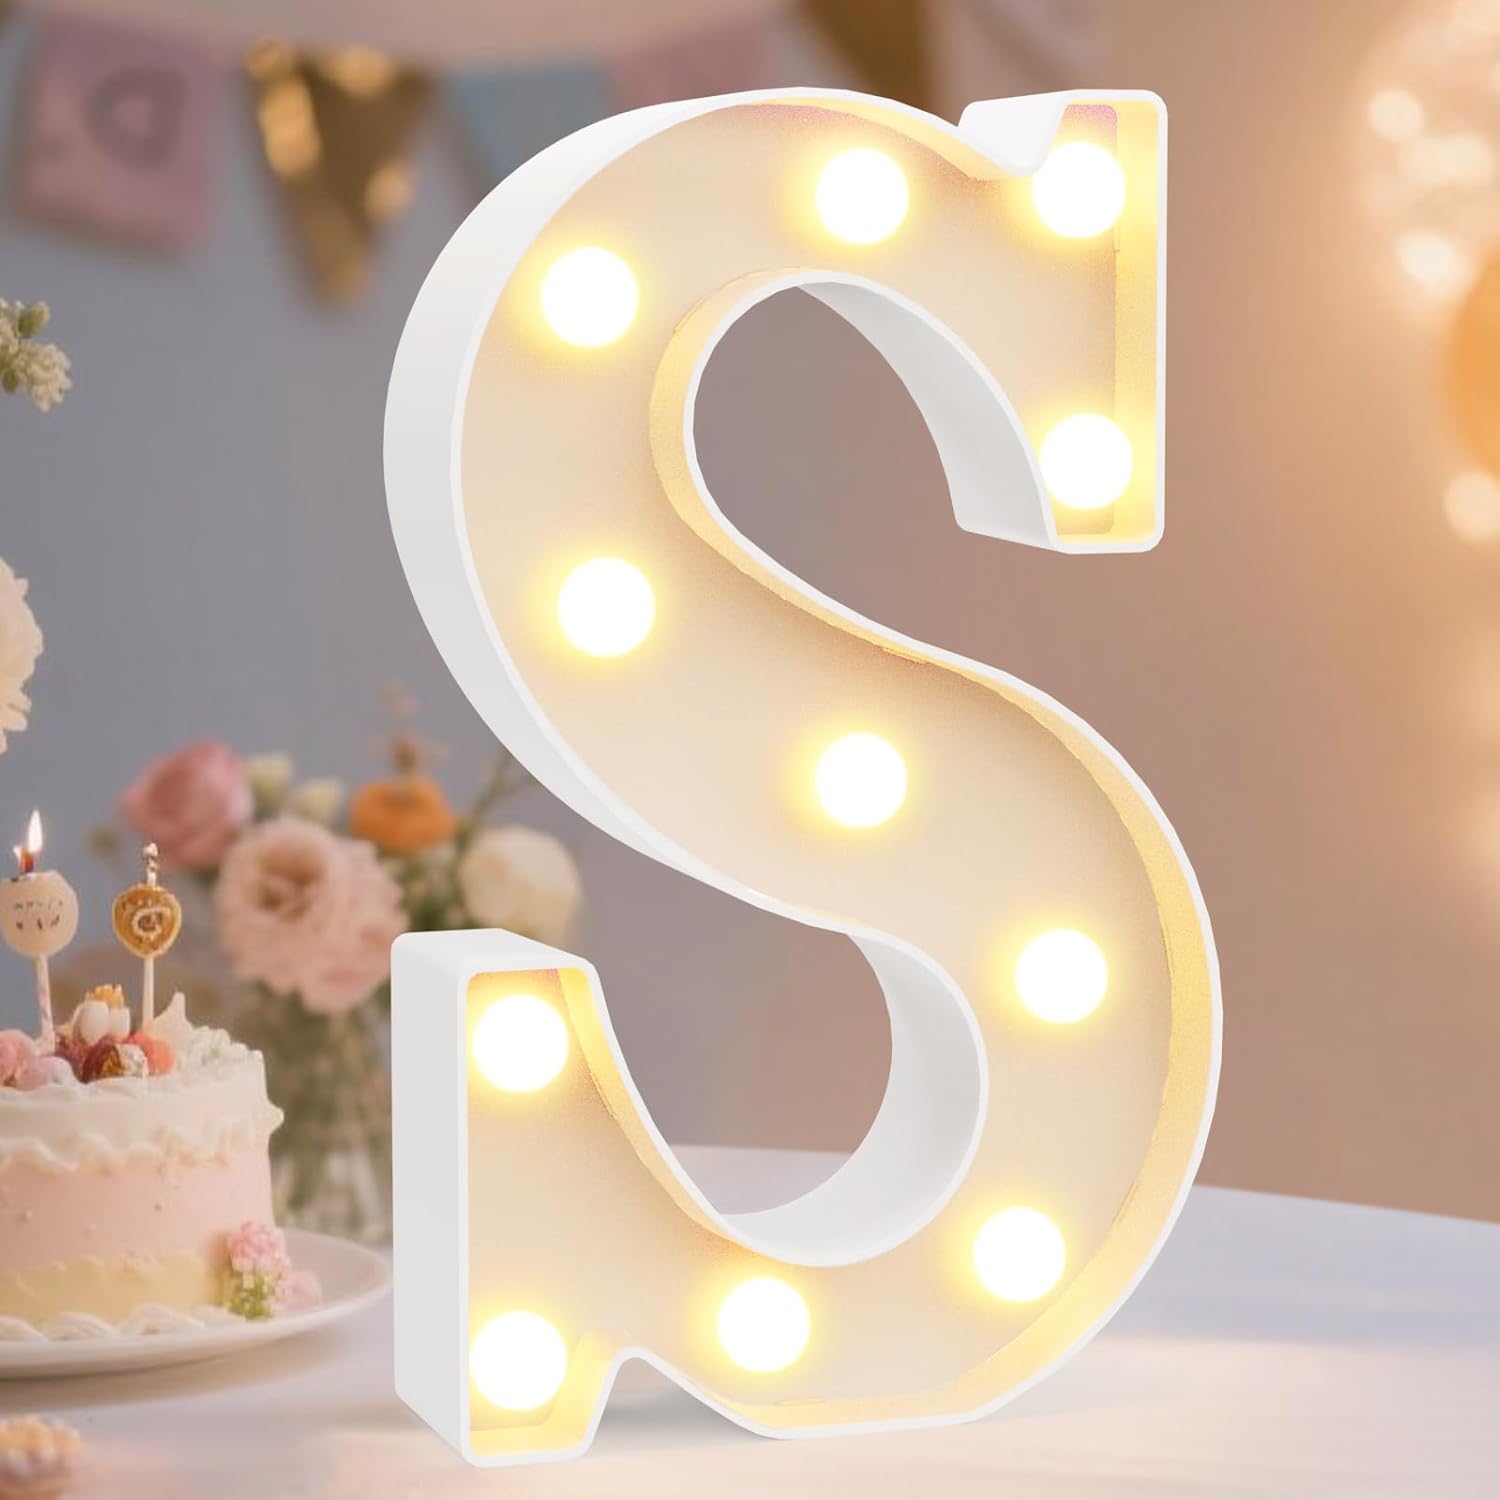
One personal touch ties the table to the event. A first initial or full name in LED marquee letters, a small prop that fits the theme, greenery from your florist. It doesn’t need to be elaborate. It needs to look intentional. Check out our DIY Centerpieces post for more ideas.
Some links in this post are Amazon affiliate links. I may earn a small commission at no extra cost to you. I only recommend products I’d put on an actual table.
Looking for more DIY ideas? Check out our DIY Shop.